Painted Tile Floor...Oh Yes You Can!
Let’s talk tile. I really do love tile. Tile back splashes can add great pops of color and design all while protecting your walls and making for easy clean up. Tile showers and bathroom walls make for safe (no soaking in water) surfaces in a high moisture room. And of course tile floors that are super easy to clean in high traffic muddy or wet areas like mudrooms and bathrooms. Tile can also be a total pain the tail end. If your home is pre 2000….there is a good chance you have tile somewhere that you would much rather live without. Maybe it’s that lovely cotton candy pink, or super eclectic colors that don’t match anything. How about a crazy tile pattern with mixed colors that make the tile pull your eyes in…when all you want to do is look away! It could even just be a high gloss shine when a good eggshell finish would make it look great. no matter what your tile issues are…one thing is certain. Tile removal can be a huge mess and headache. There is also the budget needed for the cost to remove, and replace the tile….and not to forget…the time to do it all! Don’t you stress…I have a solution for you!
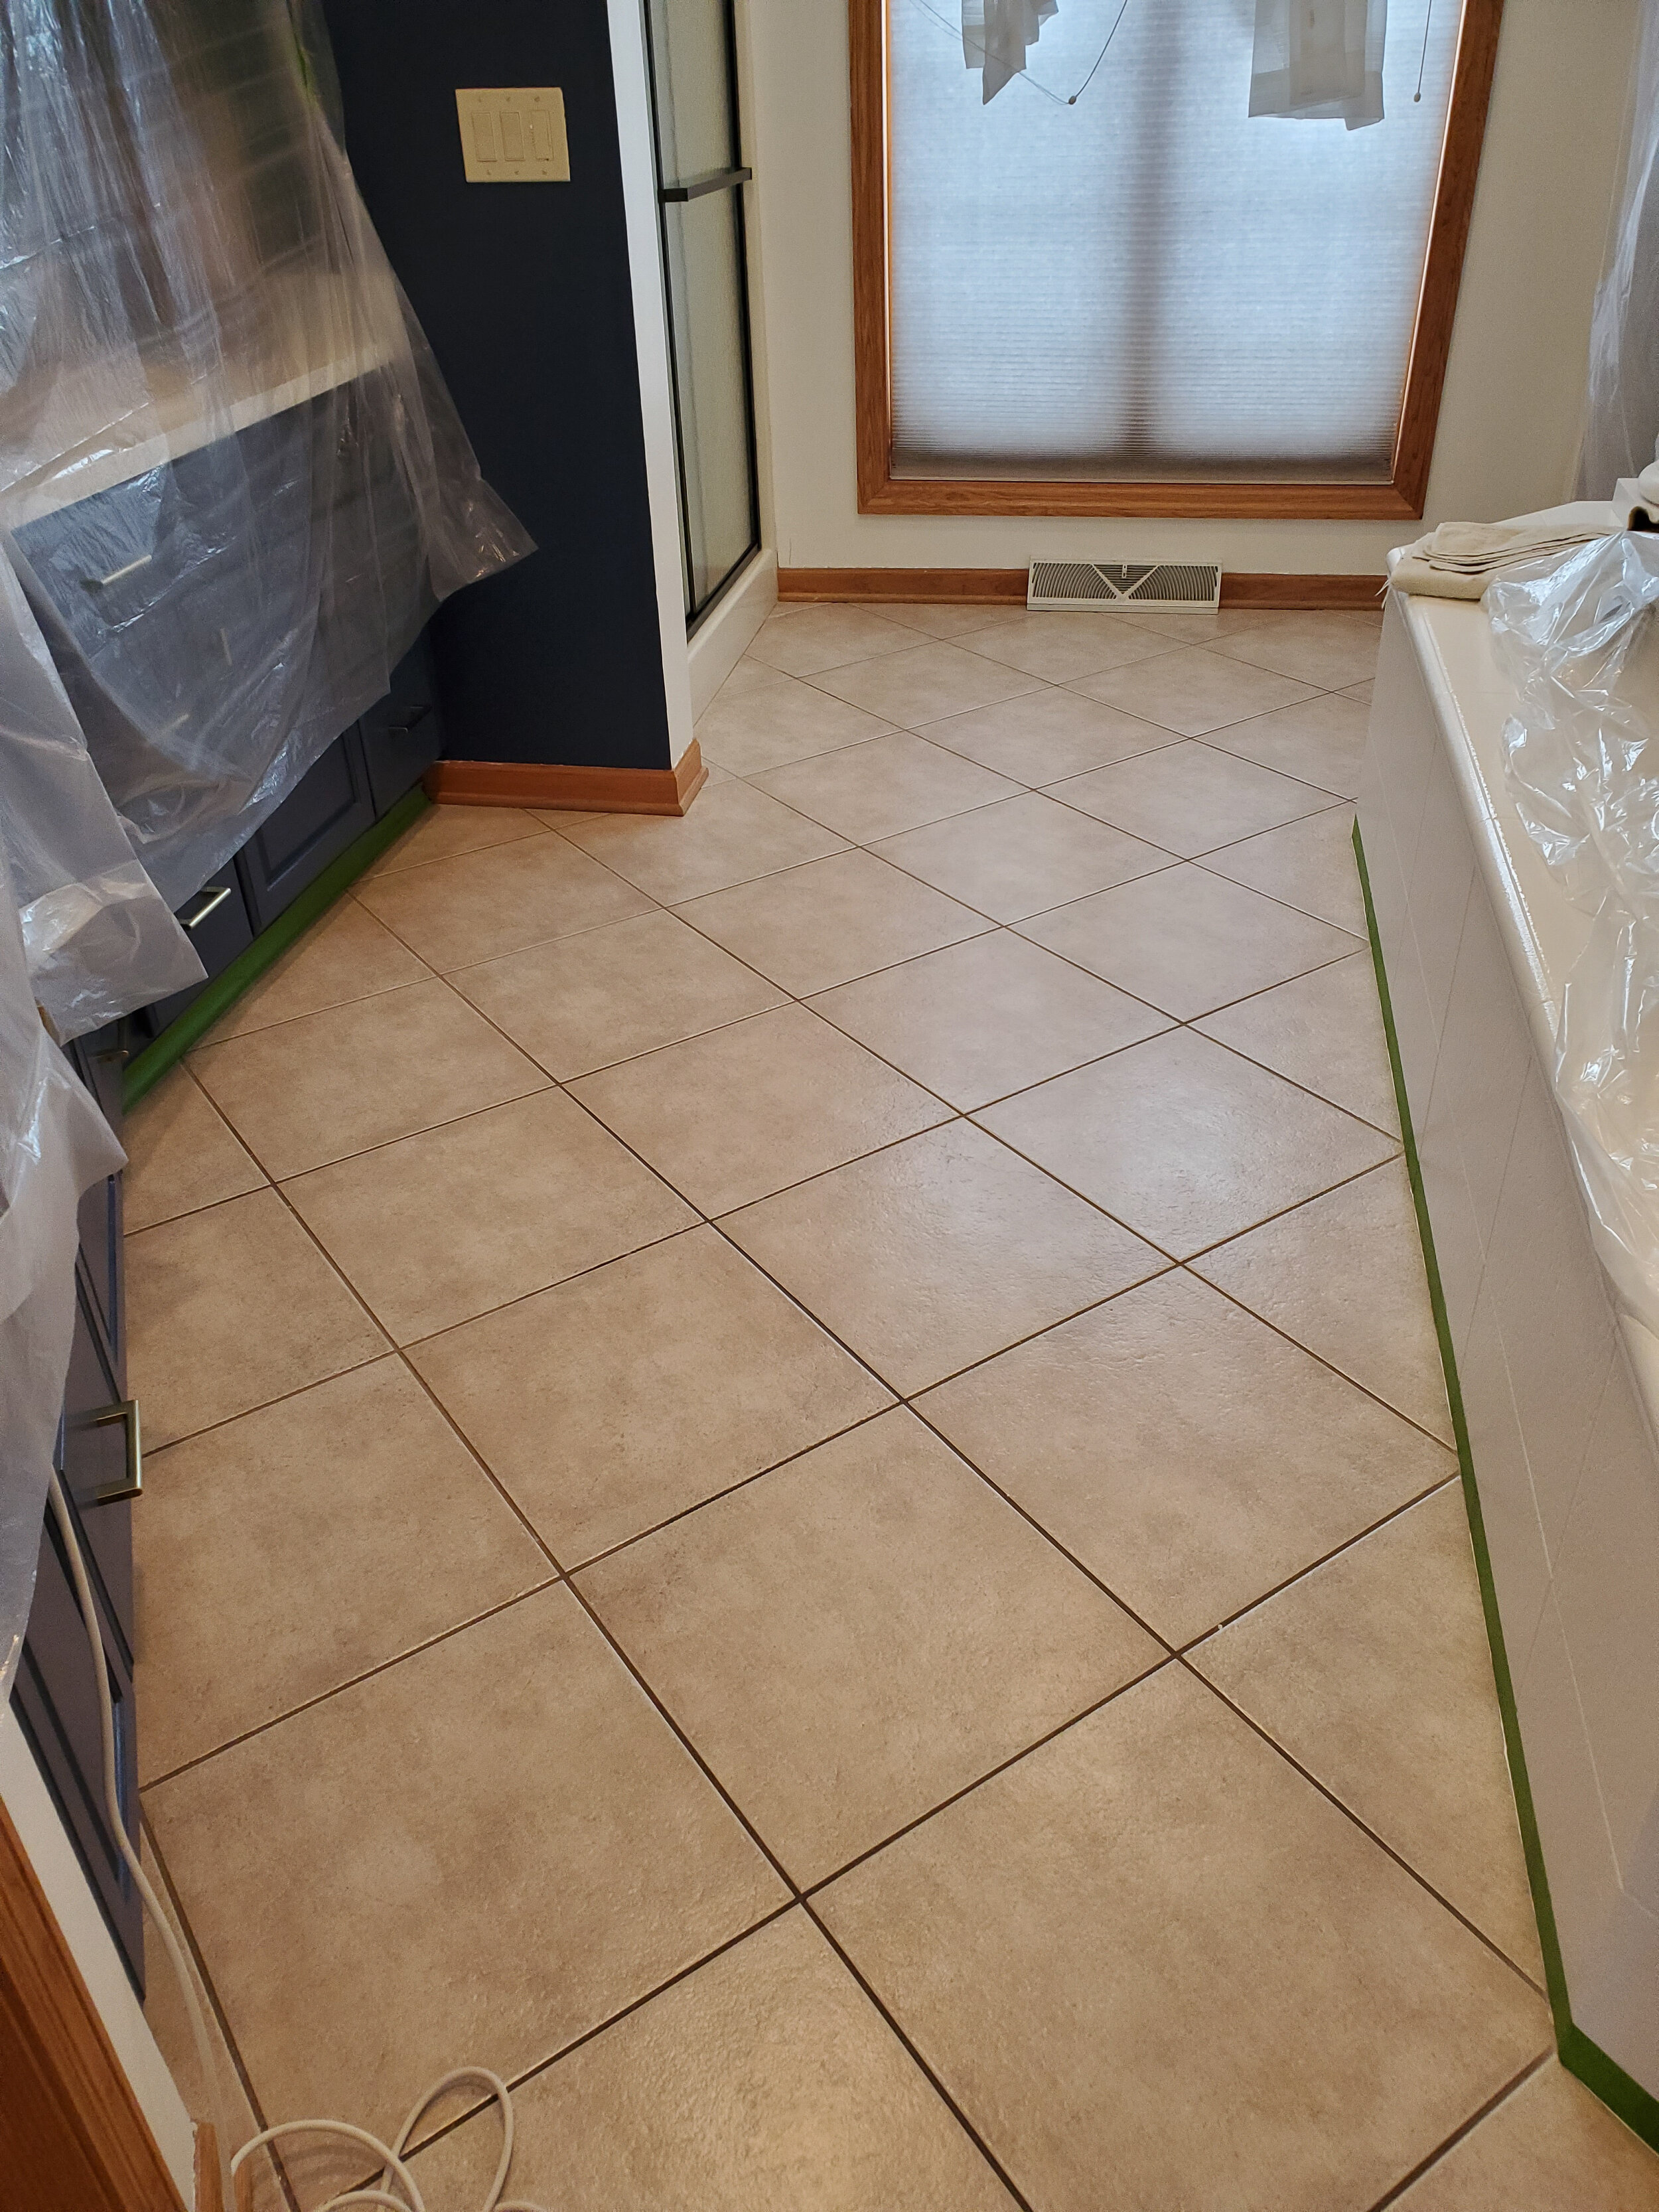
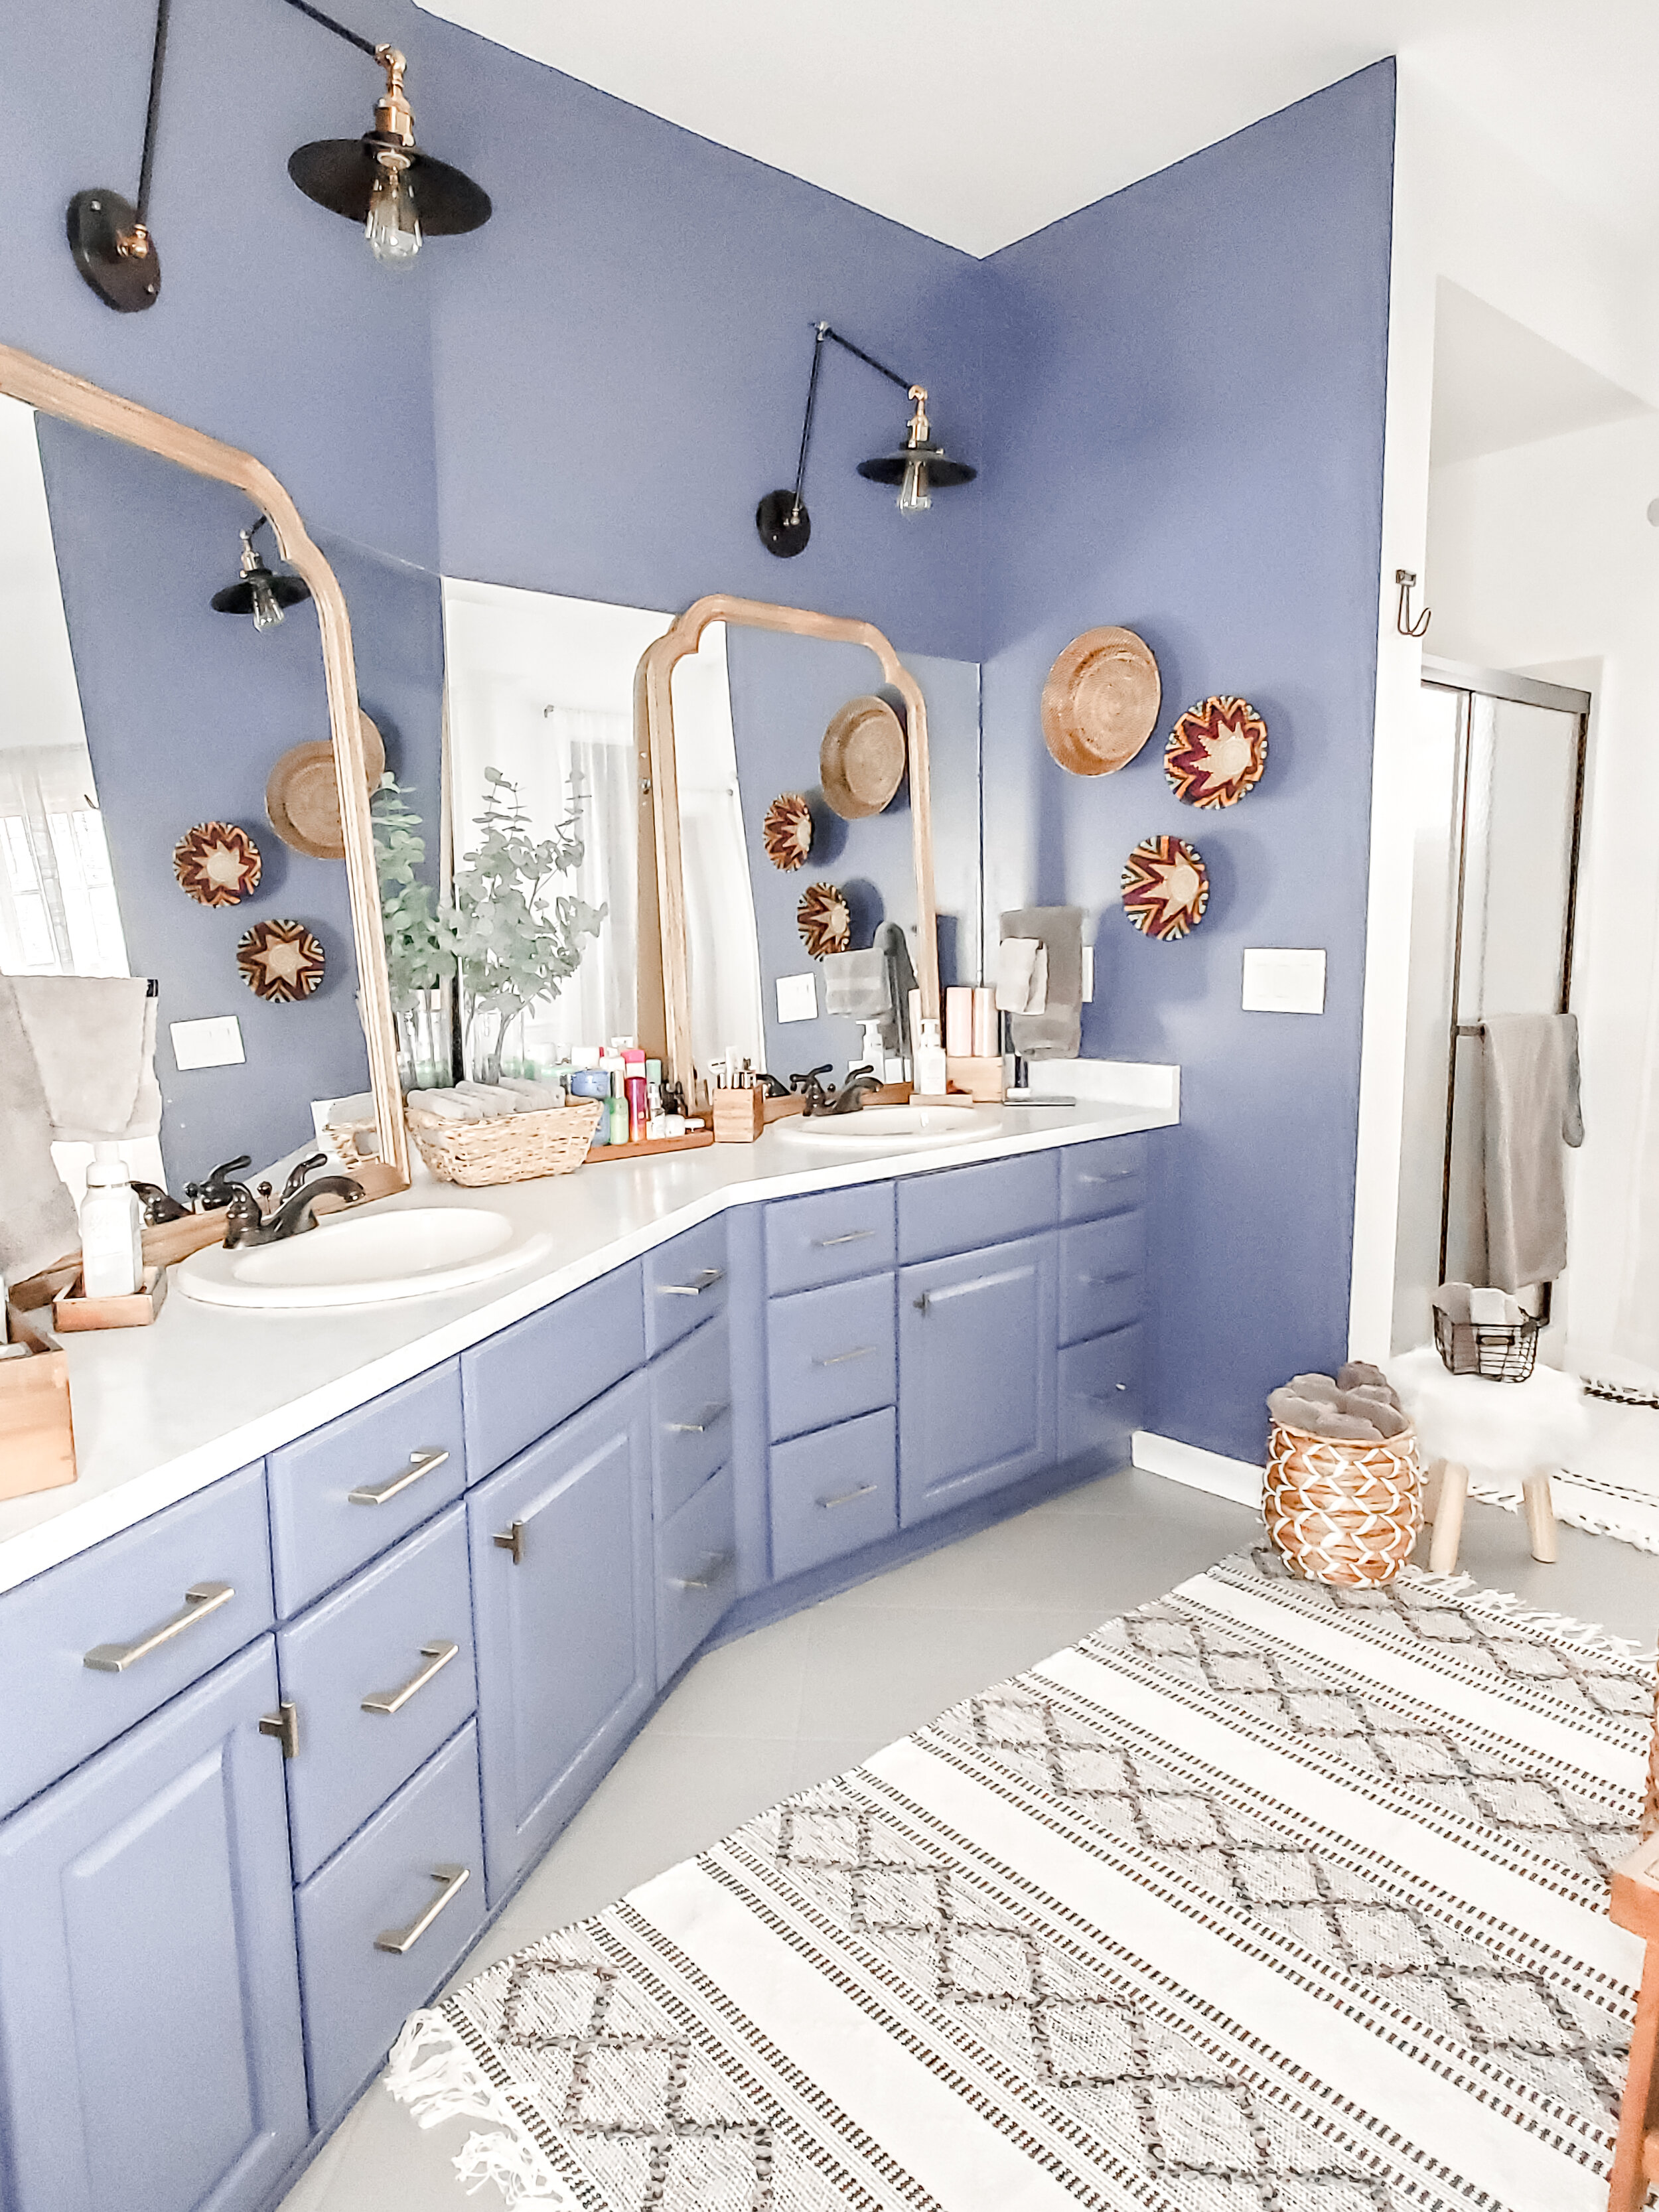
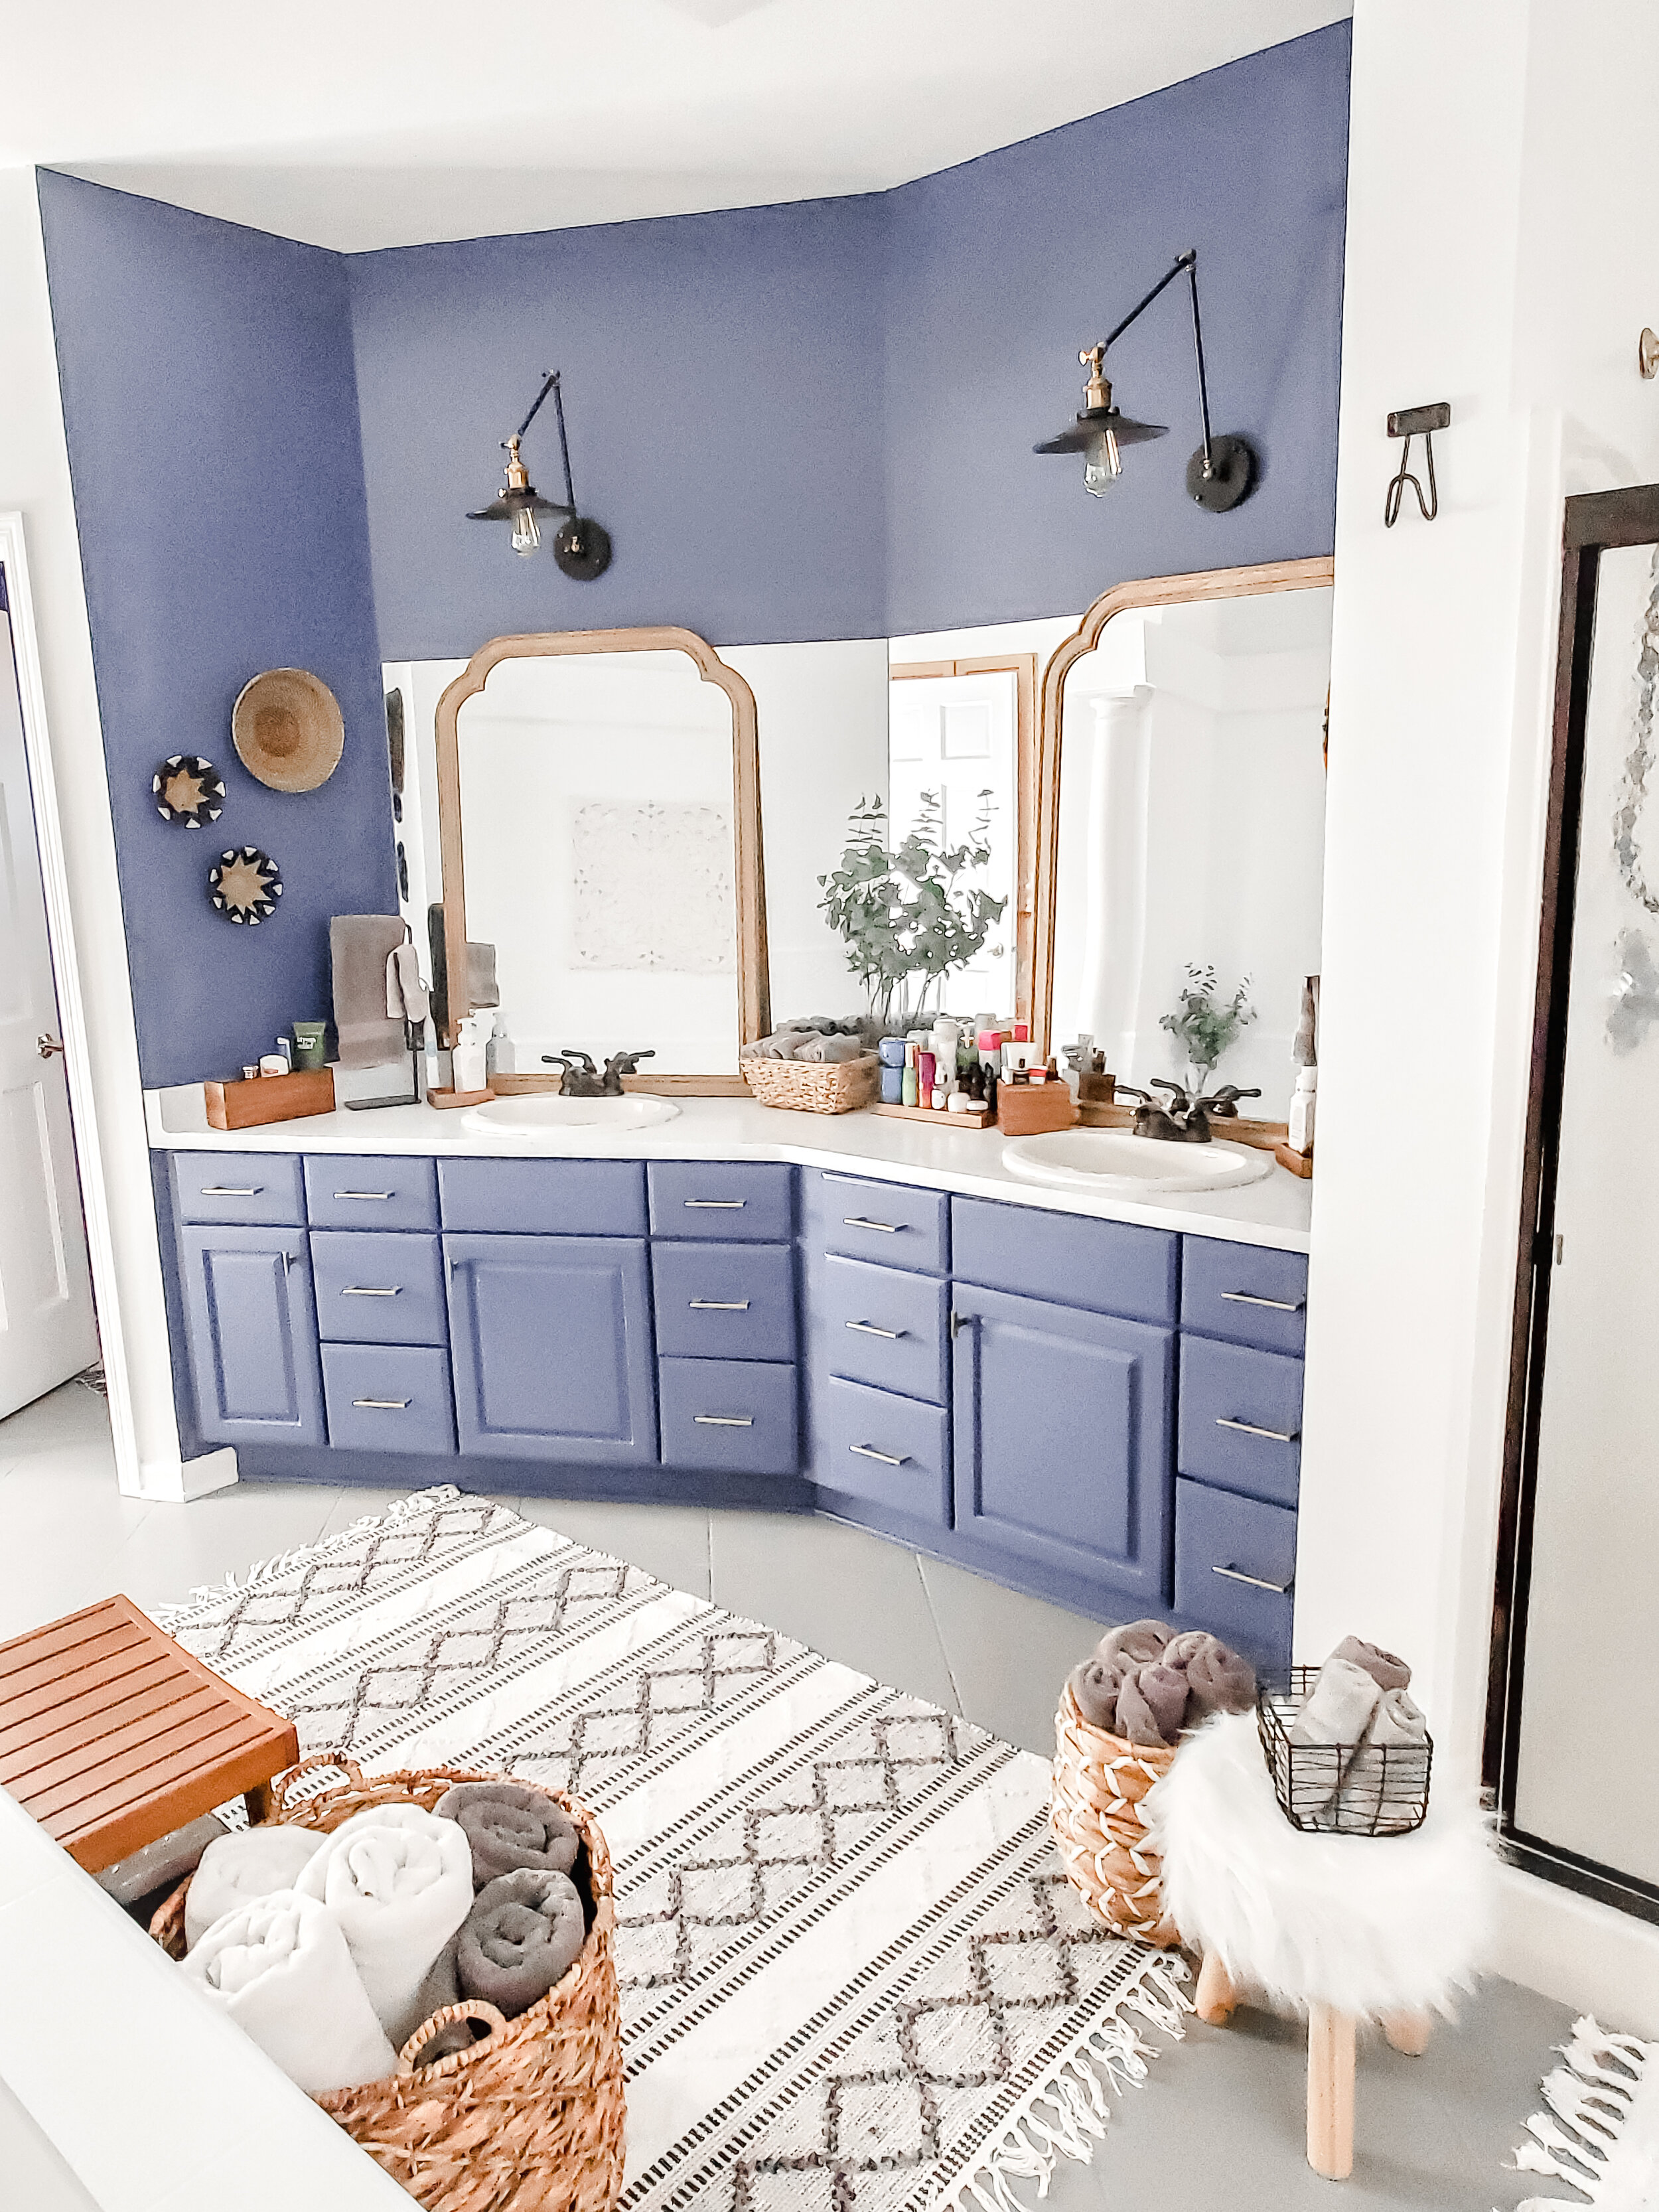
Our master bathroom…let's start with the positives. Our bathroom is a great size with high ceilings and nice light shining in. It connects right to our master and master closet. The jacuzzi tub is nice too (but I am more of a soaker tub gal). When we purchased our home, almost 3 years ago, we knew that eventually would be doing a total gut of the bath & closet and remodeling. There were also a ton of other projects we wanted to get to first…and spent our first two years doing a ton of traveling (…and would have been this year too, but…well…yeah). The bathroom upon moving in was awful! the tile was a light beige with specks of pink throughout. there was wall paper with pastel blotches, flowers and roman columns all over. Actual faux columns by the tub painted (poorly) to look like marble (and are still there…because the tile was placed around them!…But they’re painted better now). All wood work was honey oak and the counters were a laminated light pinky beige too! It was not good. I knew I couldn’t handle it for long…so I did an immediate wallpaper removal, paint, and painted the cabinets and counter. I didn’t really do my style…or put much into this first makeover; I just wanted that old gone. I know we are still about a year or two out from remodeling the bathroom…and decided I want a space that I can really love right now…not just tolerate. Redoing the cabinets, counter, walls, even lighting would all make a huge difference, but I knew it wouldn’t be complete until I changed the look of that dang tile floor.
So…if you find yourself in that same place. where you can change everything, but that floor needs a facelift. Read on to see how truly easy it is to give your tile floors a completely new look! Now I’m not say there is no labor. You will have to do some work and be patient, but believe me you will be so happy you did!
Click on the image below to watch a video on how to paint your tile floors or reading on for step by step instructions.


Step 1:
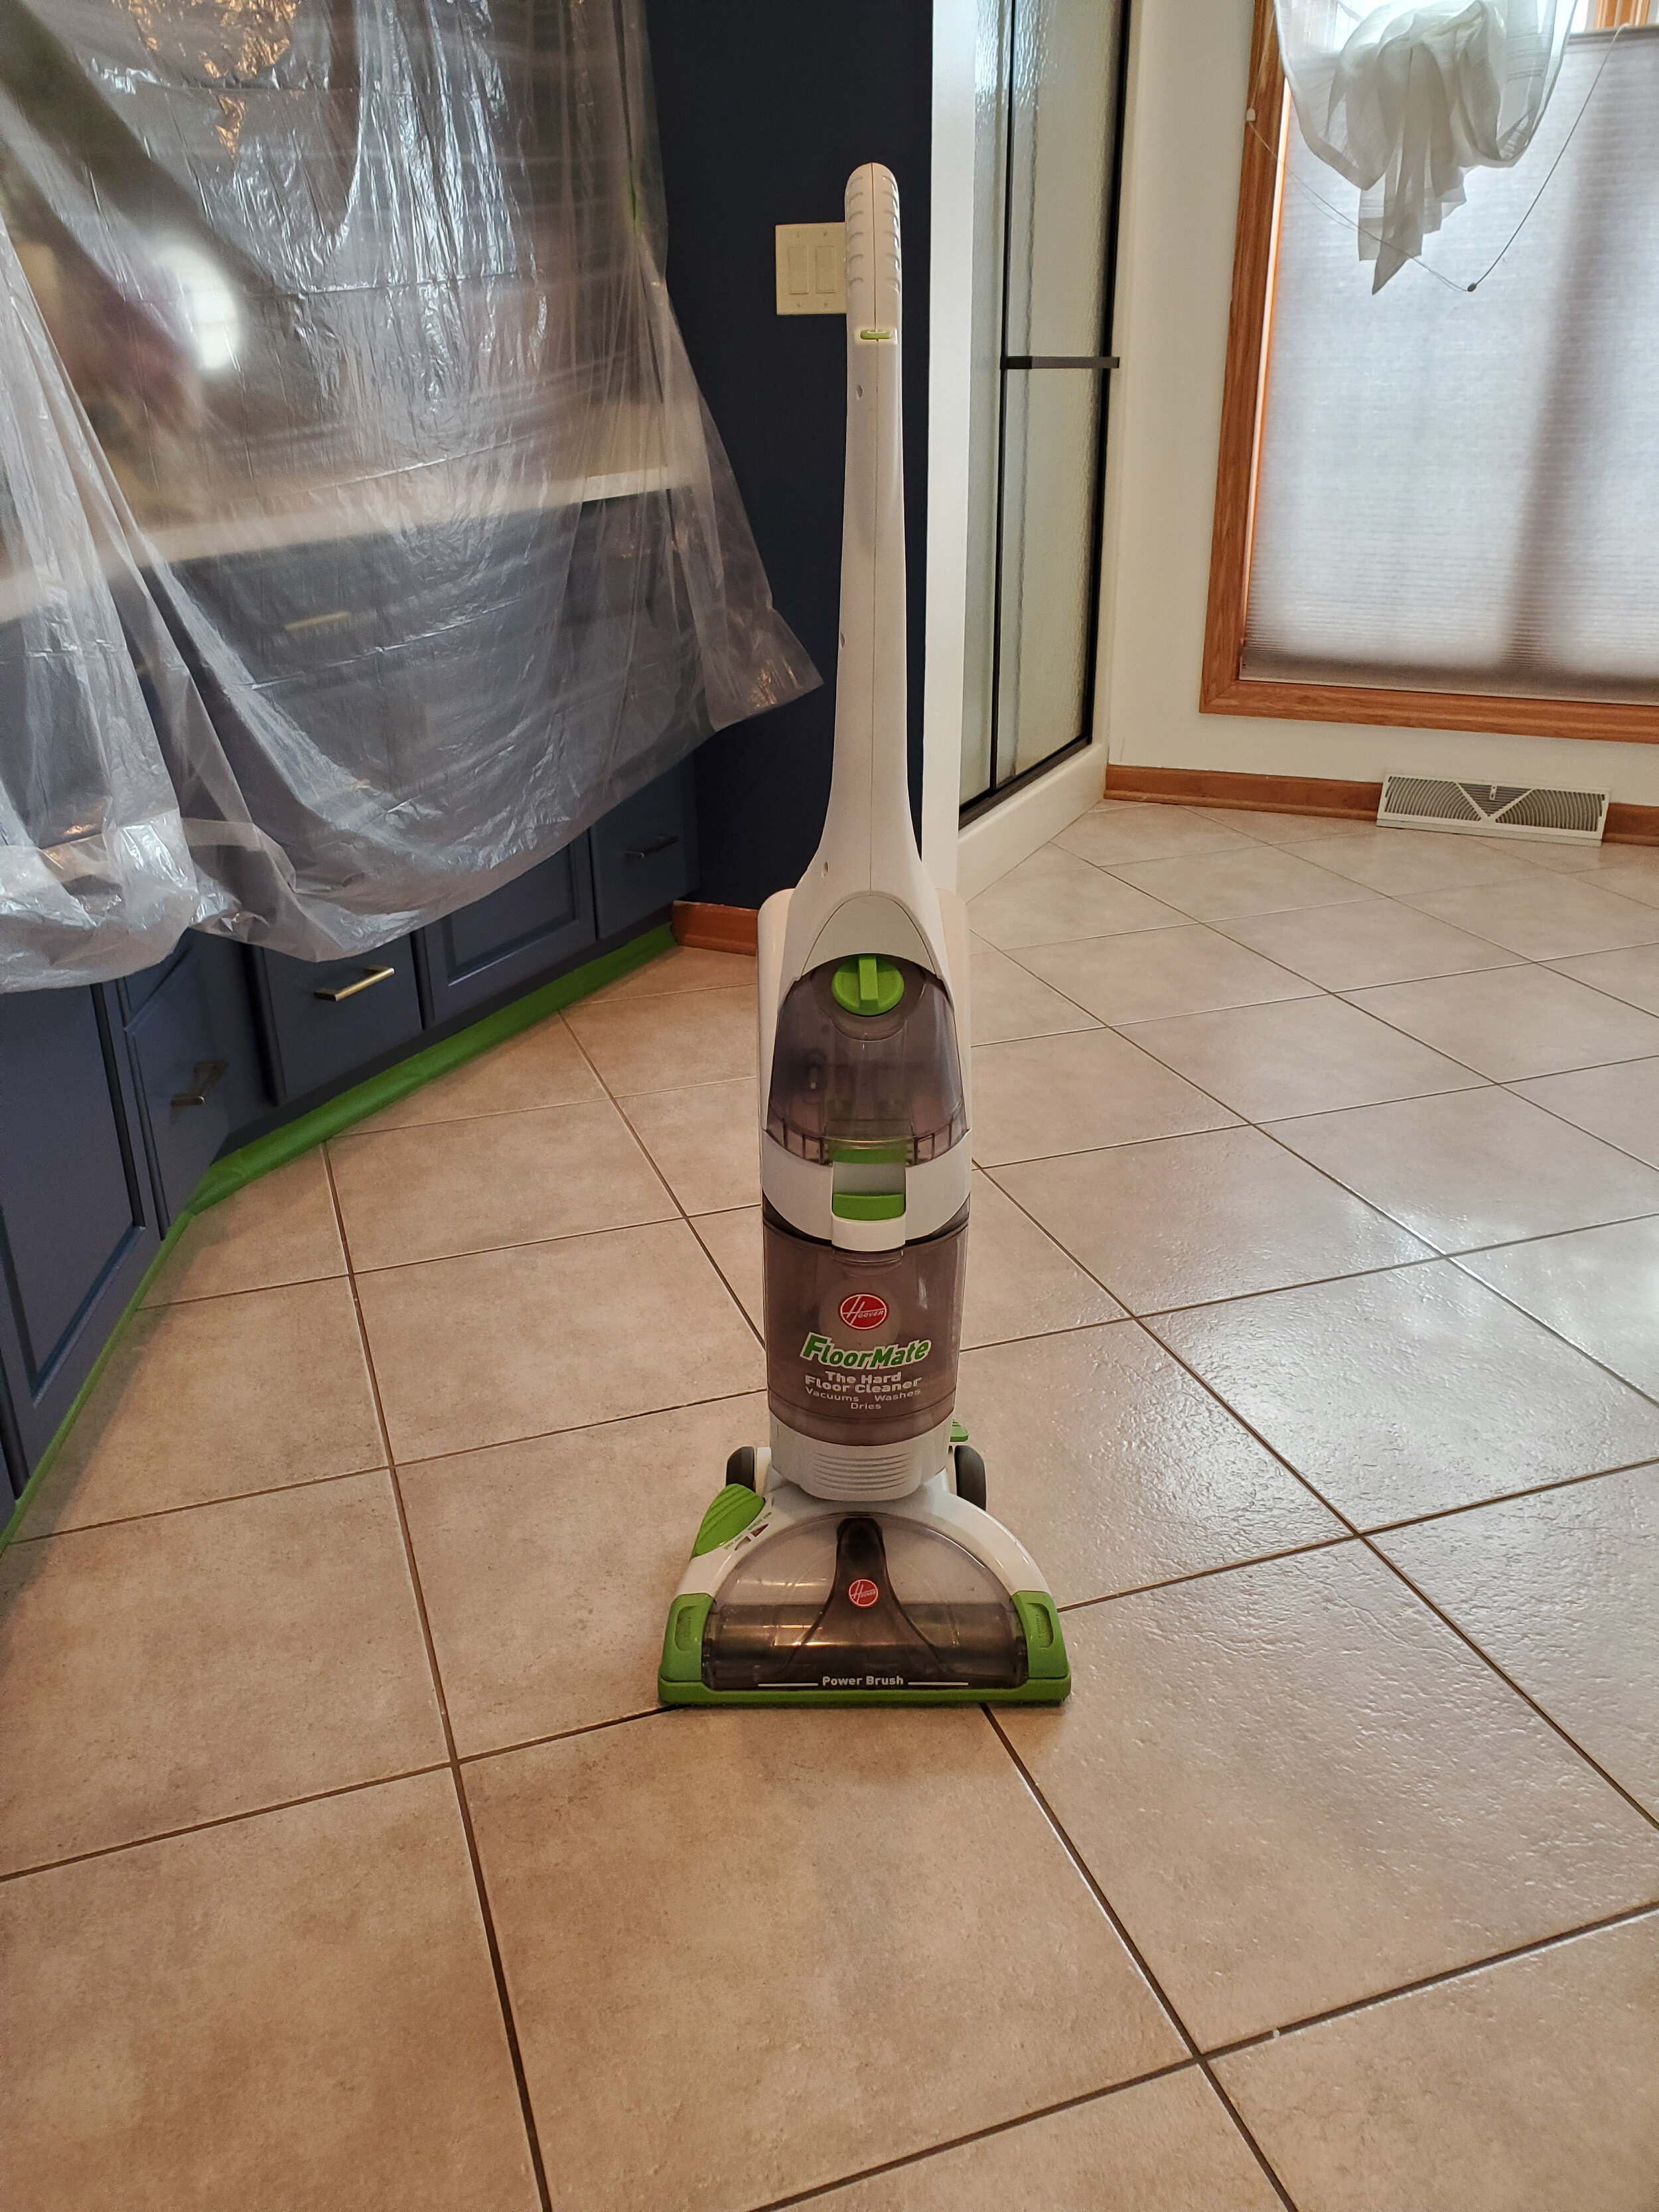
First things first…prep! Cleaning your project space is always number one for me. When your surface is deep down clean…your paint with simply adhere better. This means an immediate better painting surface, but more importantly, a much stronger lasting paint job with less likelihood of peeling, cracking, and bubbling up. First vacuum the floor making sure to get any loose dirt up. Then clean the floor getting up any dirt in cracks, along the baseboards and any heavy caked on dirt (hopefully there isn’t much!). You will be sanding so a deep clean at this point isn’t important.

Step 2:
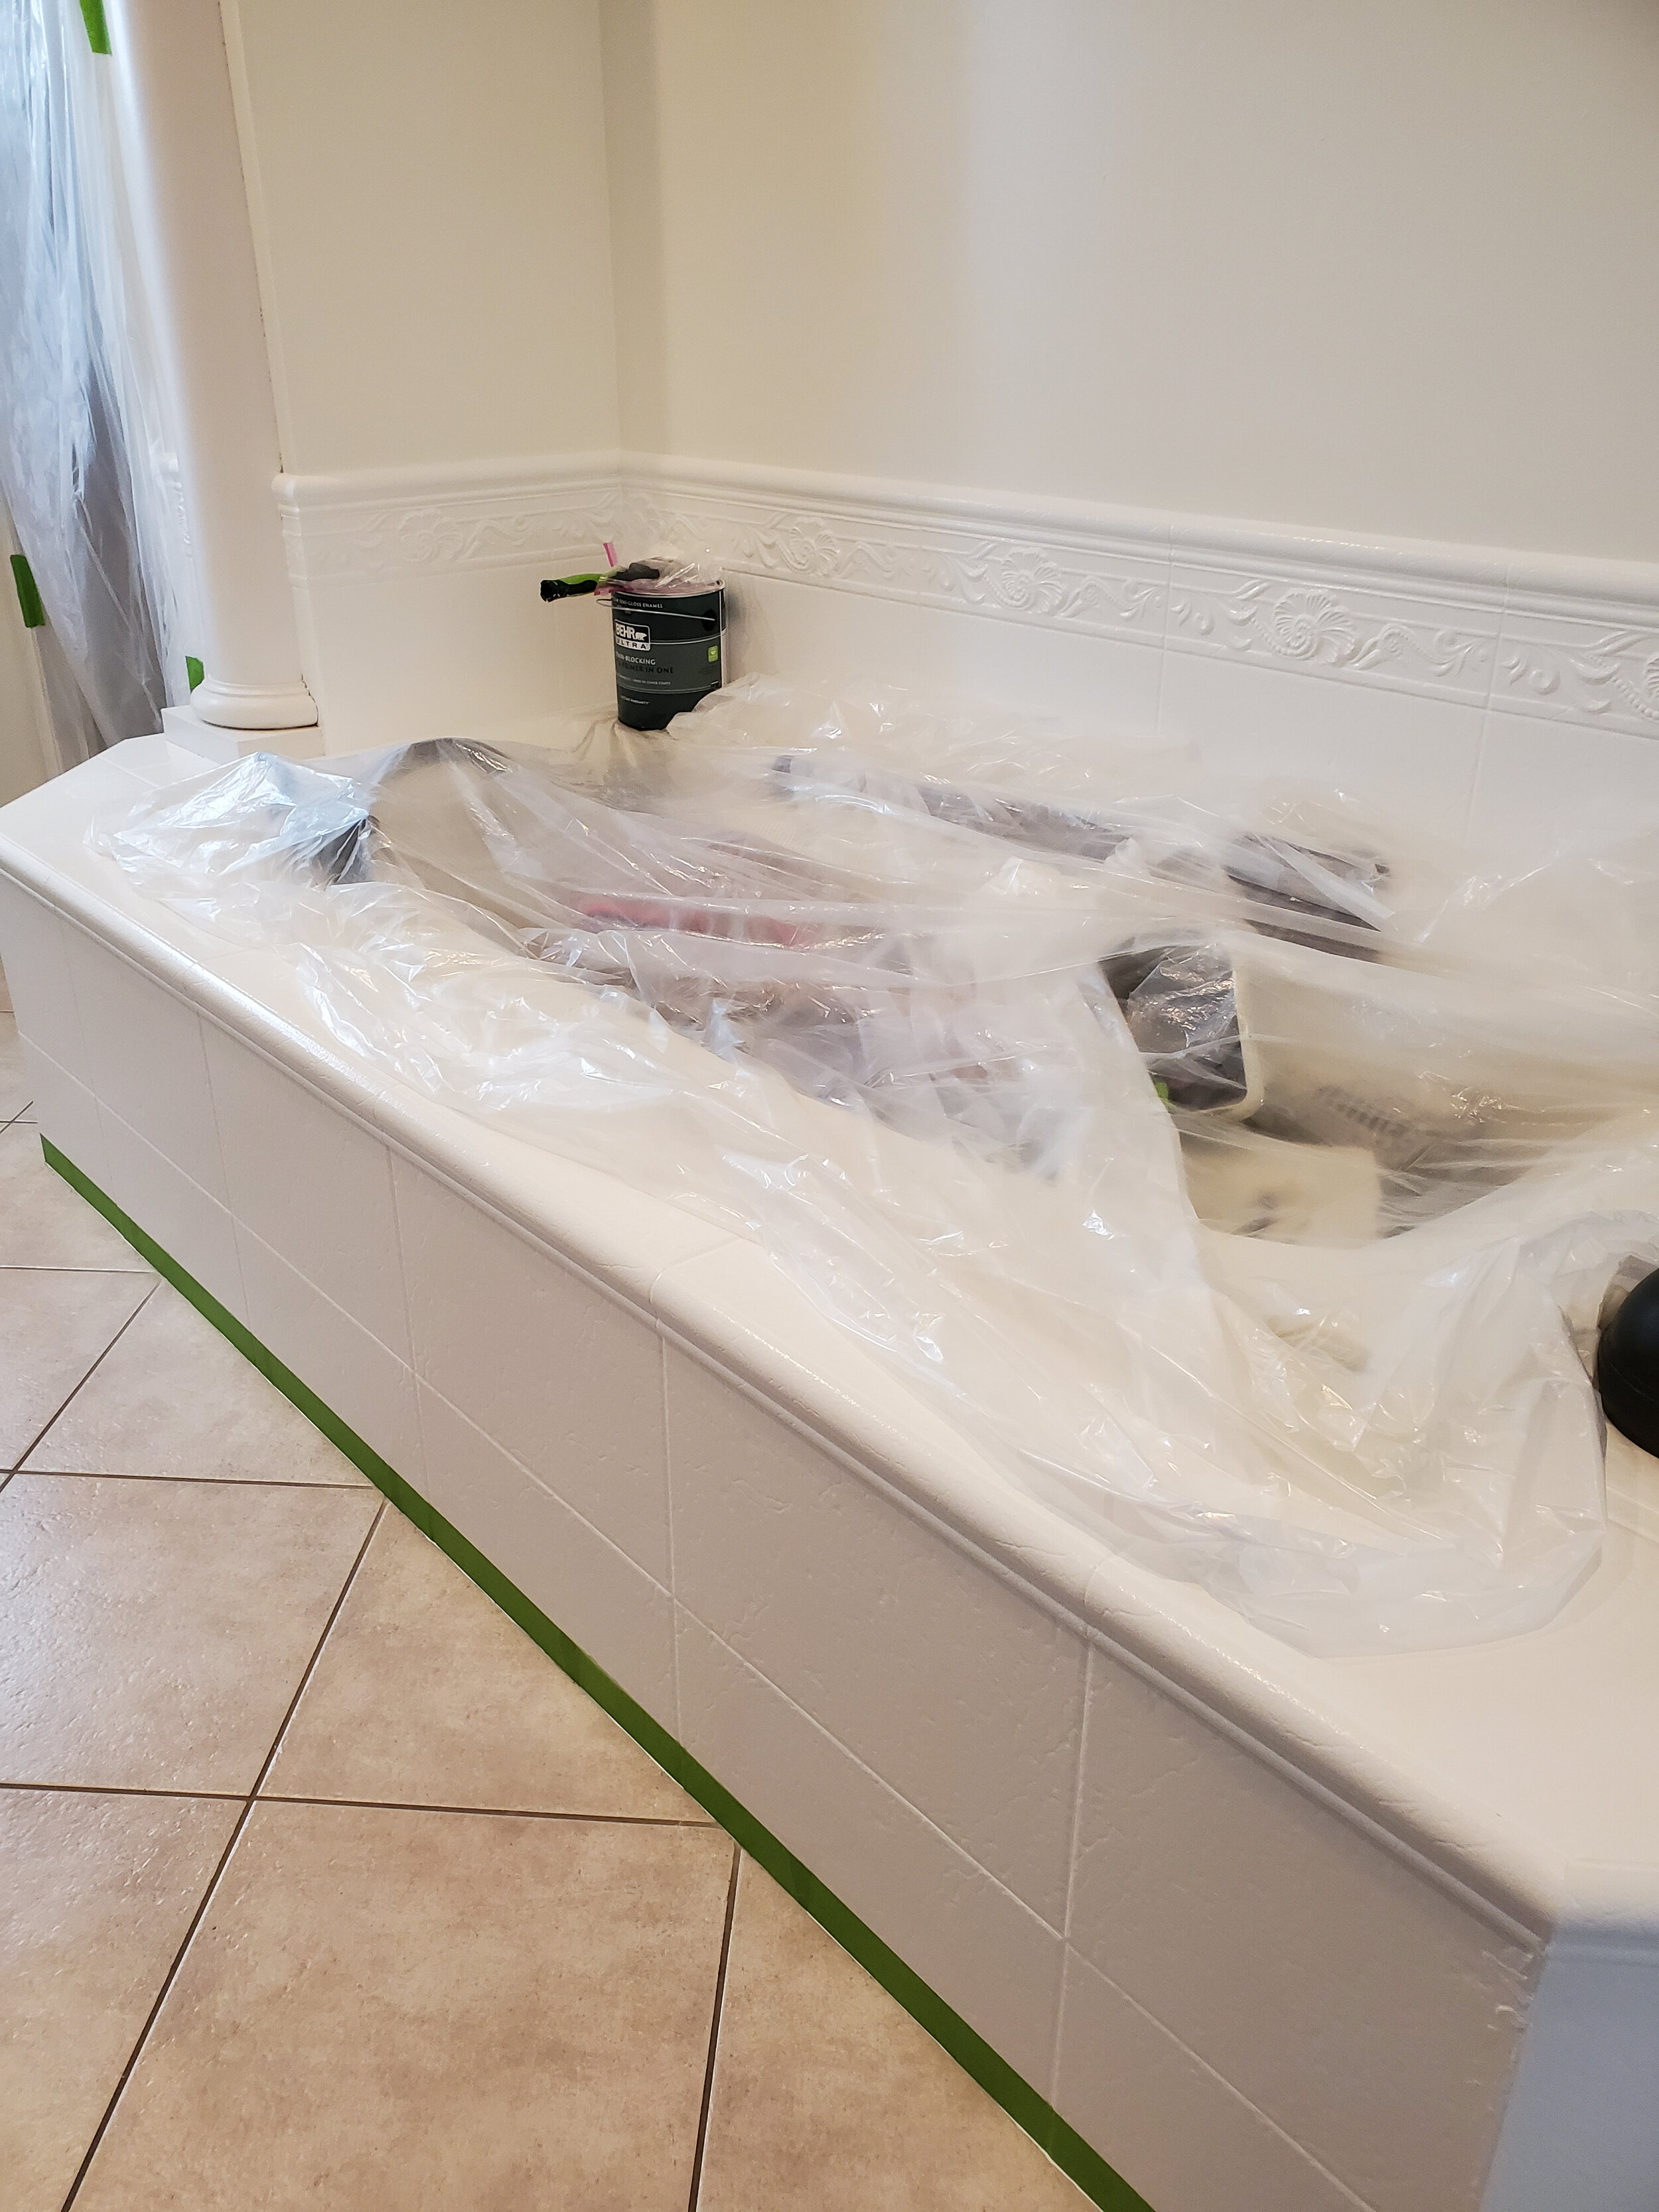
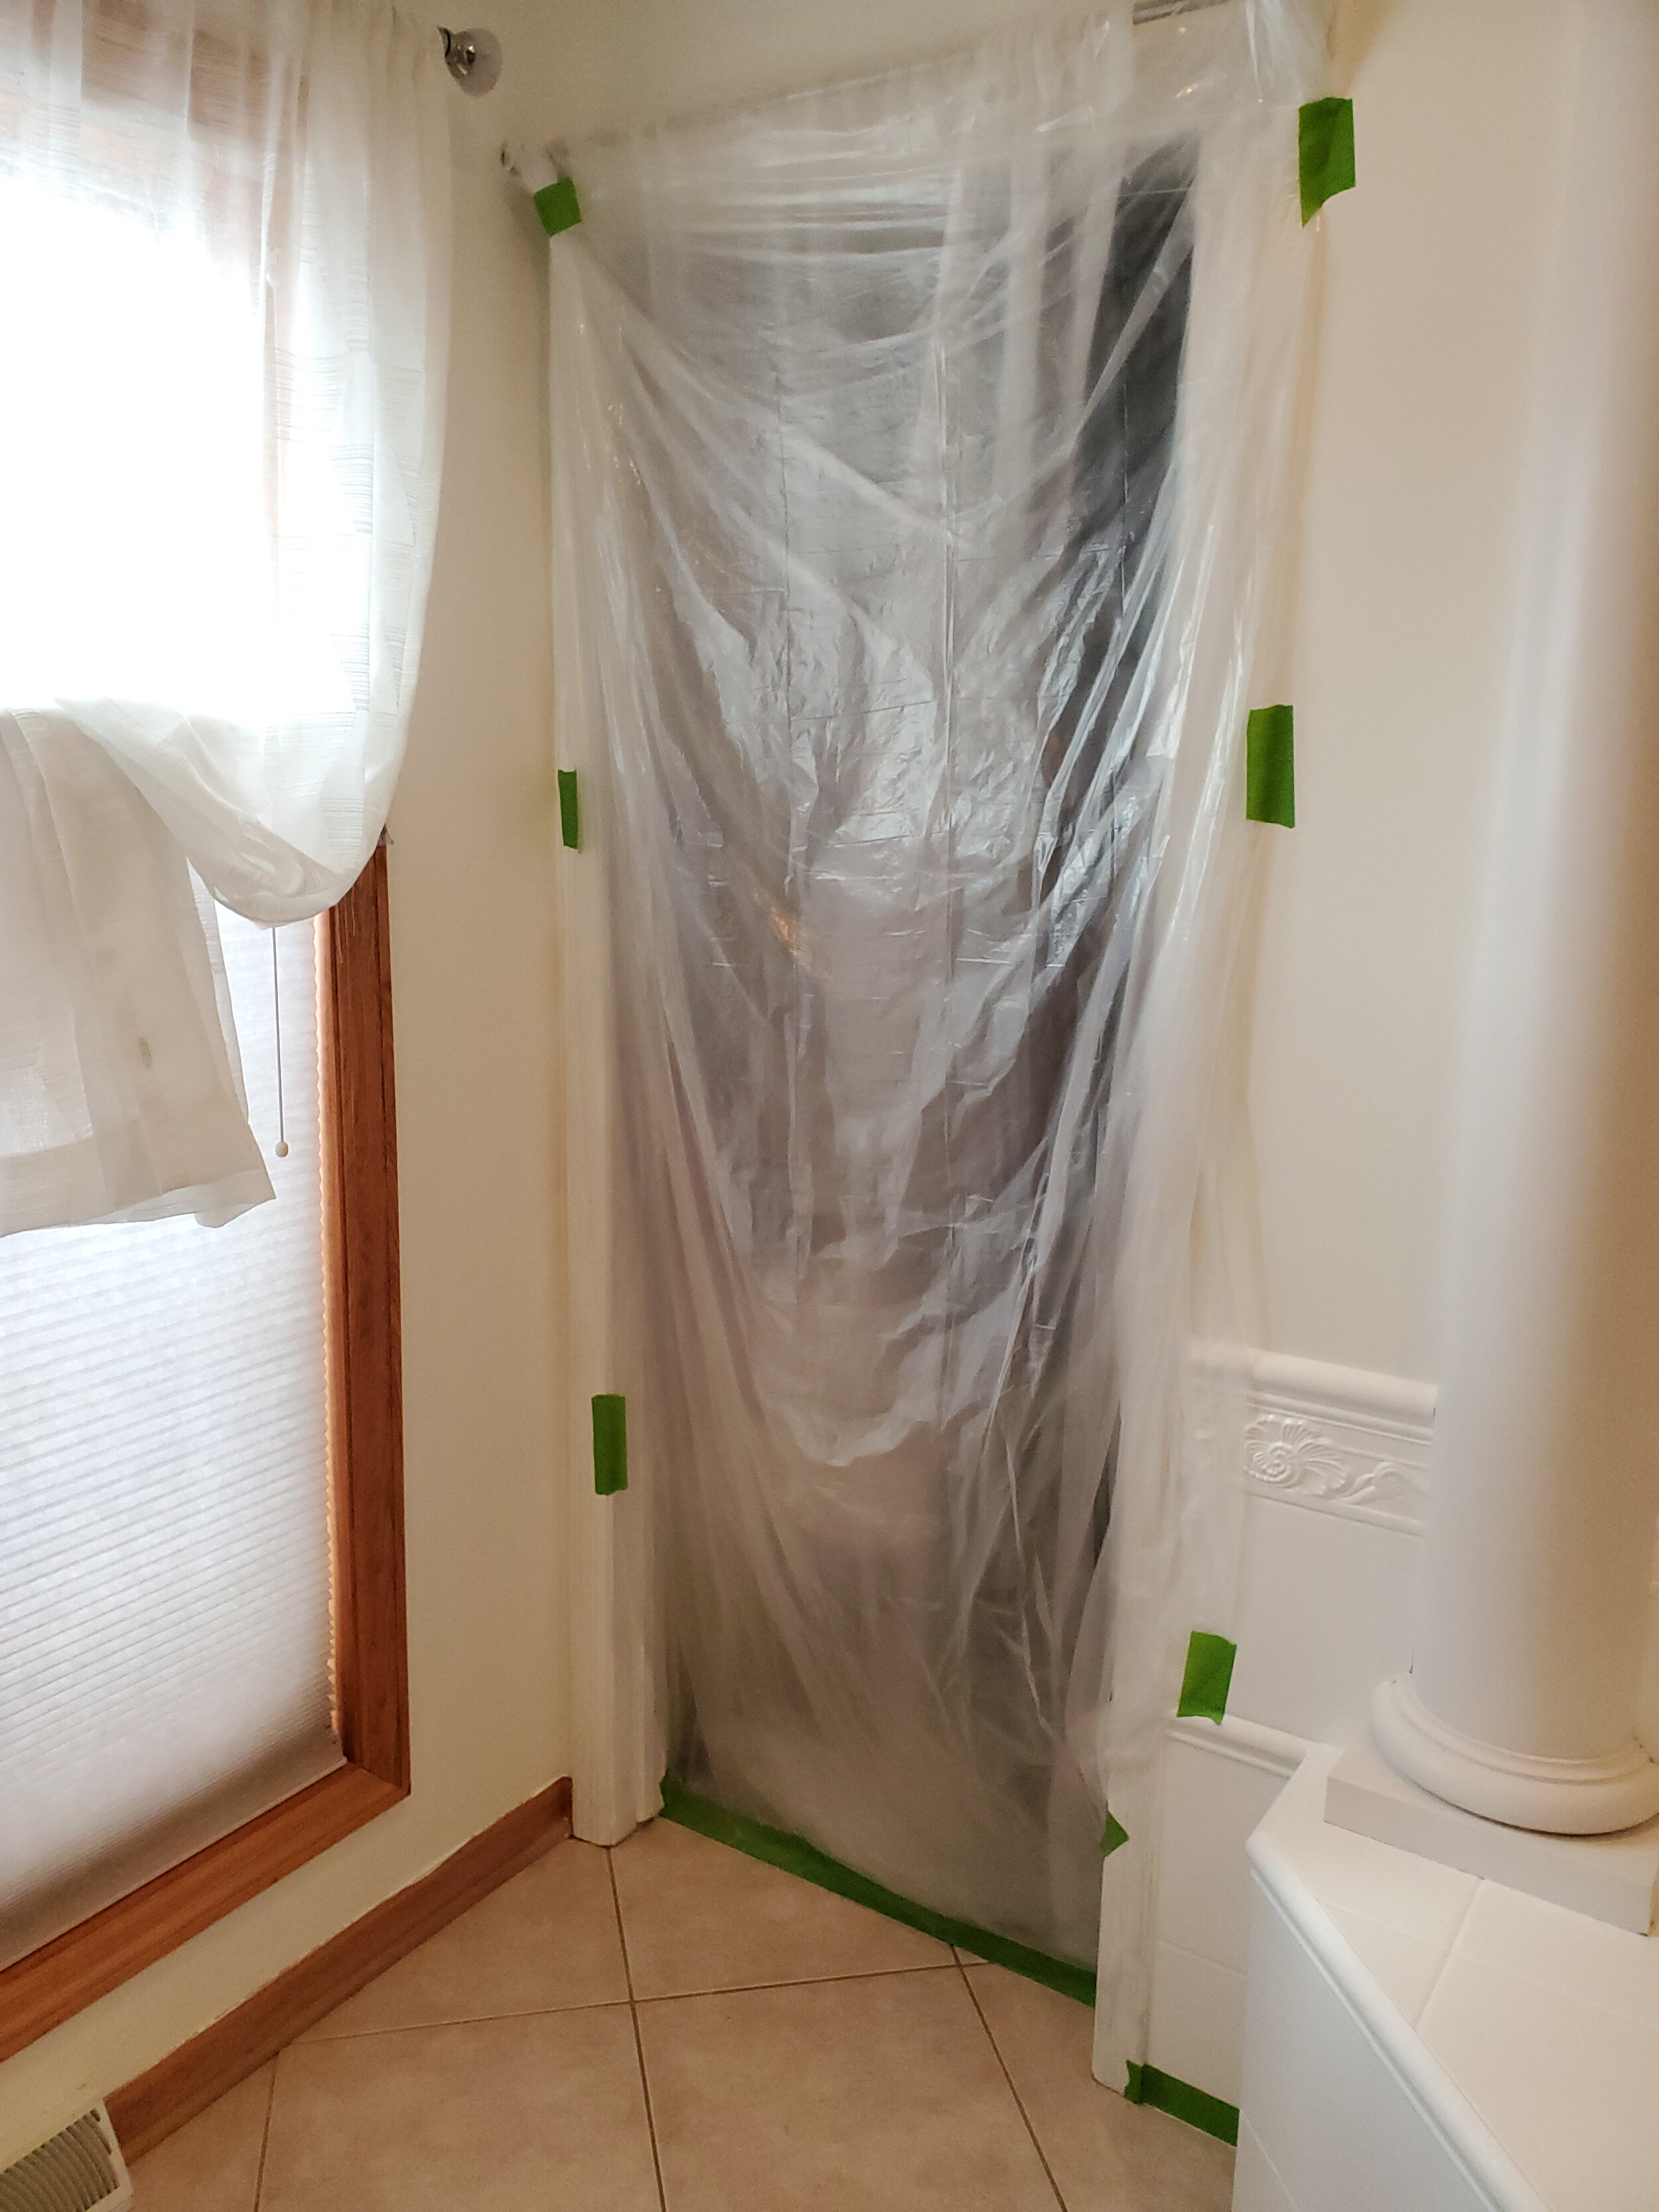
Tape off baseboards and walls so they don’t get paint on them. If you plan to paint your baseboards later, then you have the option to skip taping them off. Along with taping in this step; cover doorways and countertops with plastic tarps to be sure no dust from sanding gets on or in these spaces. We have a closet that attaches onto the bathroom; so I made sure to cover that entryway. The main access door to the bathroom doesn’t need to be covered, but you can if you have a dust concern.
Step 3:
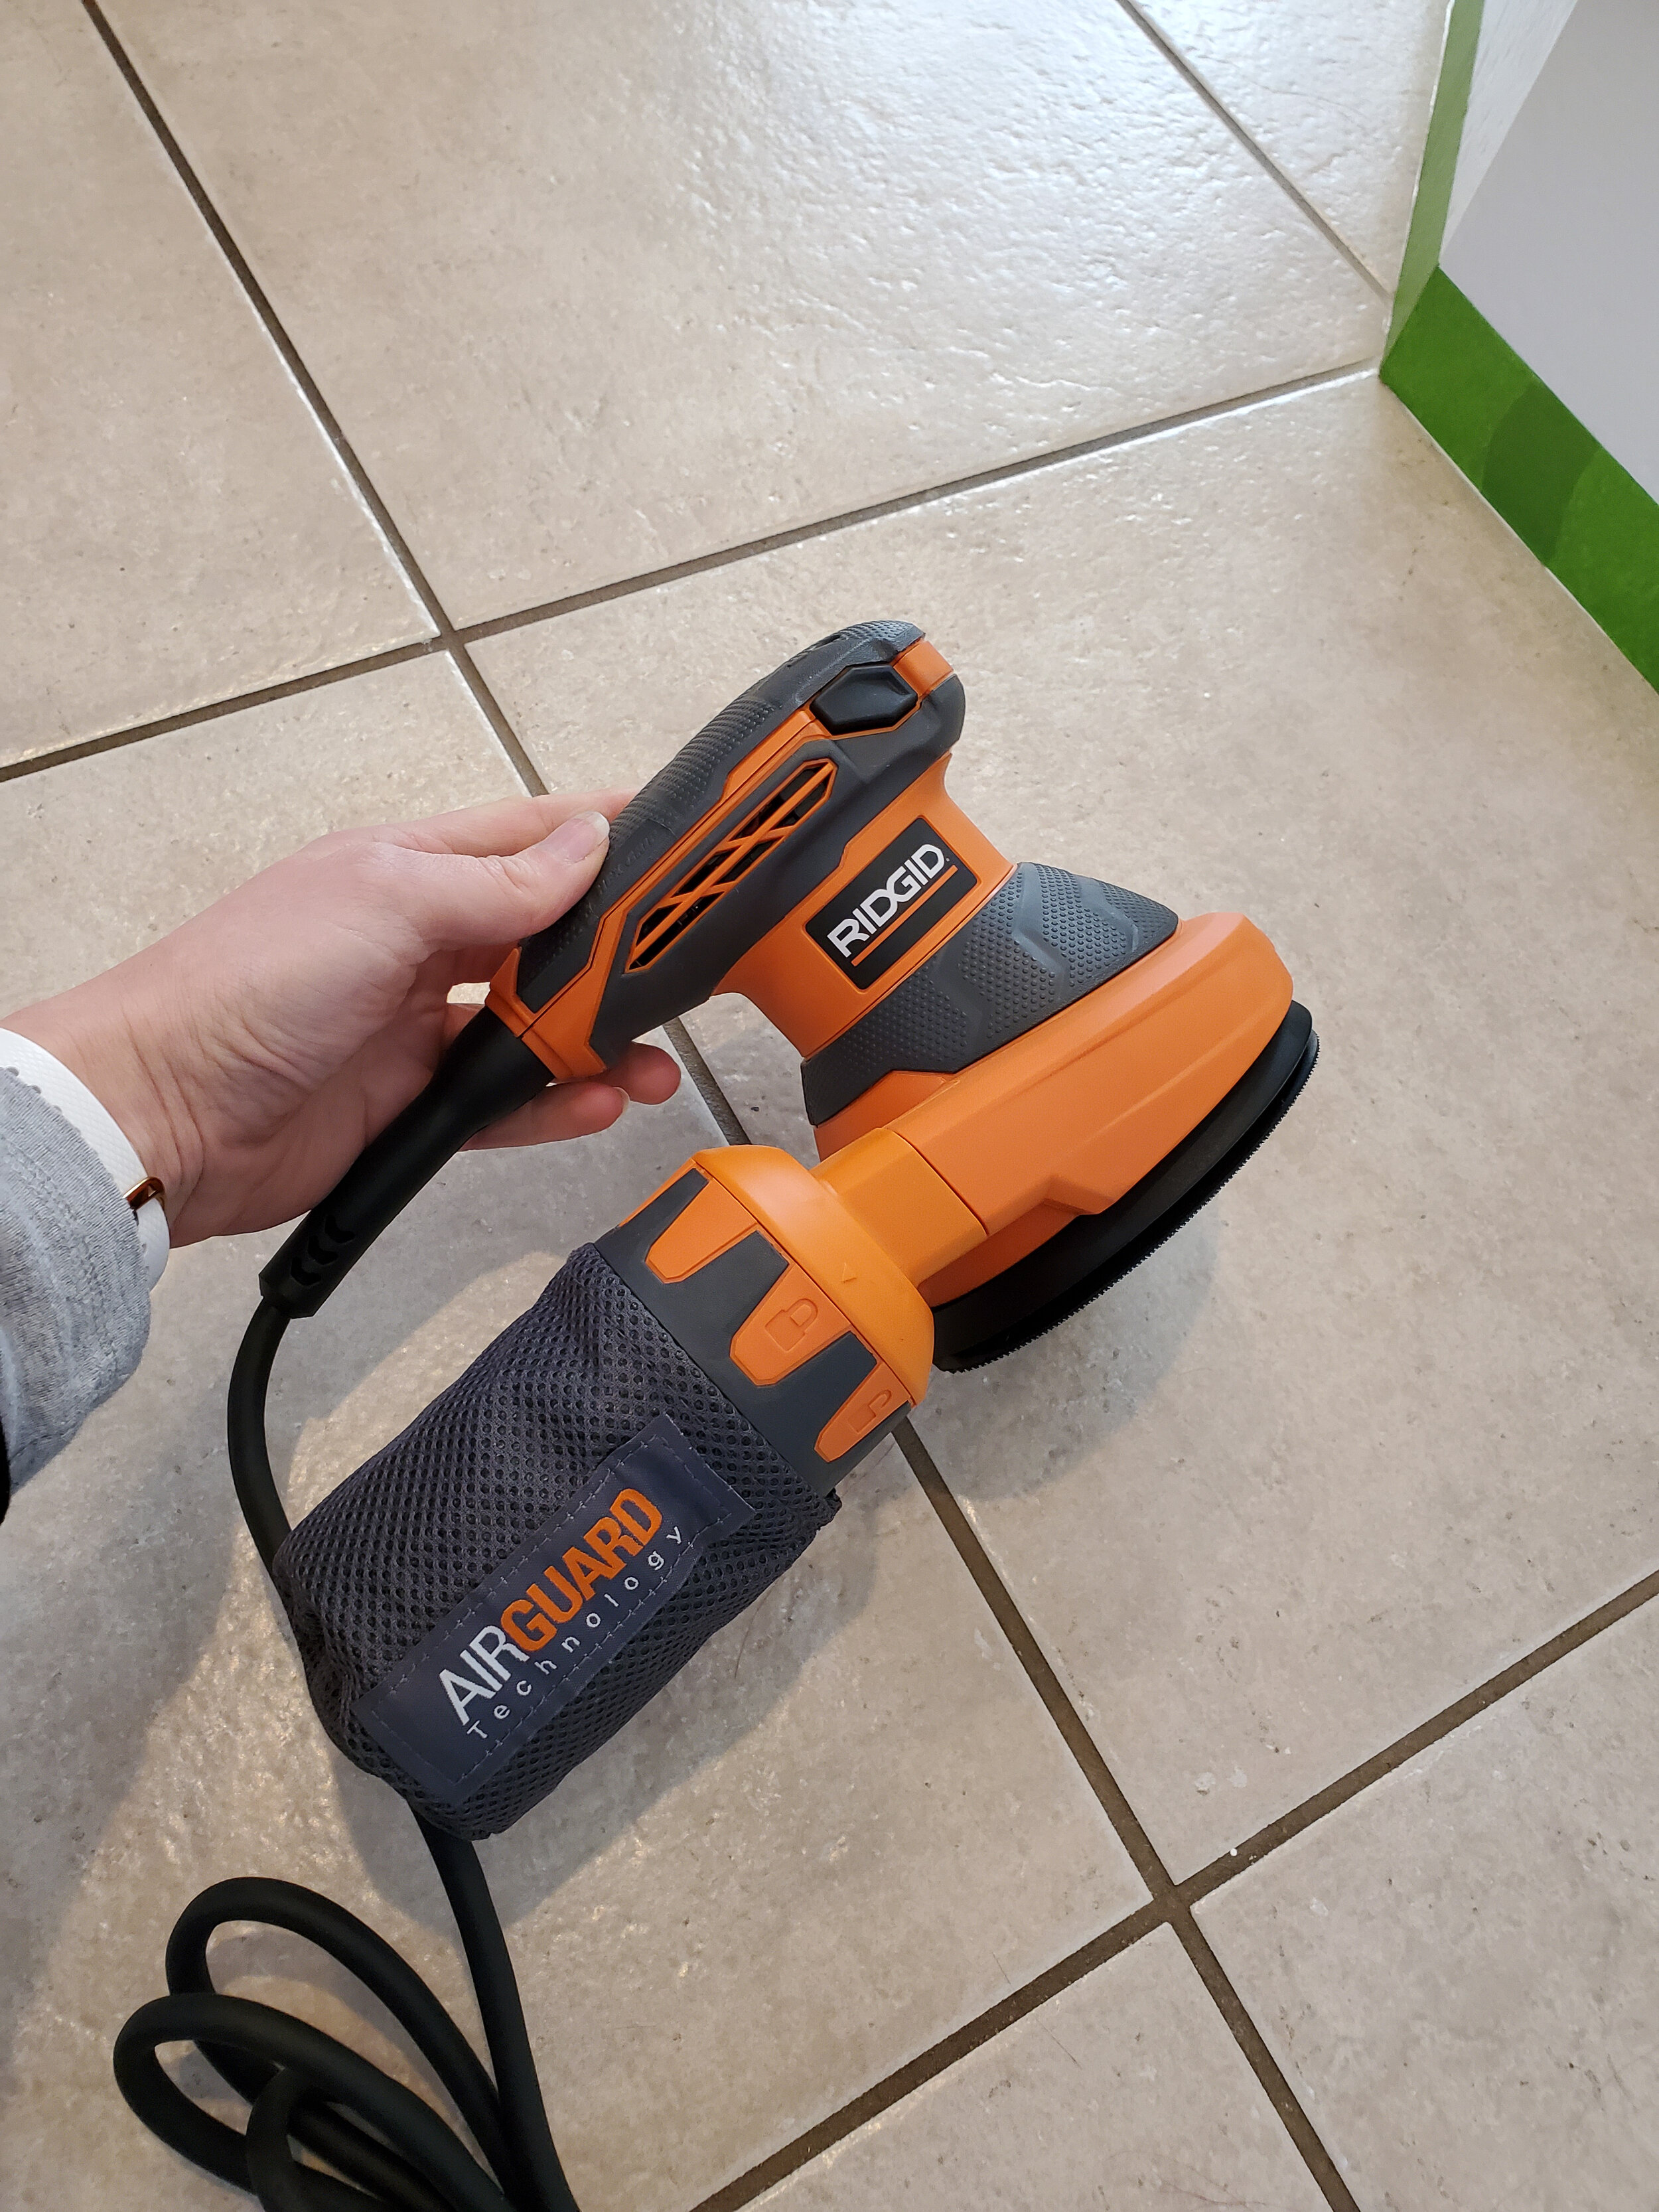
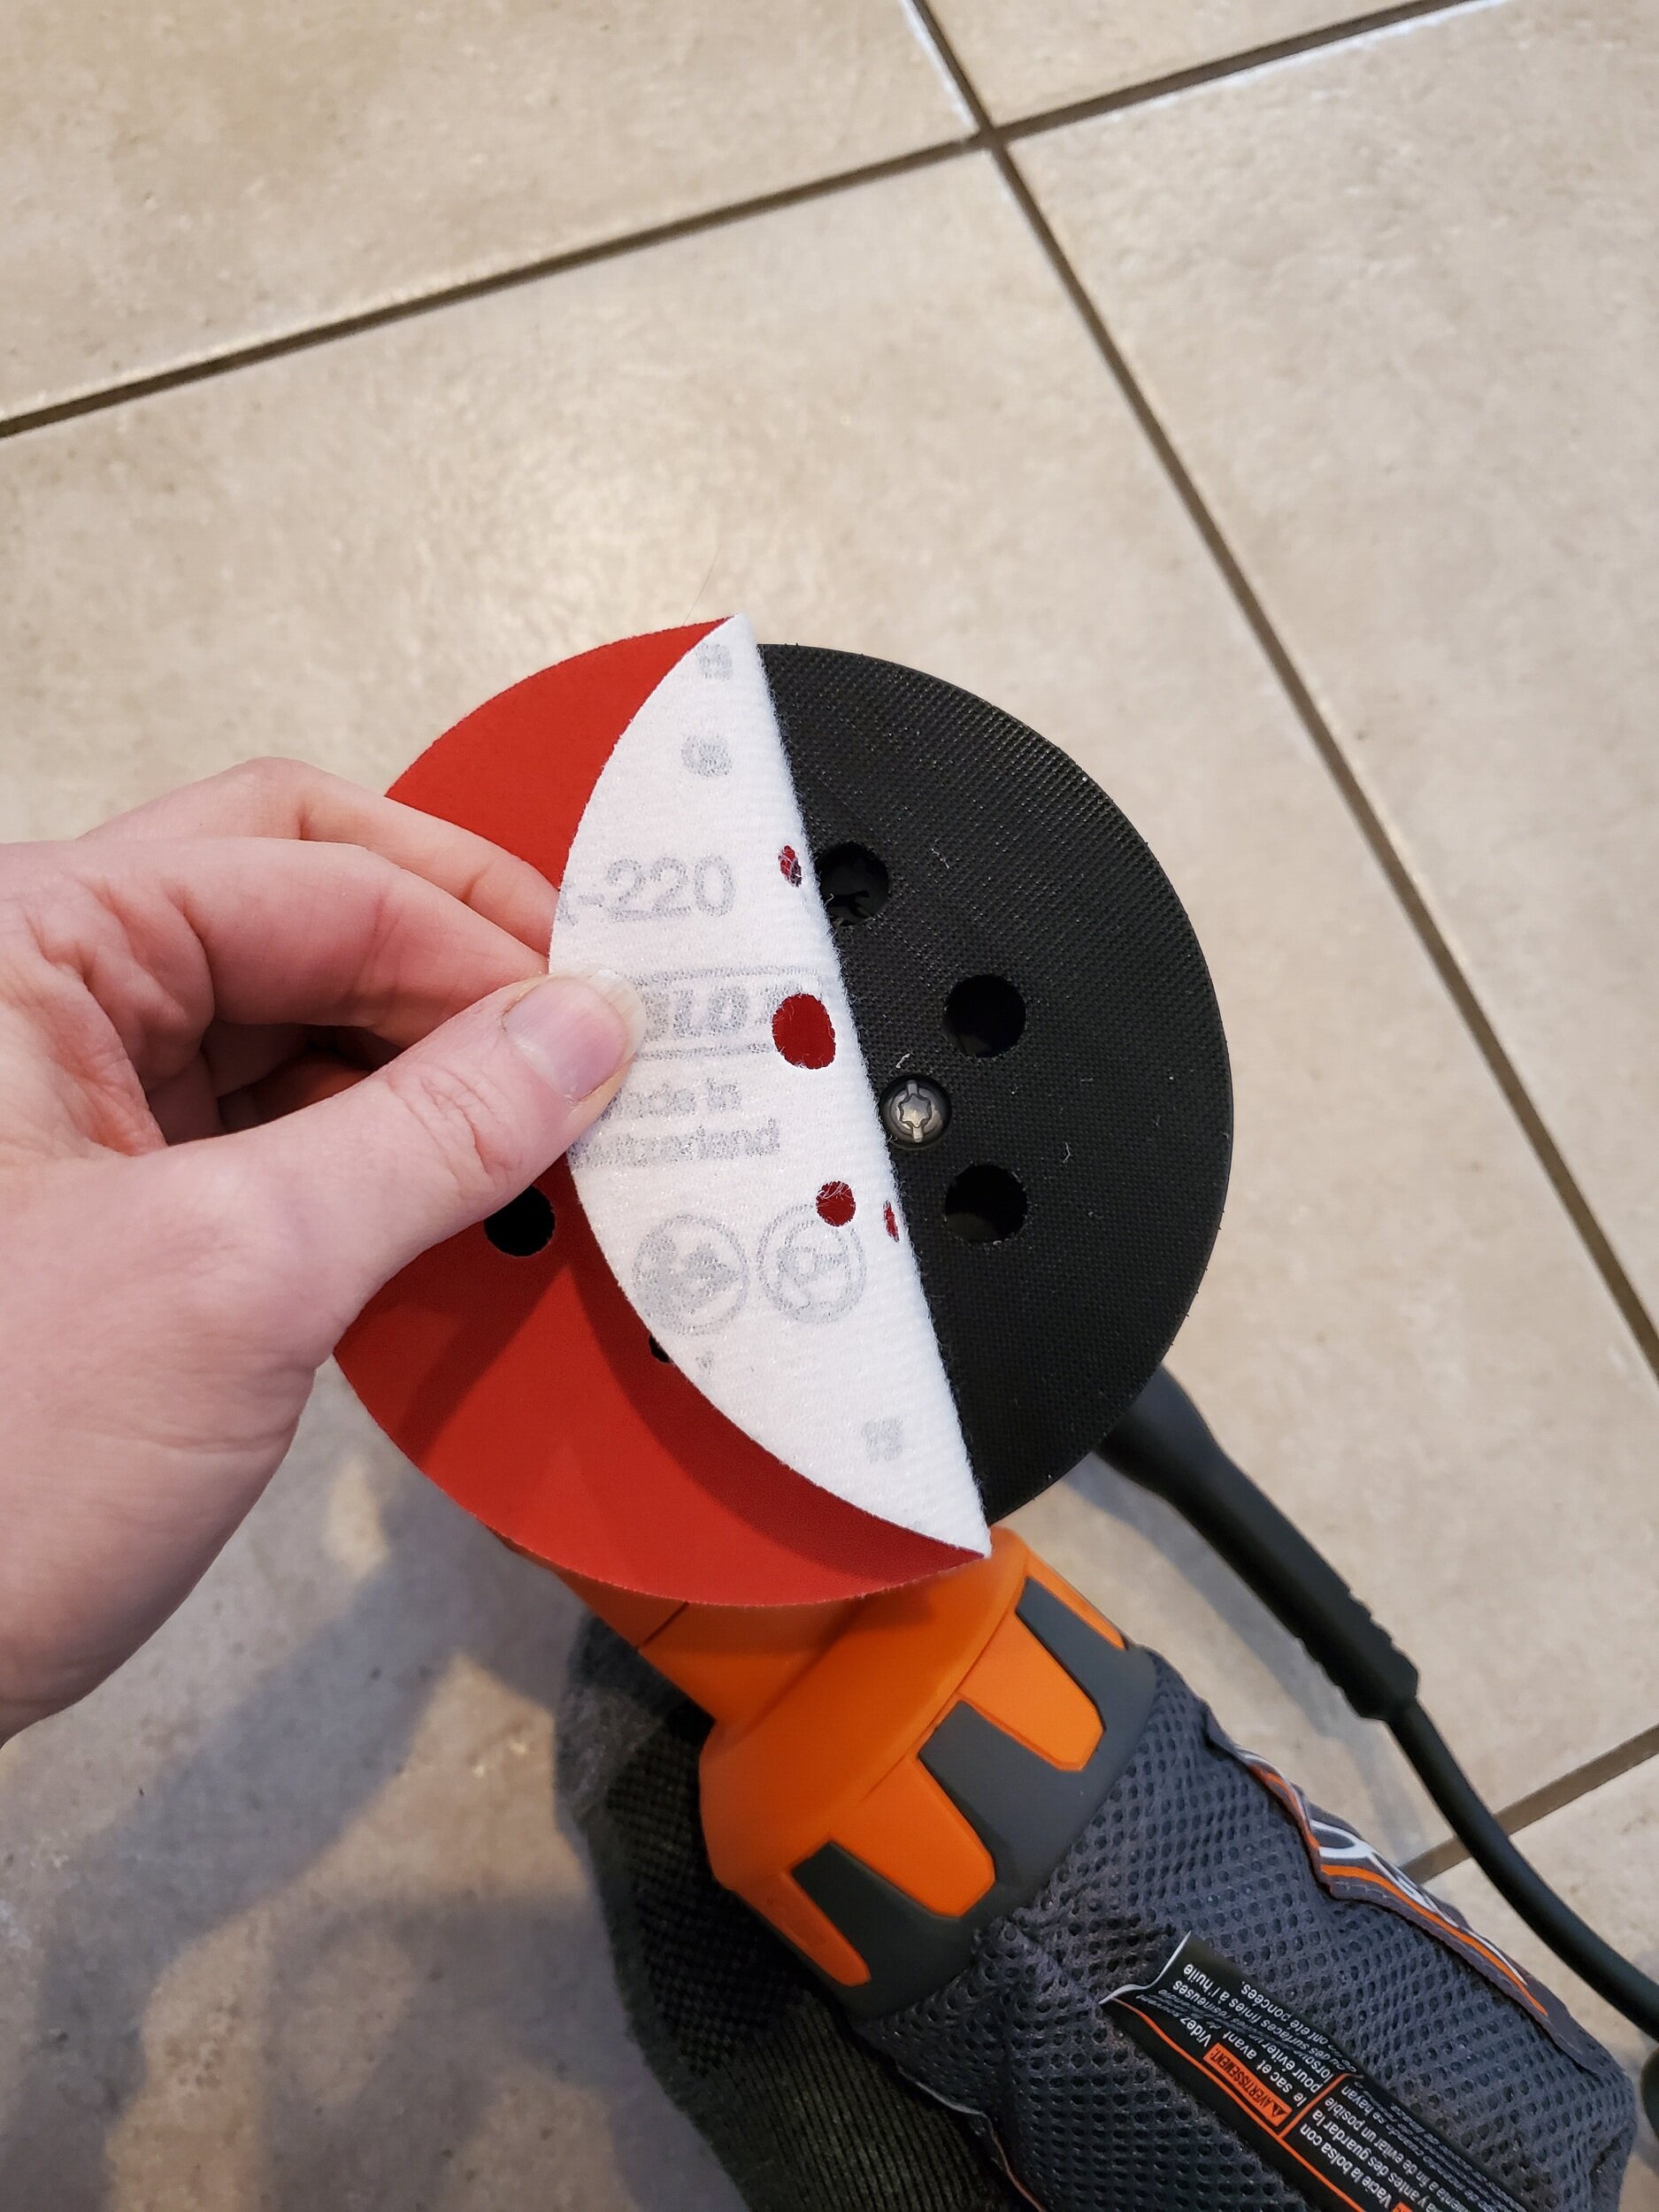
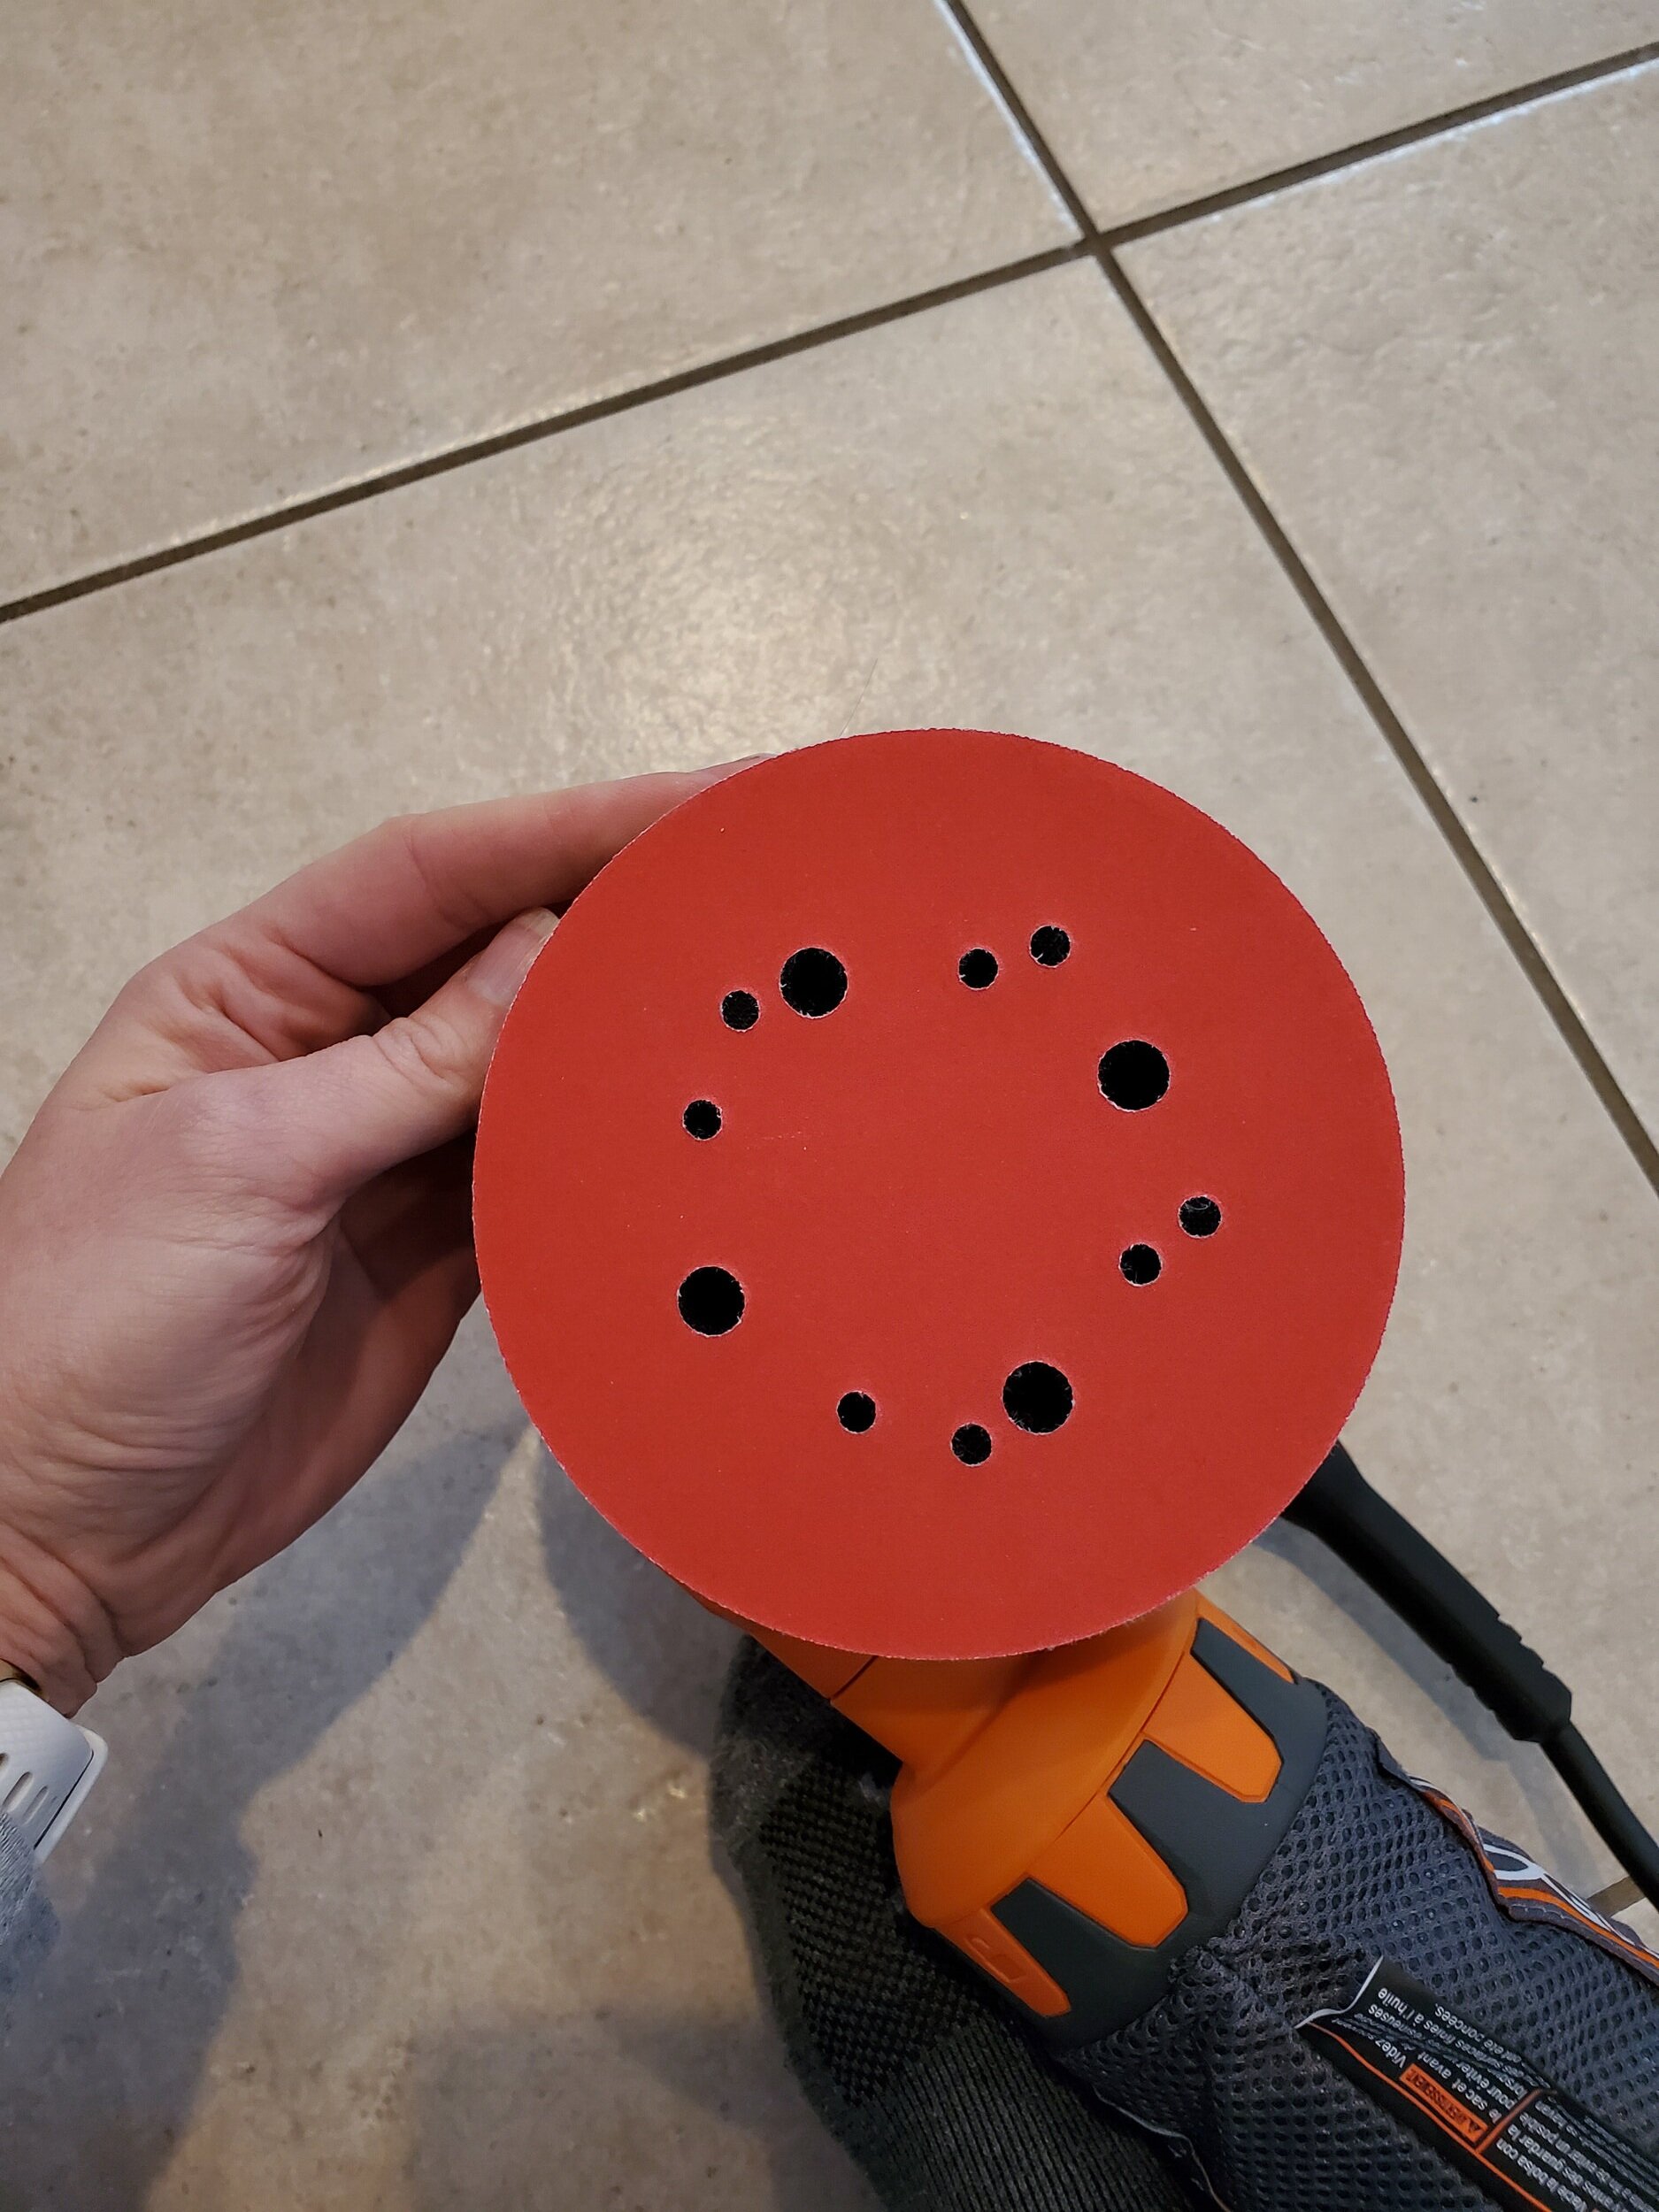
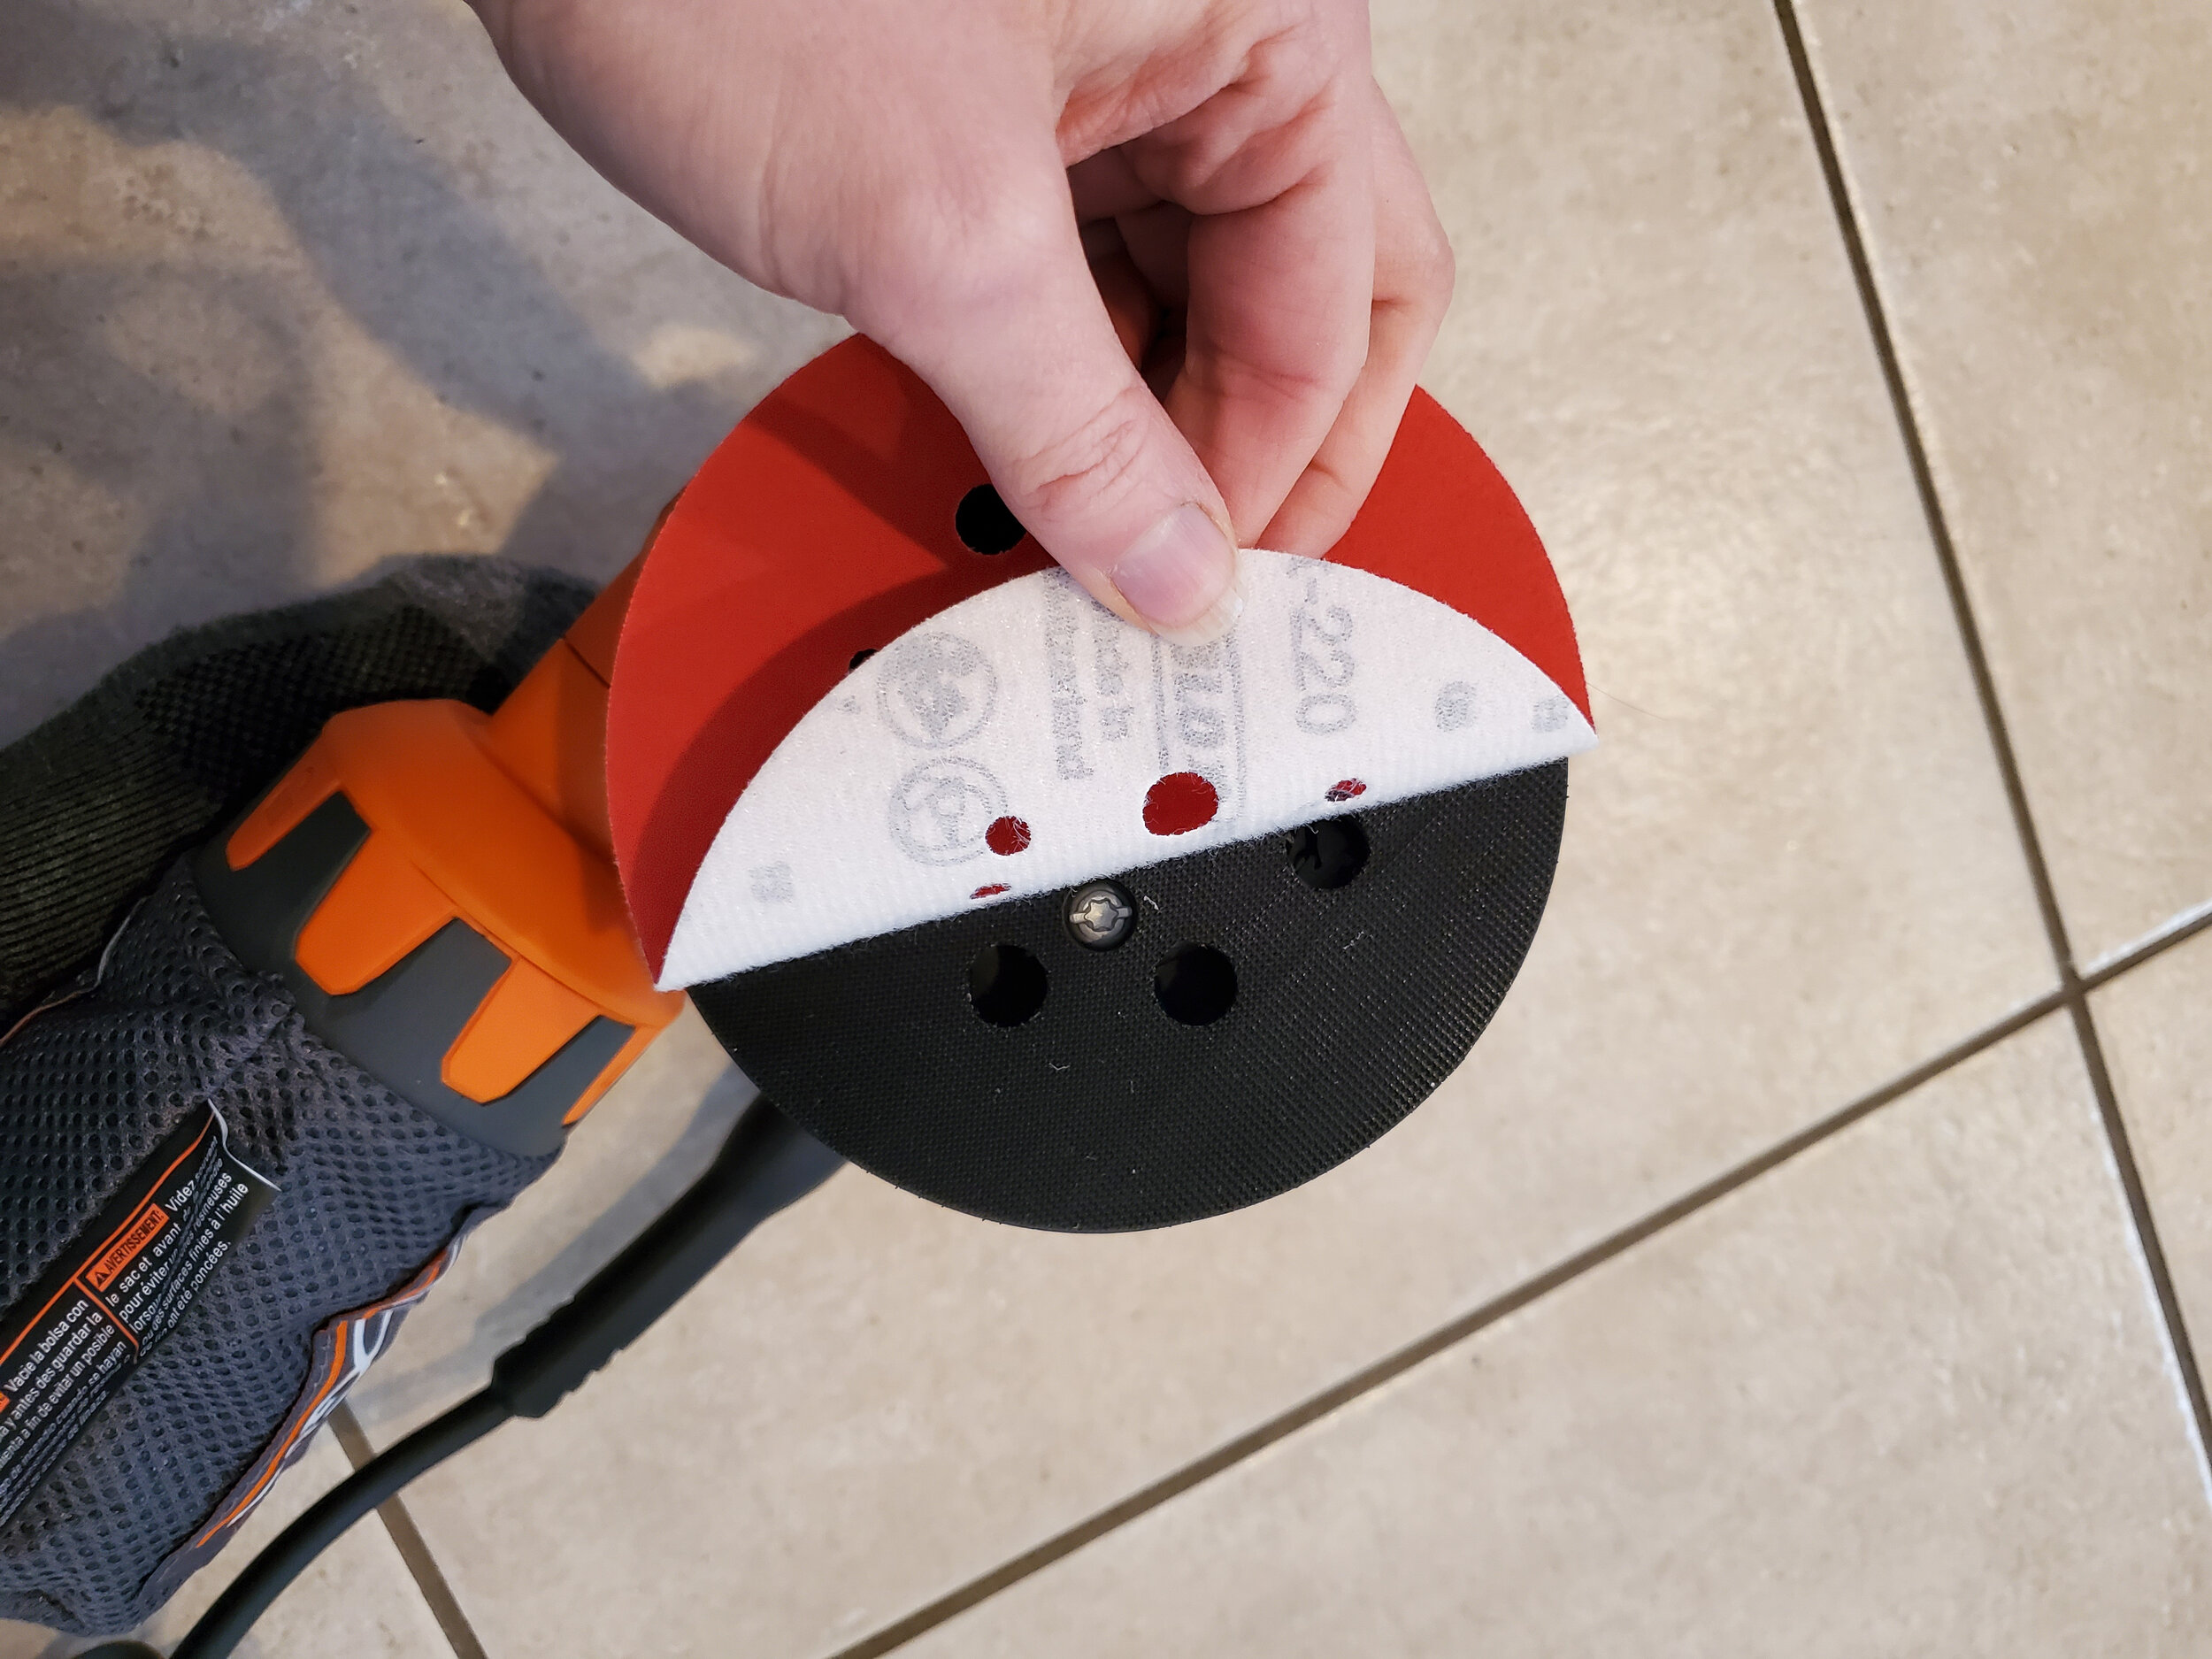
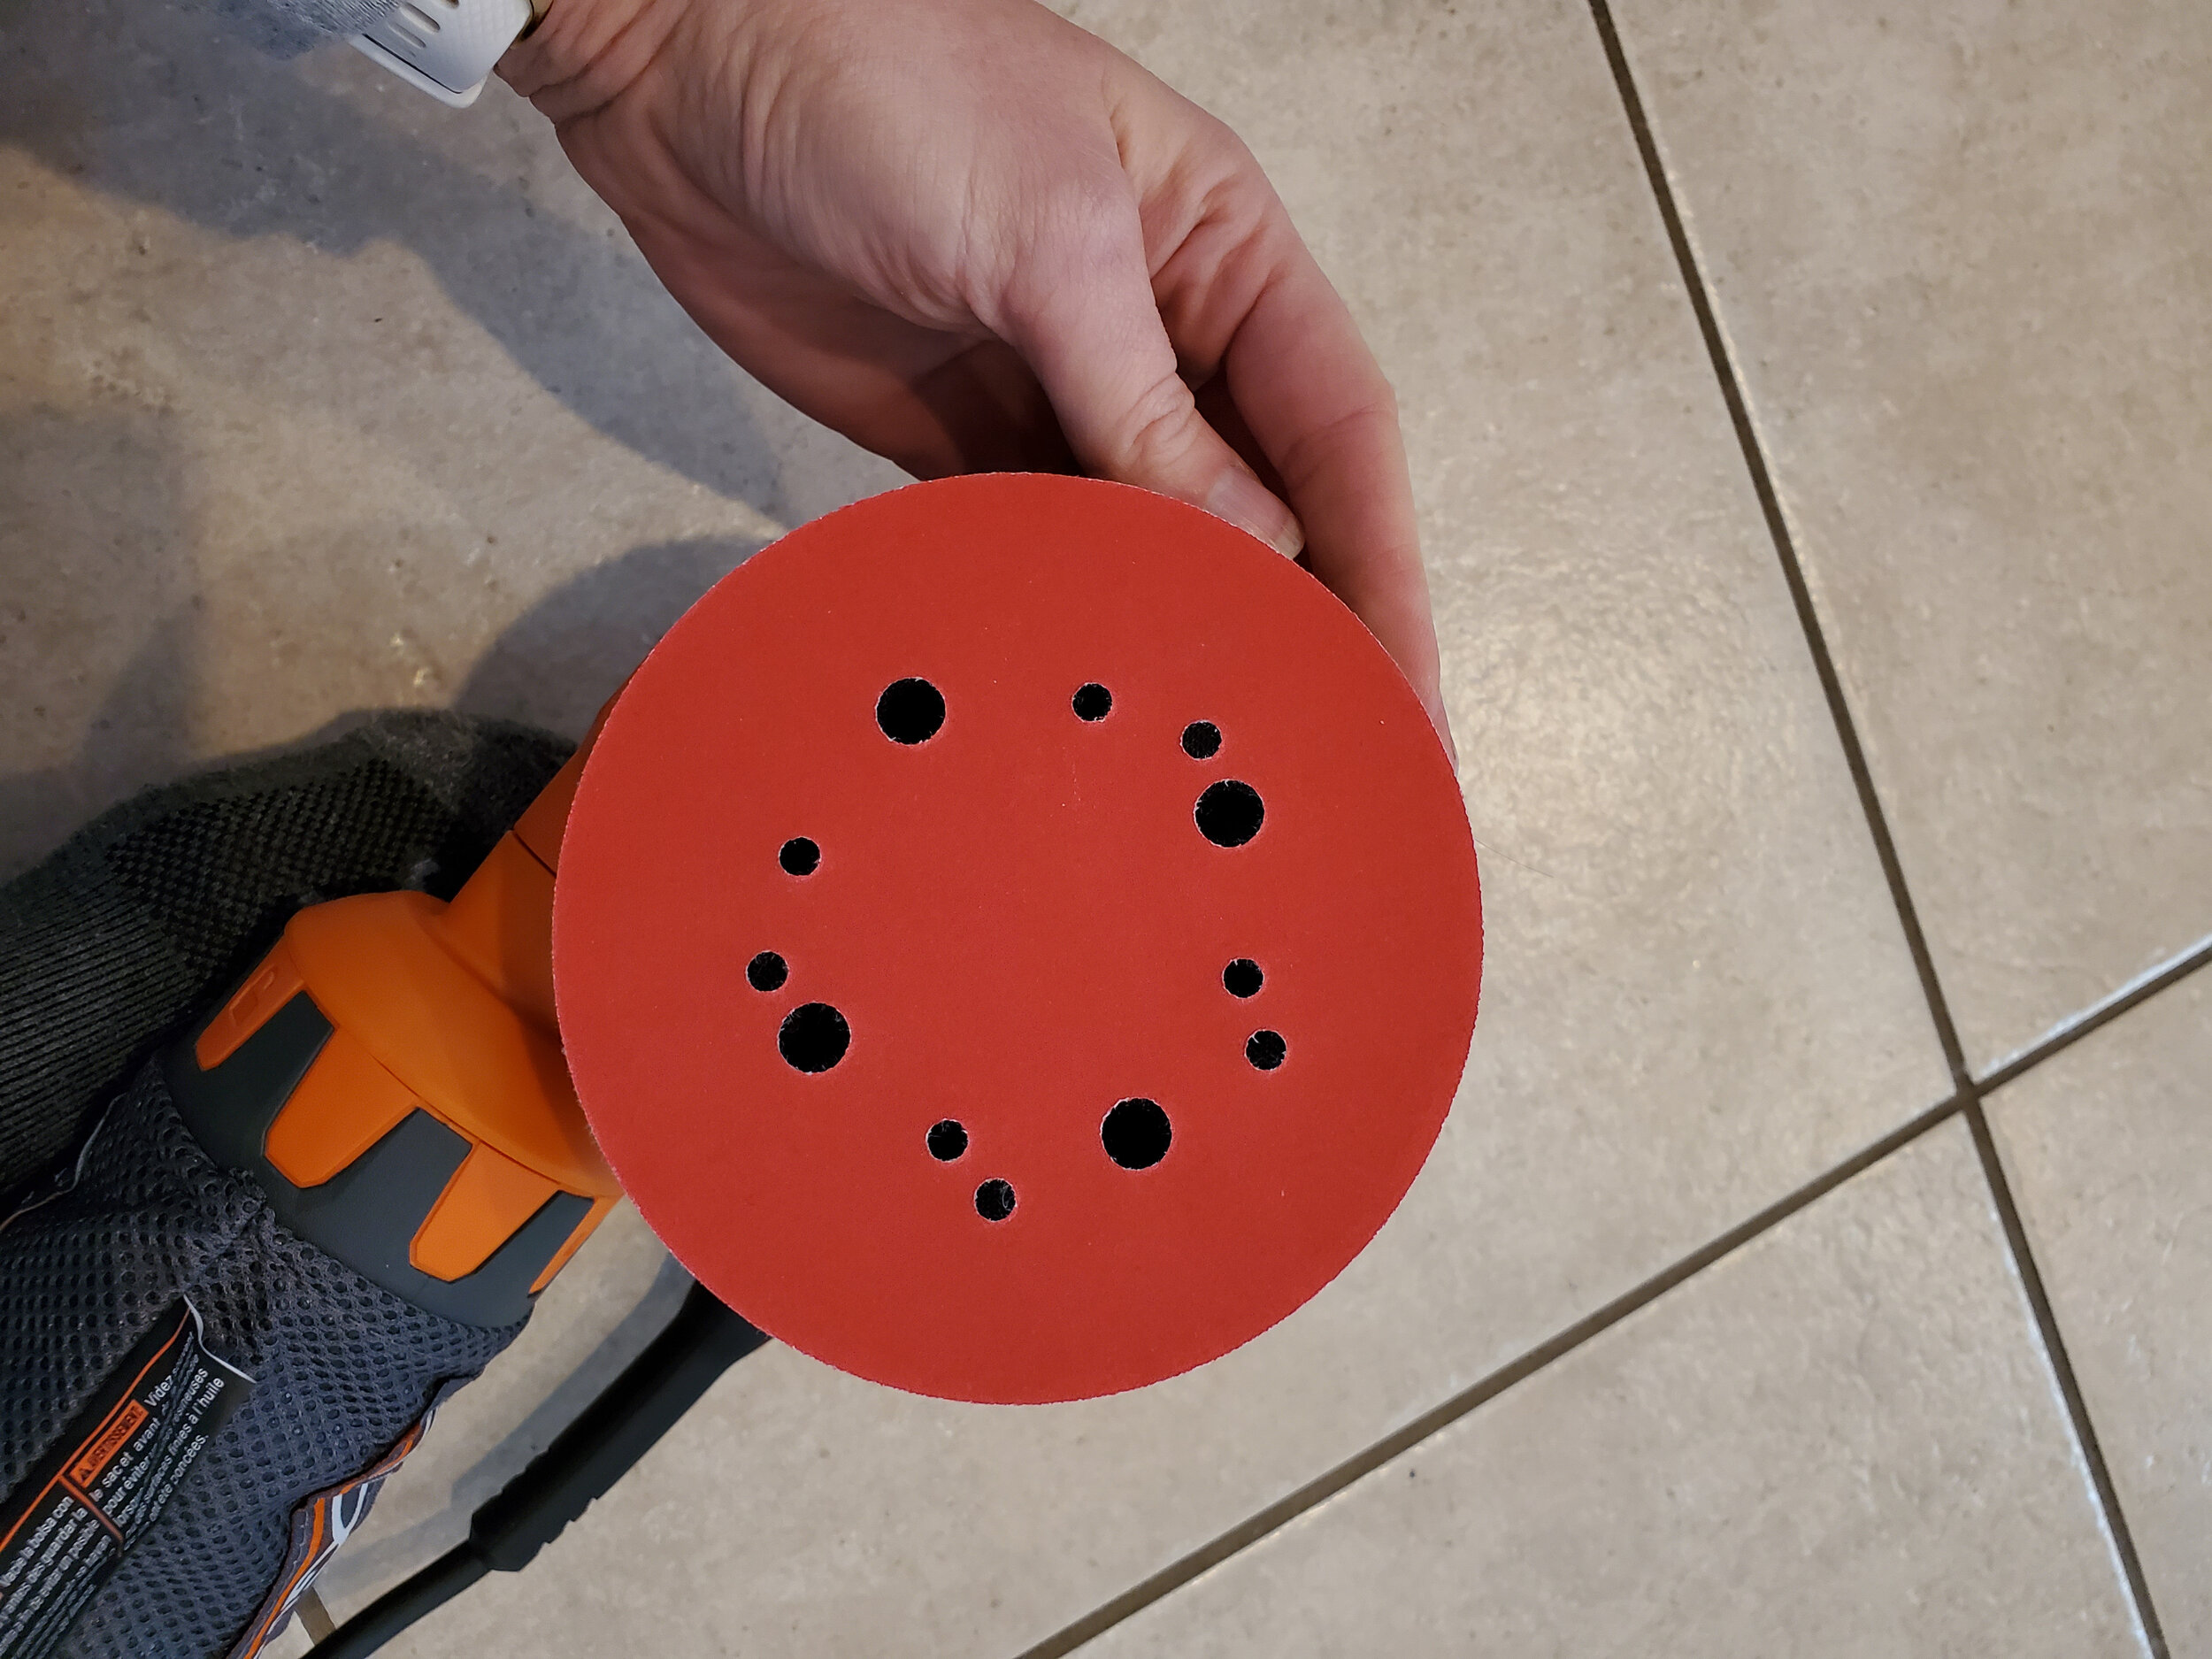
Let’s get that sander ready. You will want to use an oribital sander for this job. if you don’t already own own and you are planning to buy one….don’t buy the expensive models. they will be a total waste of you money. $50-$60 sanders work just as good and will suit most home remodeling/DIY projects. you will want 120 grit sand paper if your floors are in decent to good condition. if your tile is looking rough and you have some major sanding to do…then you will need a rougher grit to start and the 120 grit to finish. Now if you have have super smooth tile to begin…you can start with 120 and finish with 220 (if the tile surface is too rough with the 120). Before plugging in the sander, put on your sandpaper. Also not that you will want to check it often as you sand and put a new piece on as necessary.

Step 4:
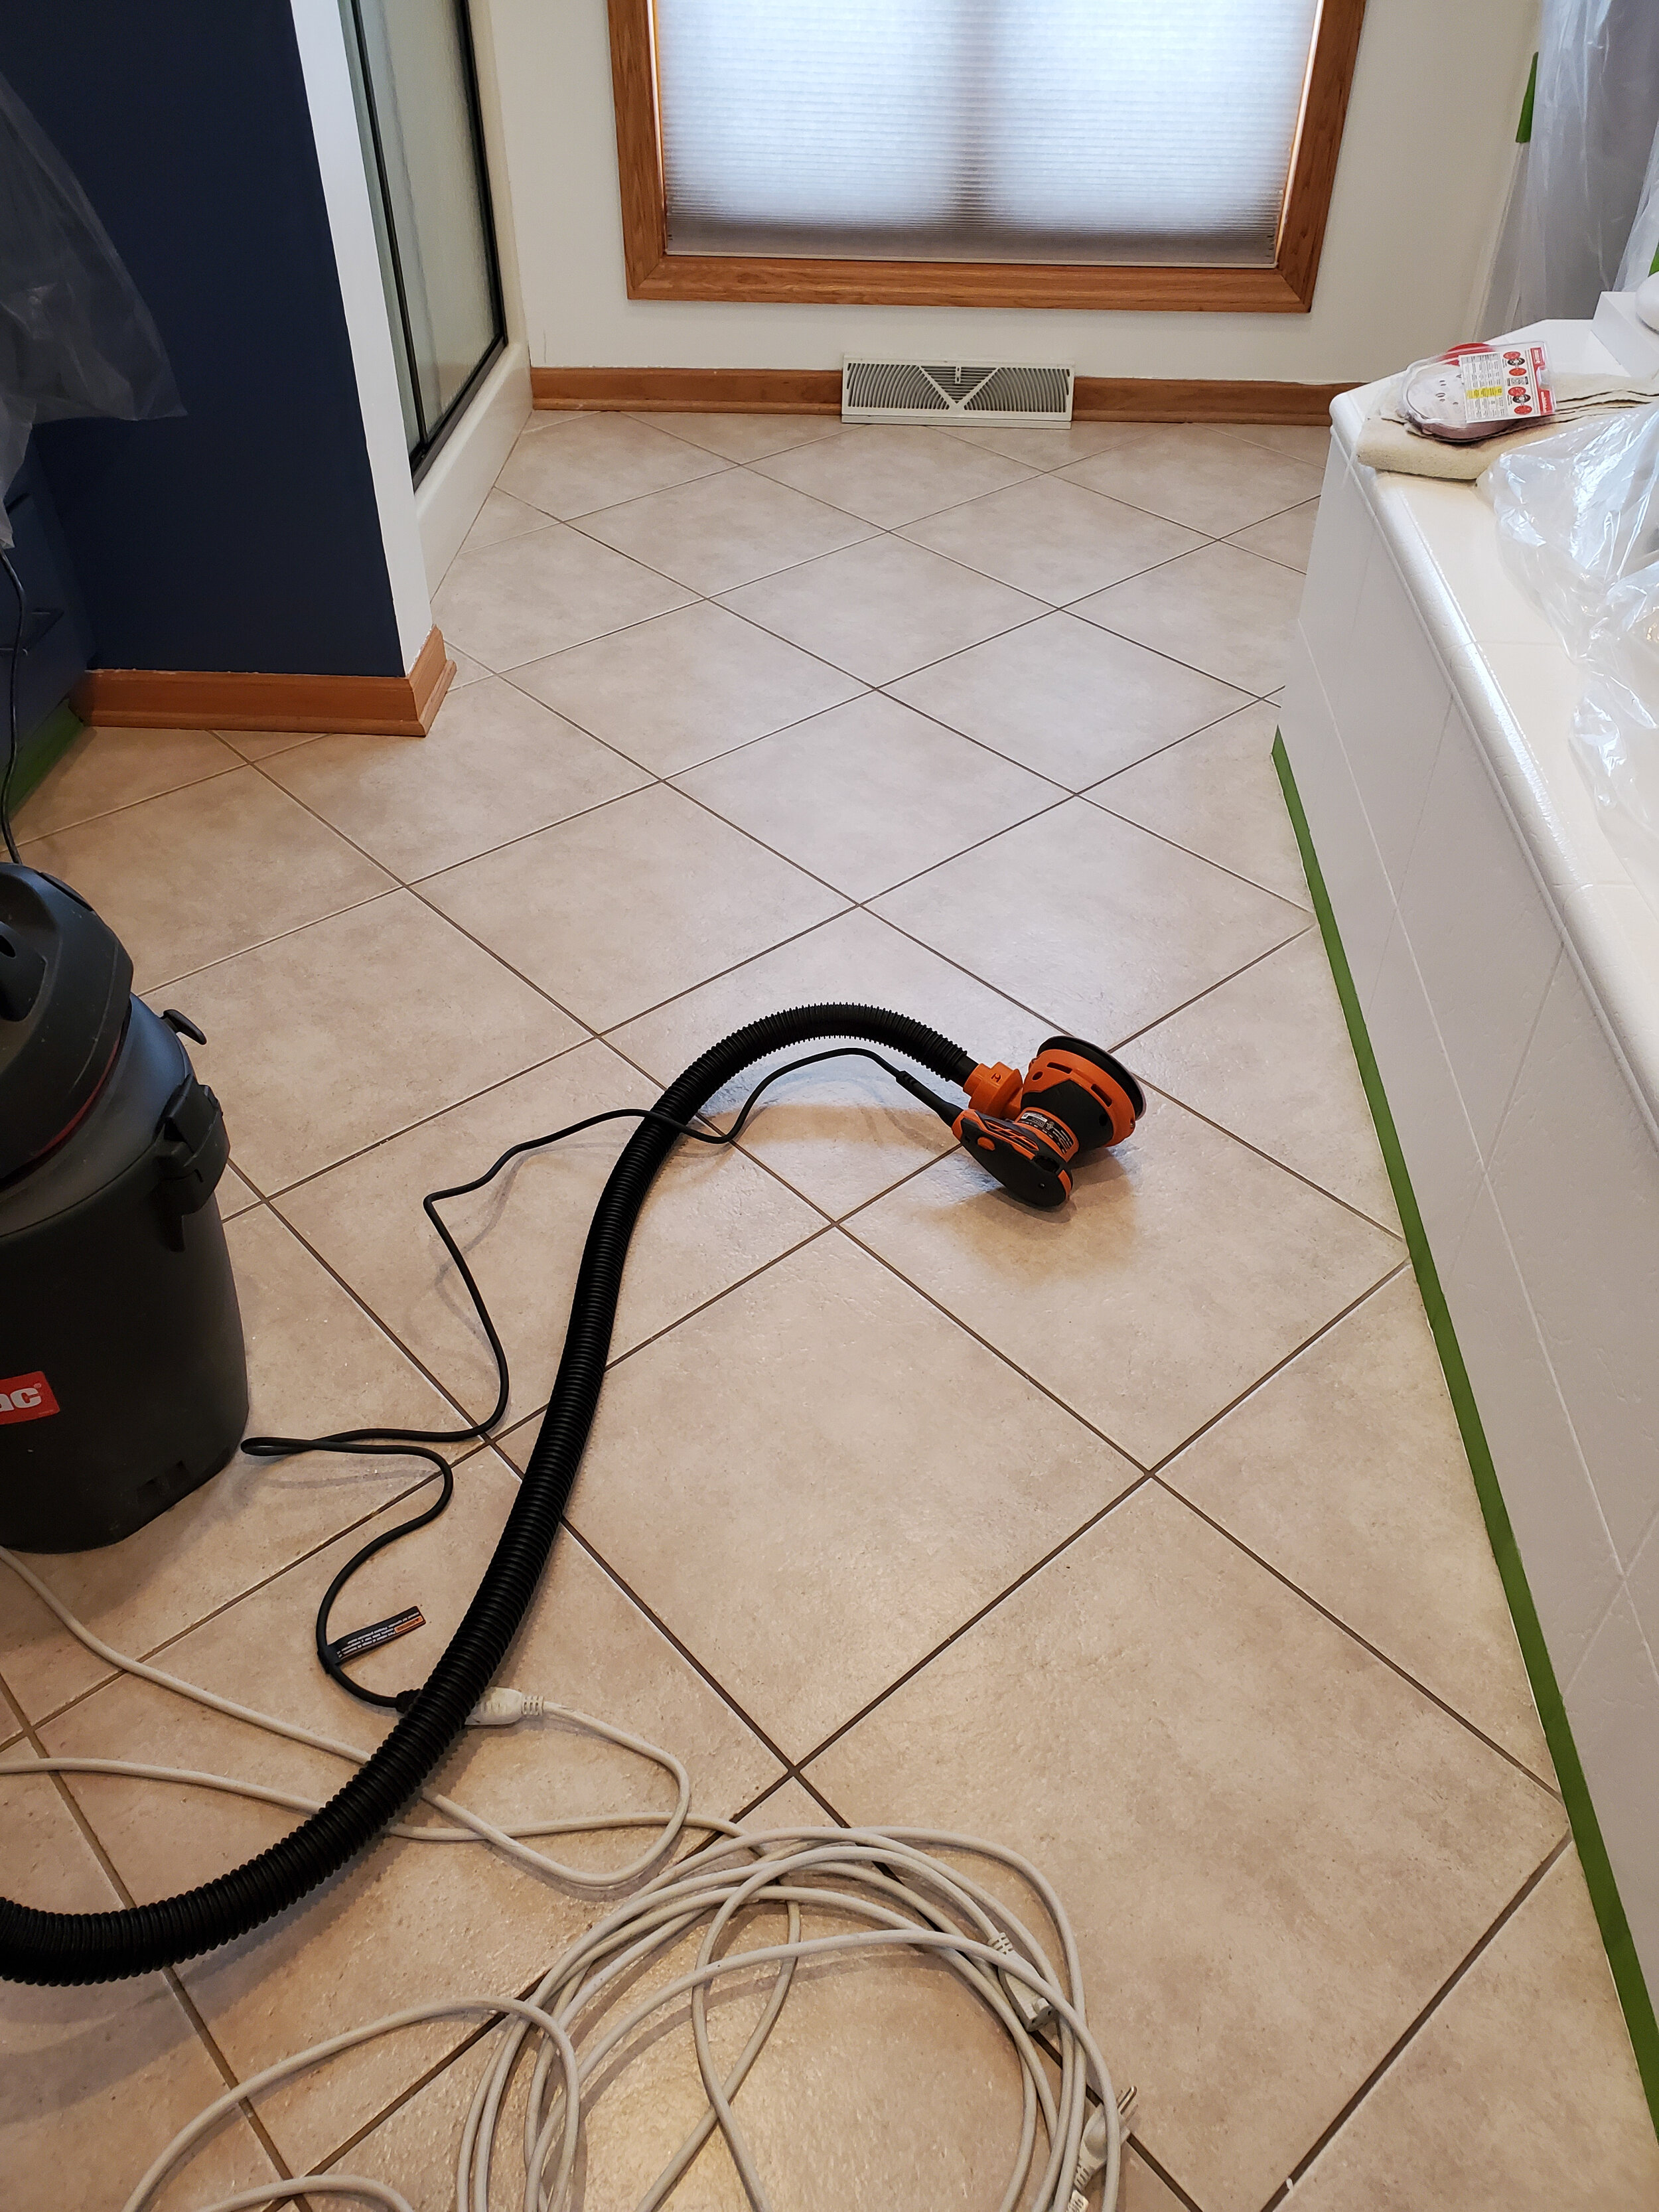
Hook up your sander to a shop vacuum if it accommodates such an attachment. The sander has a dust collection bag that will come with it. However to ensure maximum dust collection, hooking up a vacuum is recommended.
Step 5:
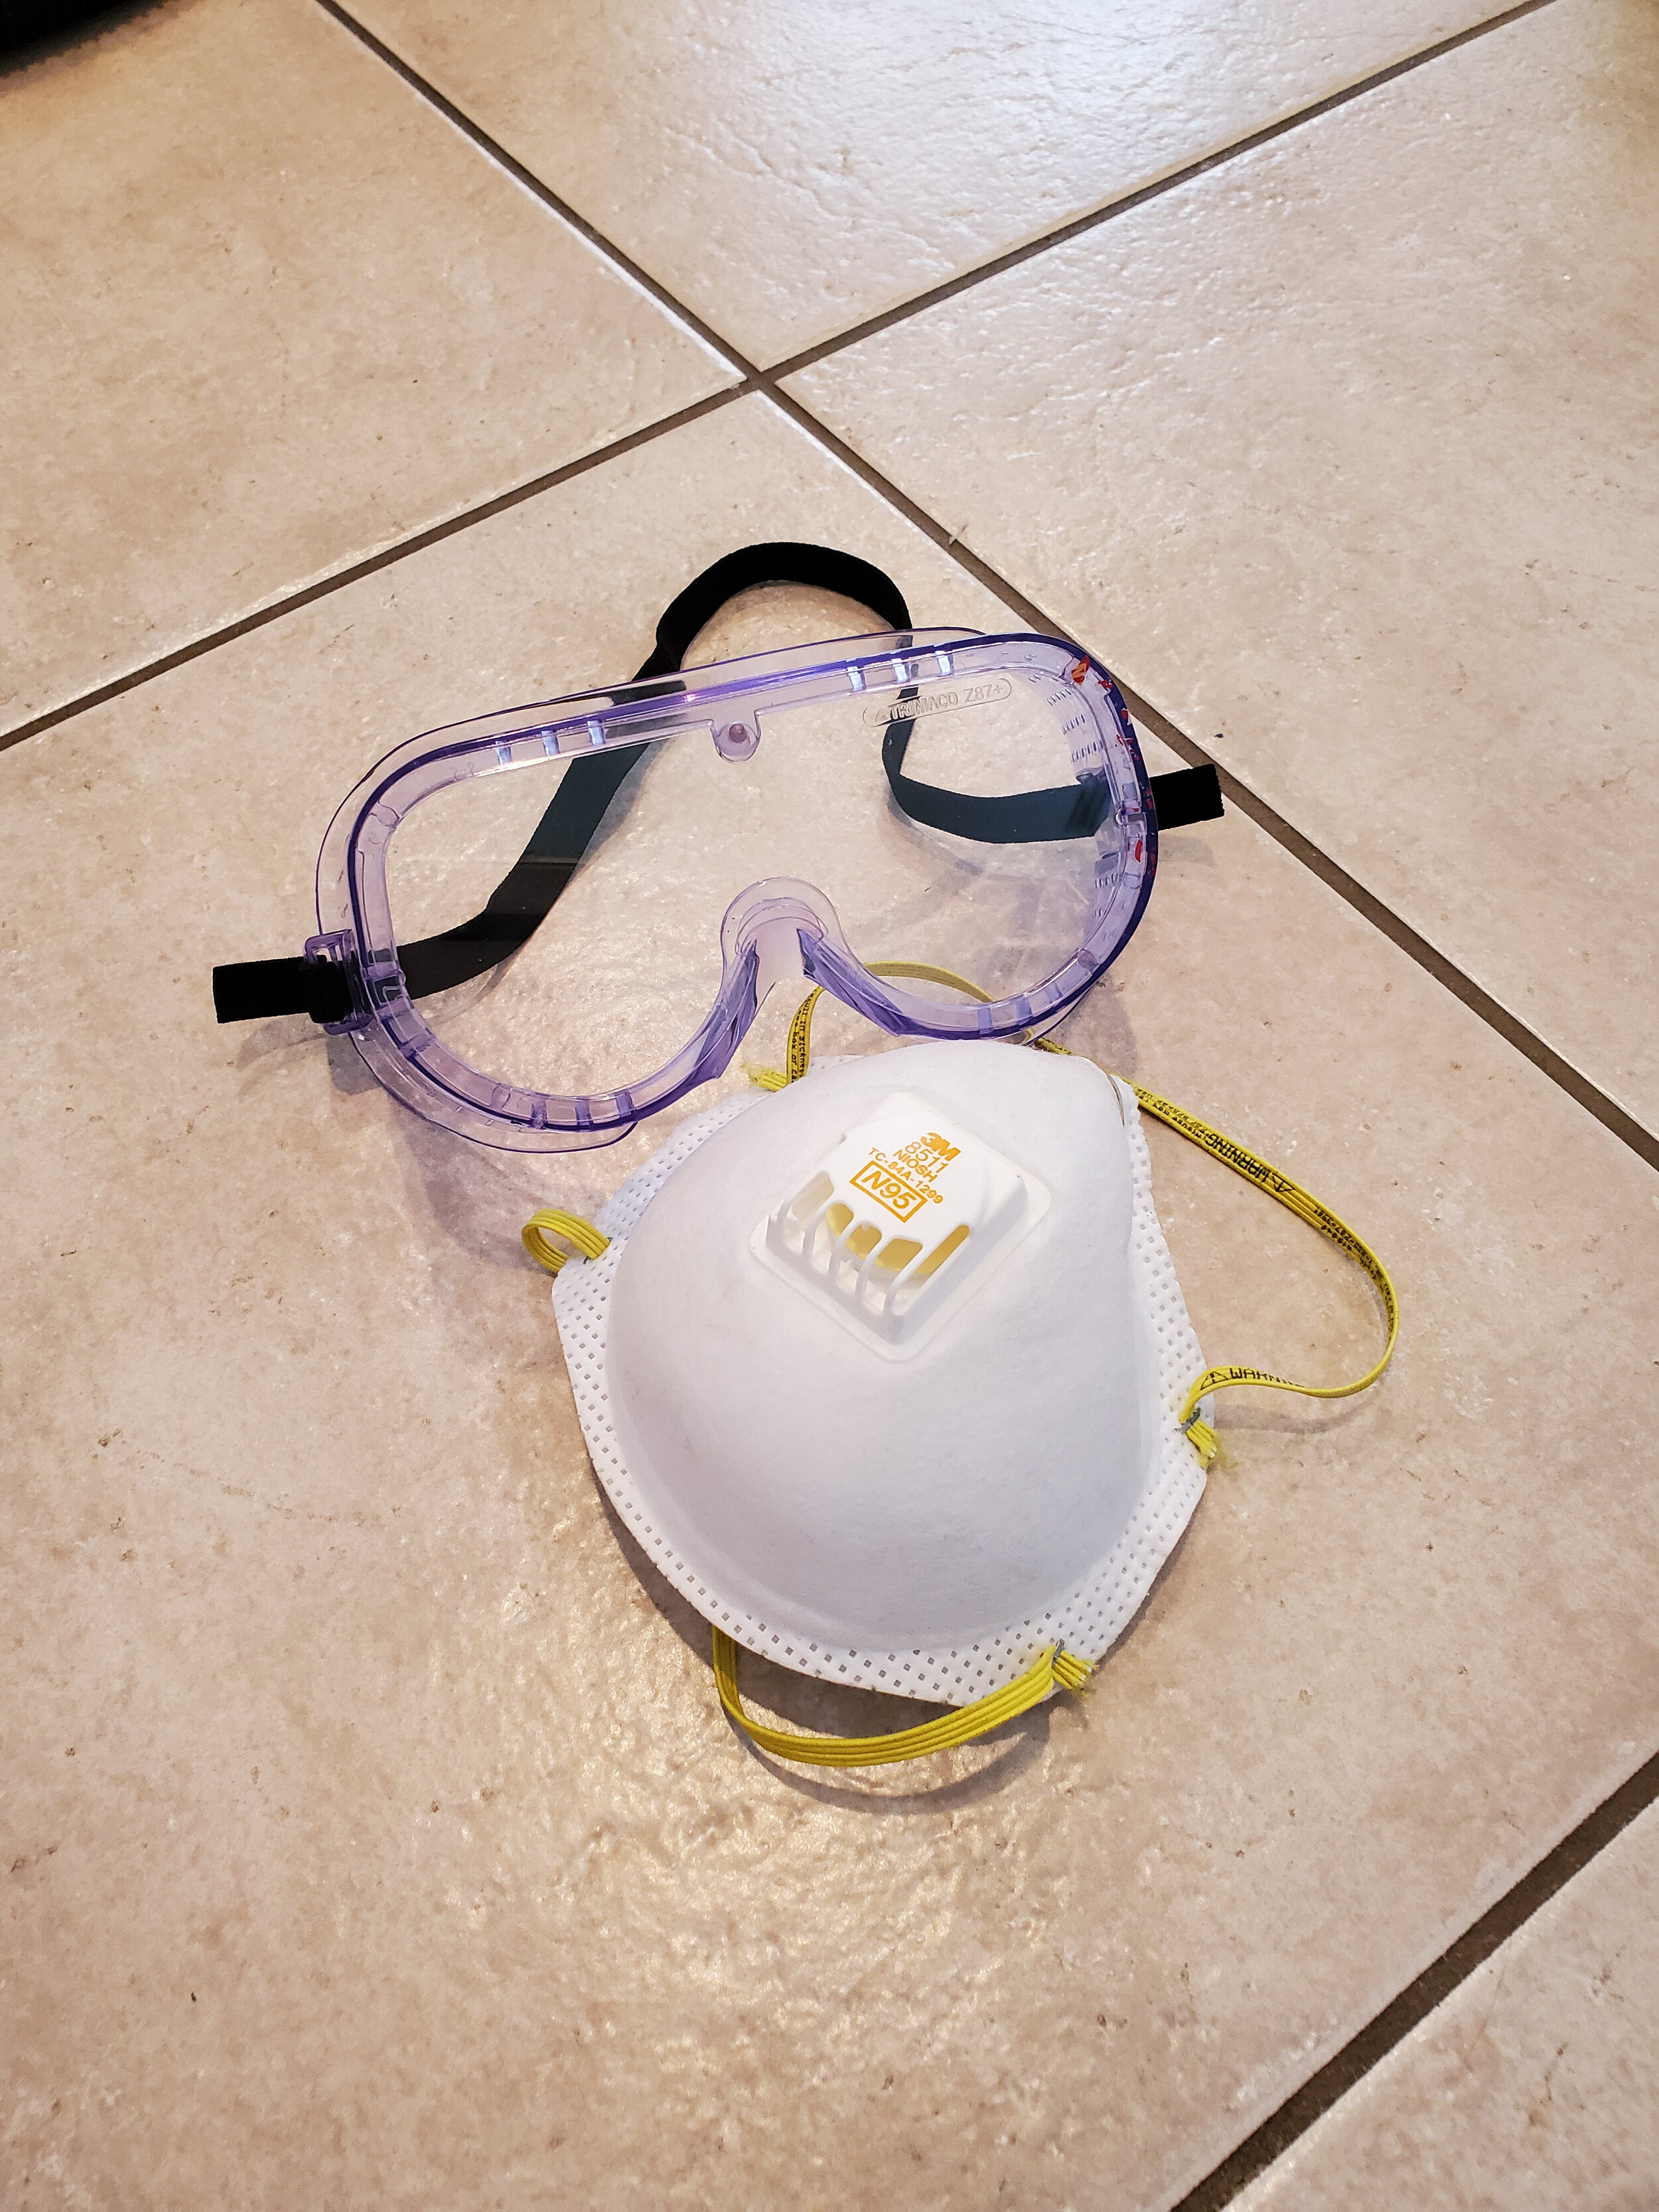
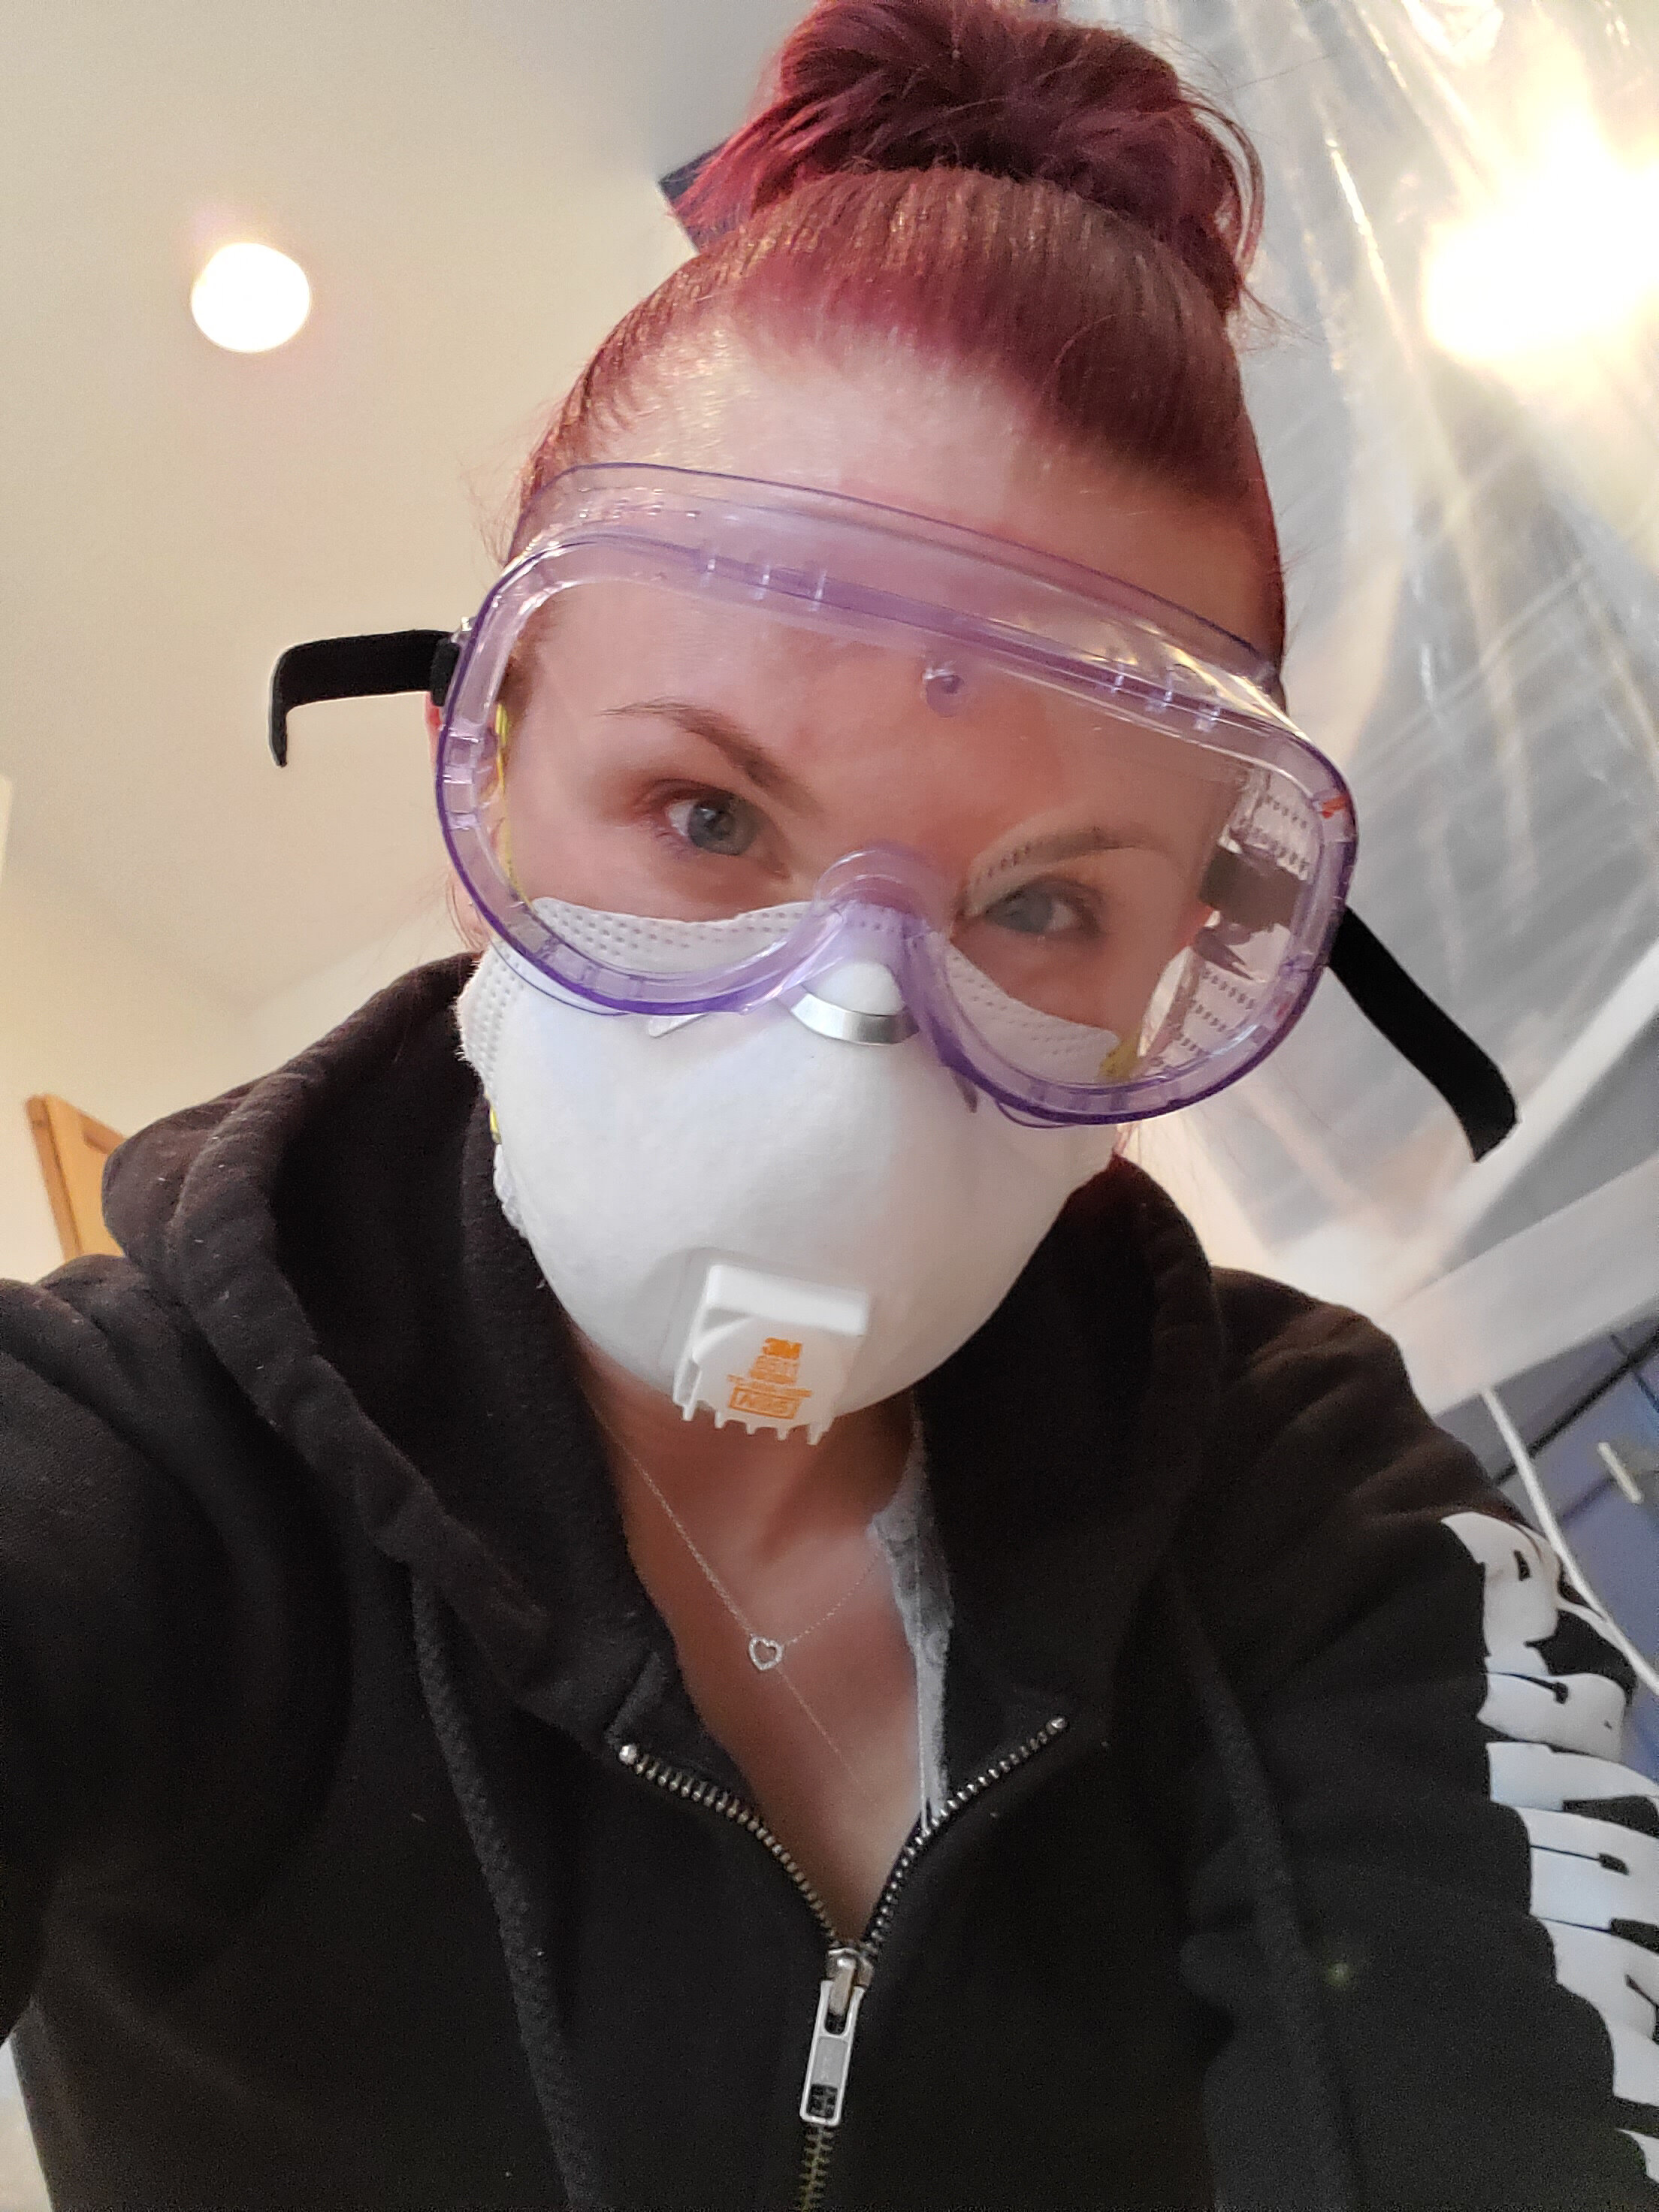
When painting and sanding, always wear a respirator mask. you don’t want to find yourself breathing in and dust from the tile or any of the paint fumes. also wear protective eyewear when sanding. if any of the tile tile does manage to shoot up and hit your eye that could be retina damage. even dust from the tile in your eyes could cause major irritation or damage.
Step 6:
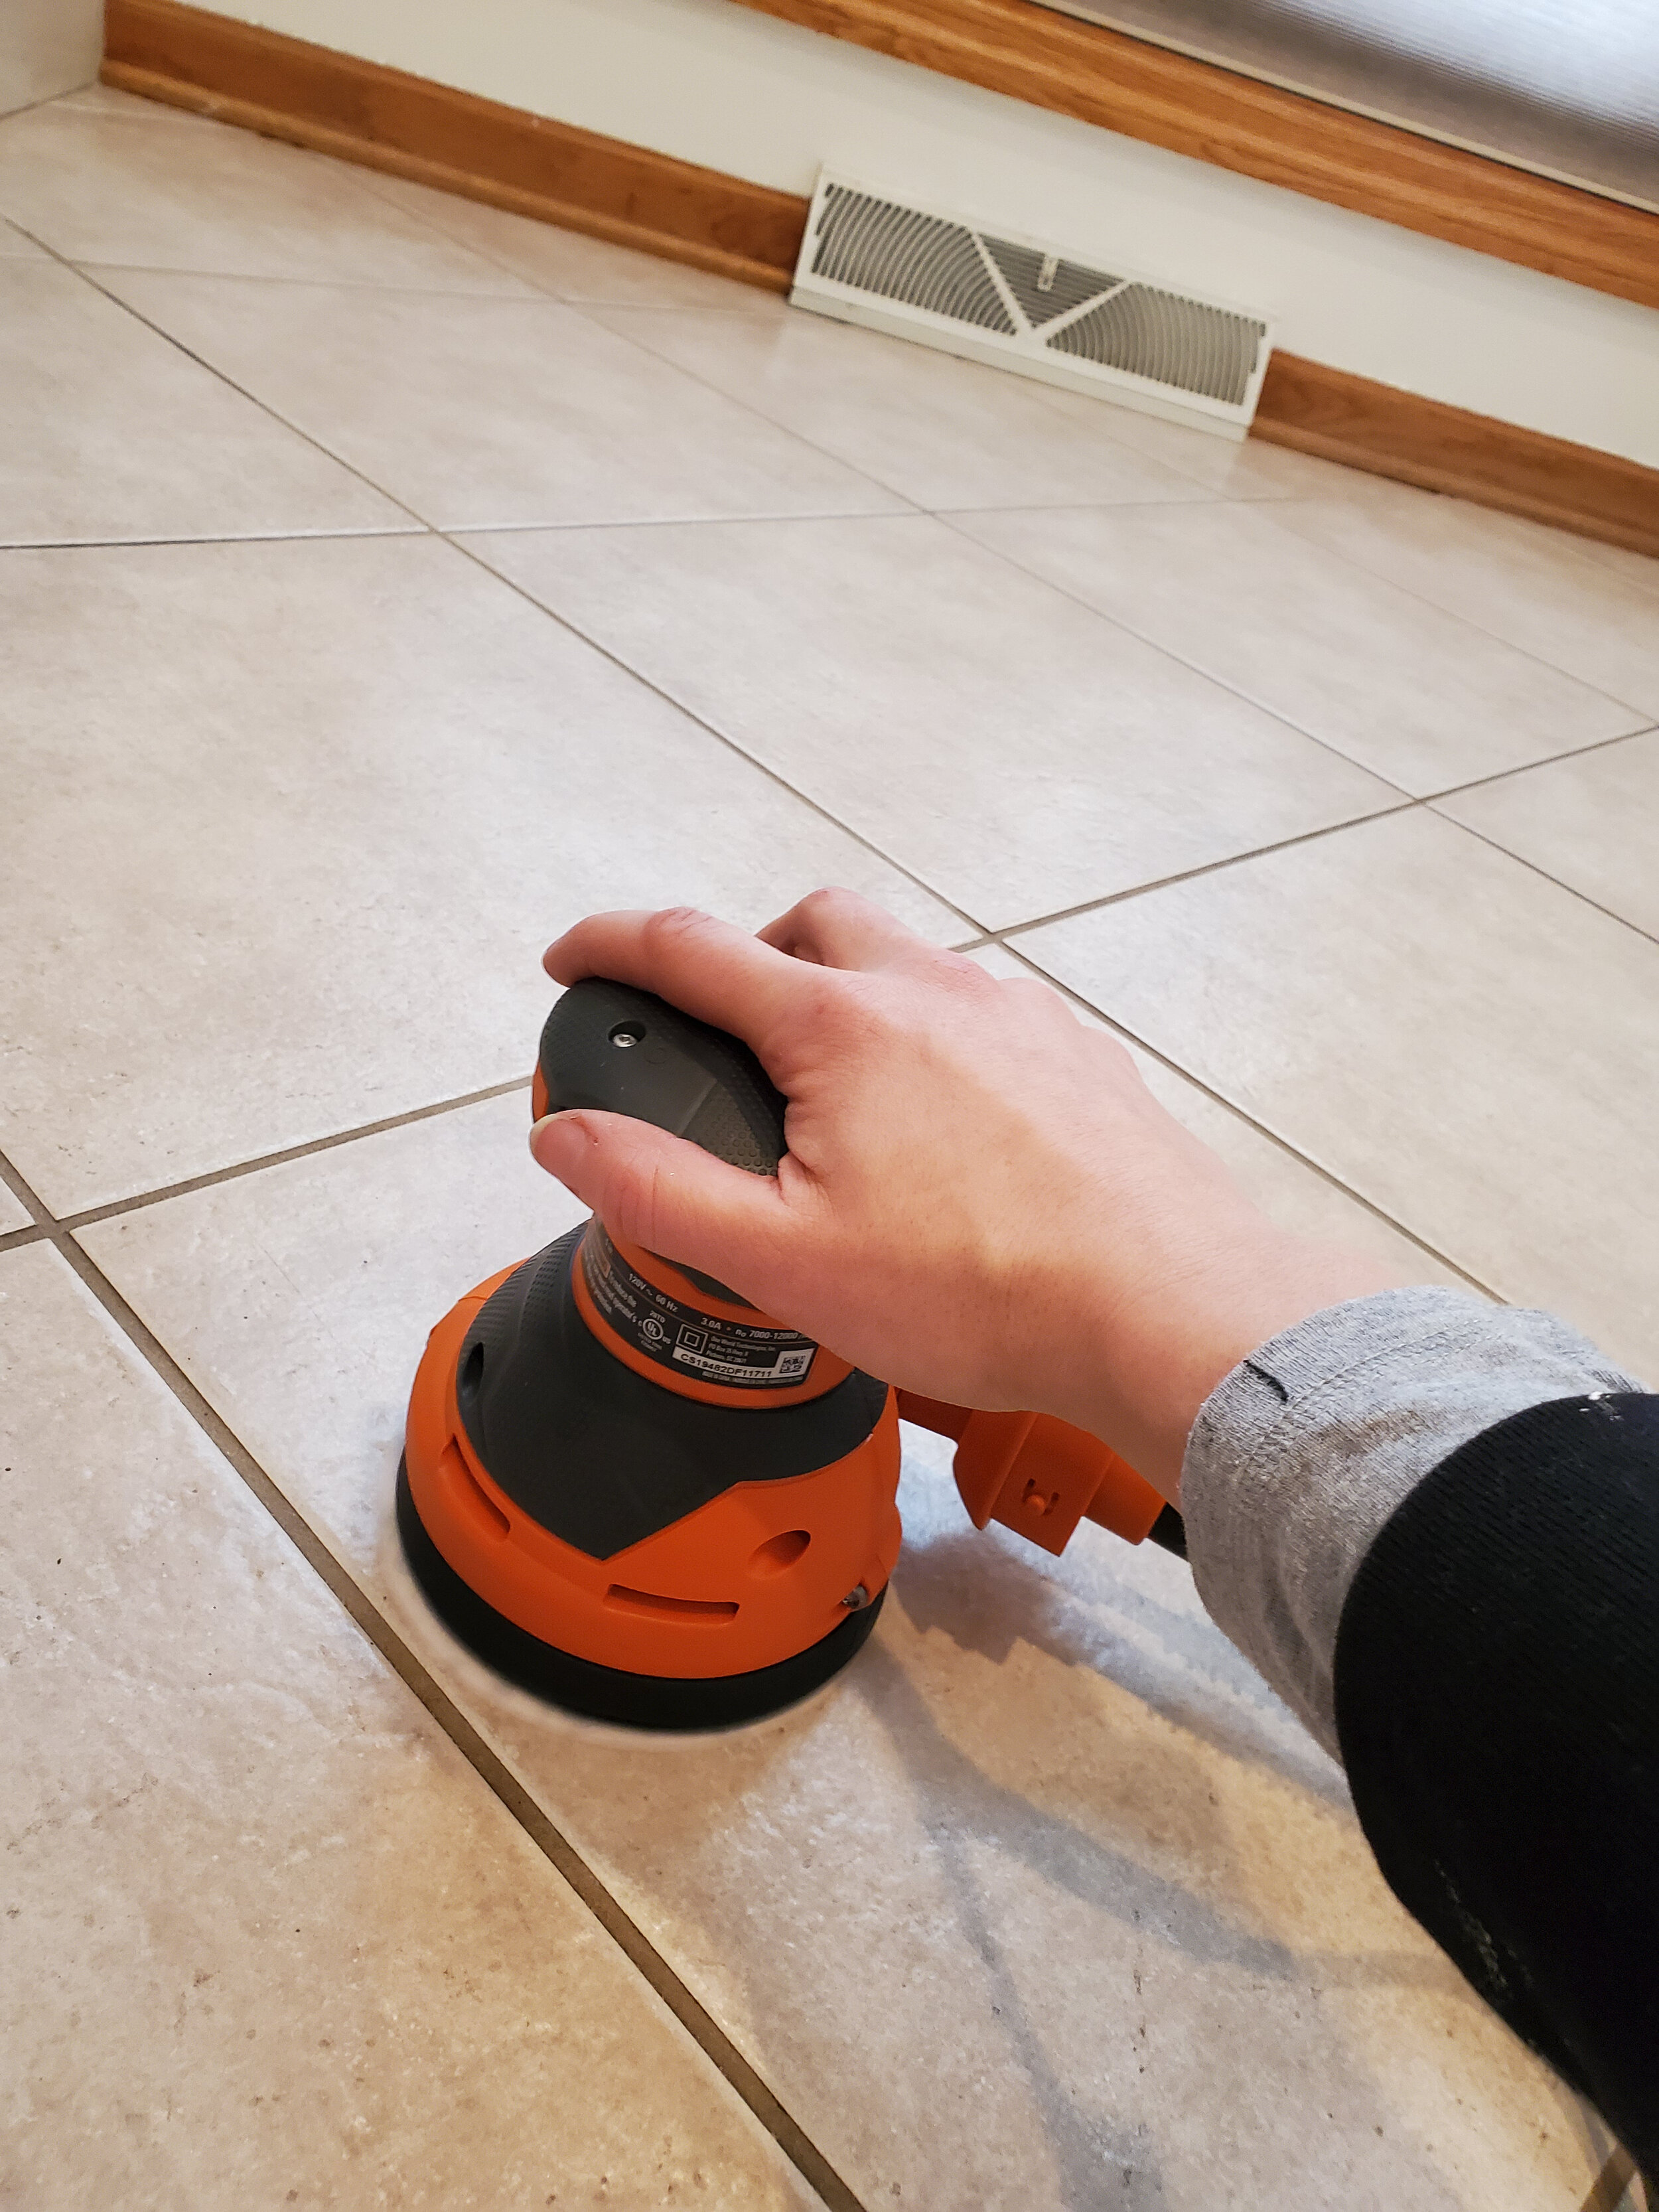
Now you get to begin sanding. Start sanding in small sections of 2’ x 2’. Or moving tile by tile depending on the size of the tiles and the tile pattern. Move your sander in a circular and side to side motion. You want to sand enough that any shine is removed from the tiles. The tiles should not be sanded down to become a rough surface, but rather to lose their top finish.
Step 7:
After sanding is finished, vacuum and clean the floor again thoroughly. You want to make sure you have cleaned up any surface dust from sanding. make sure the floor is completely dry before moving onto the next step.
Step 8:
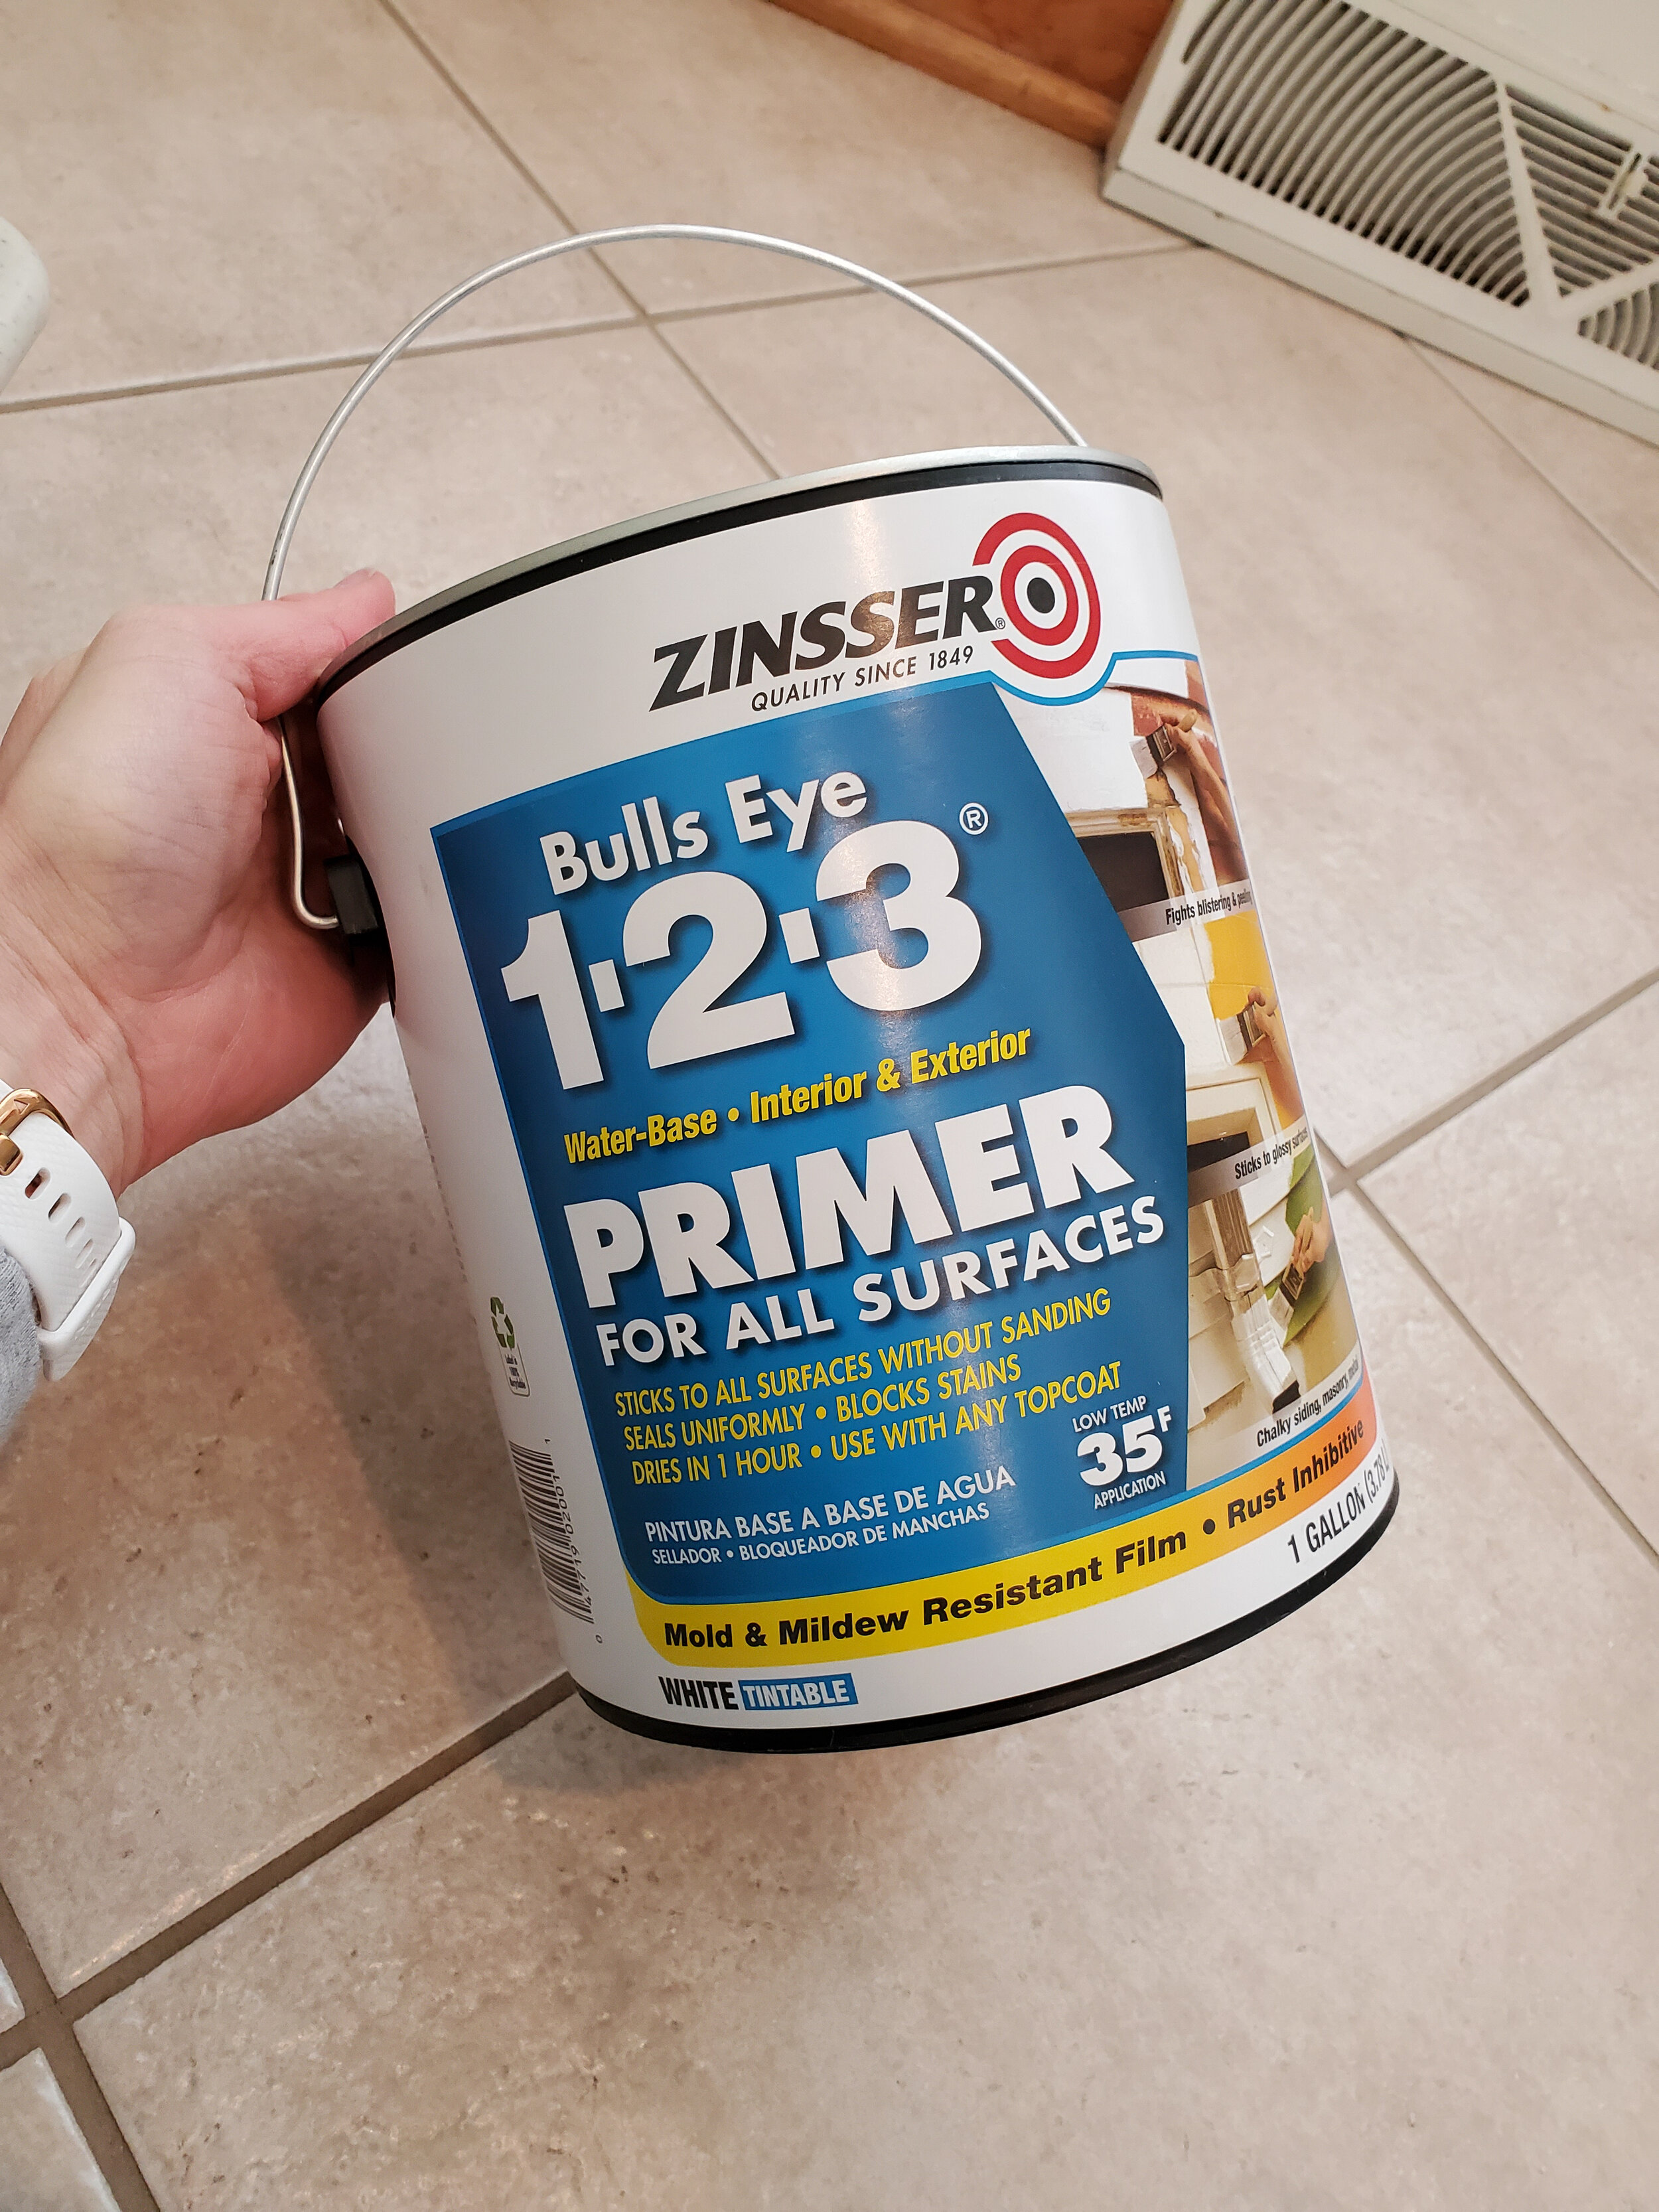
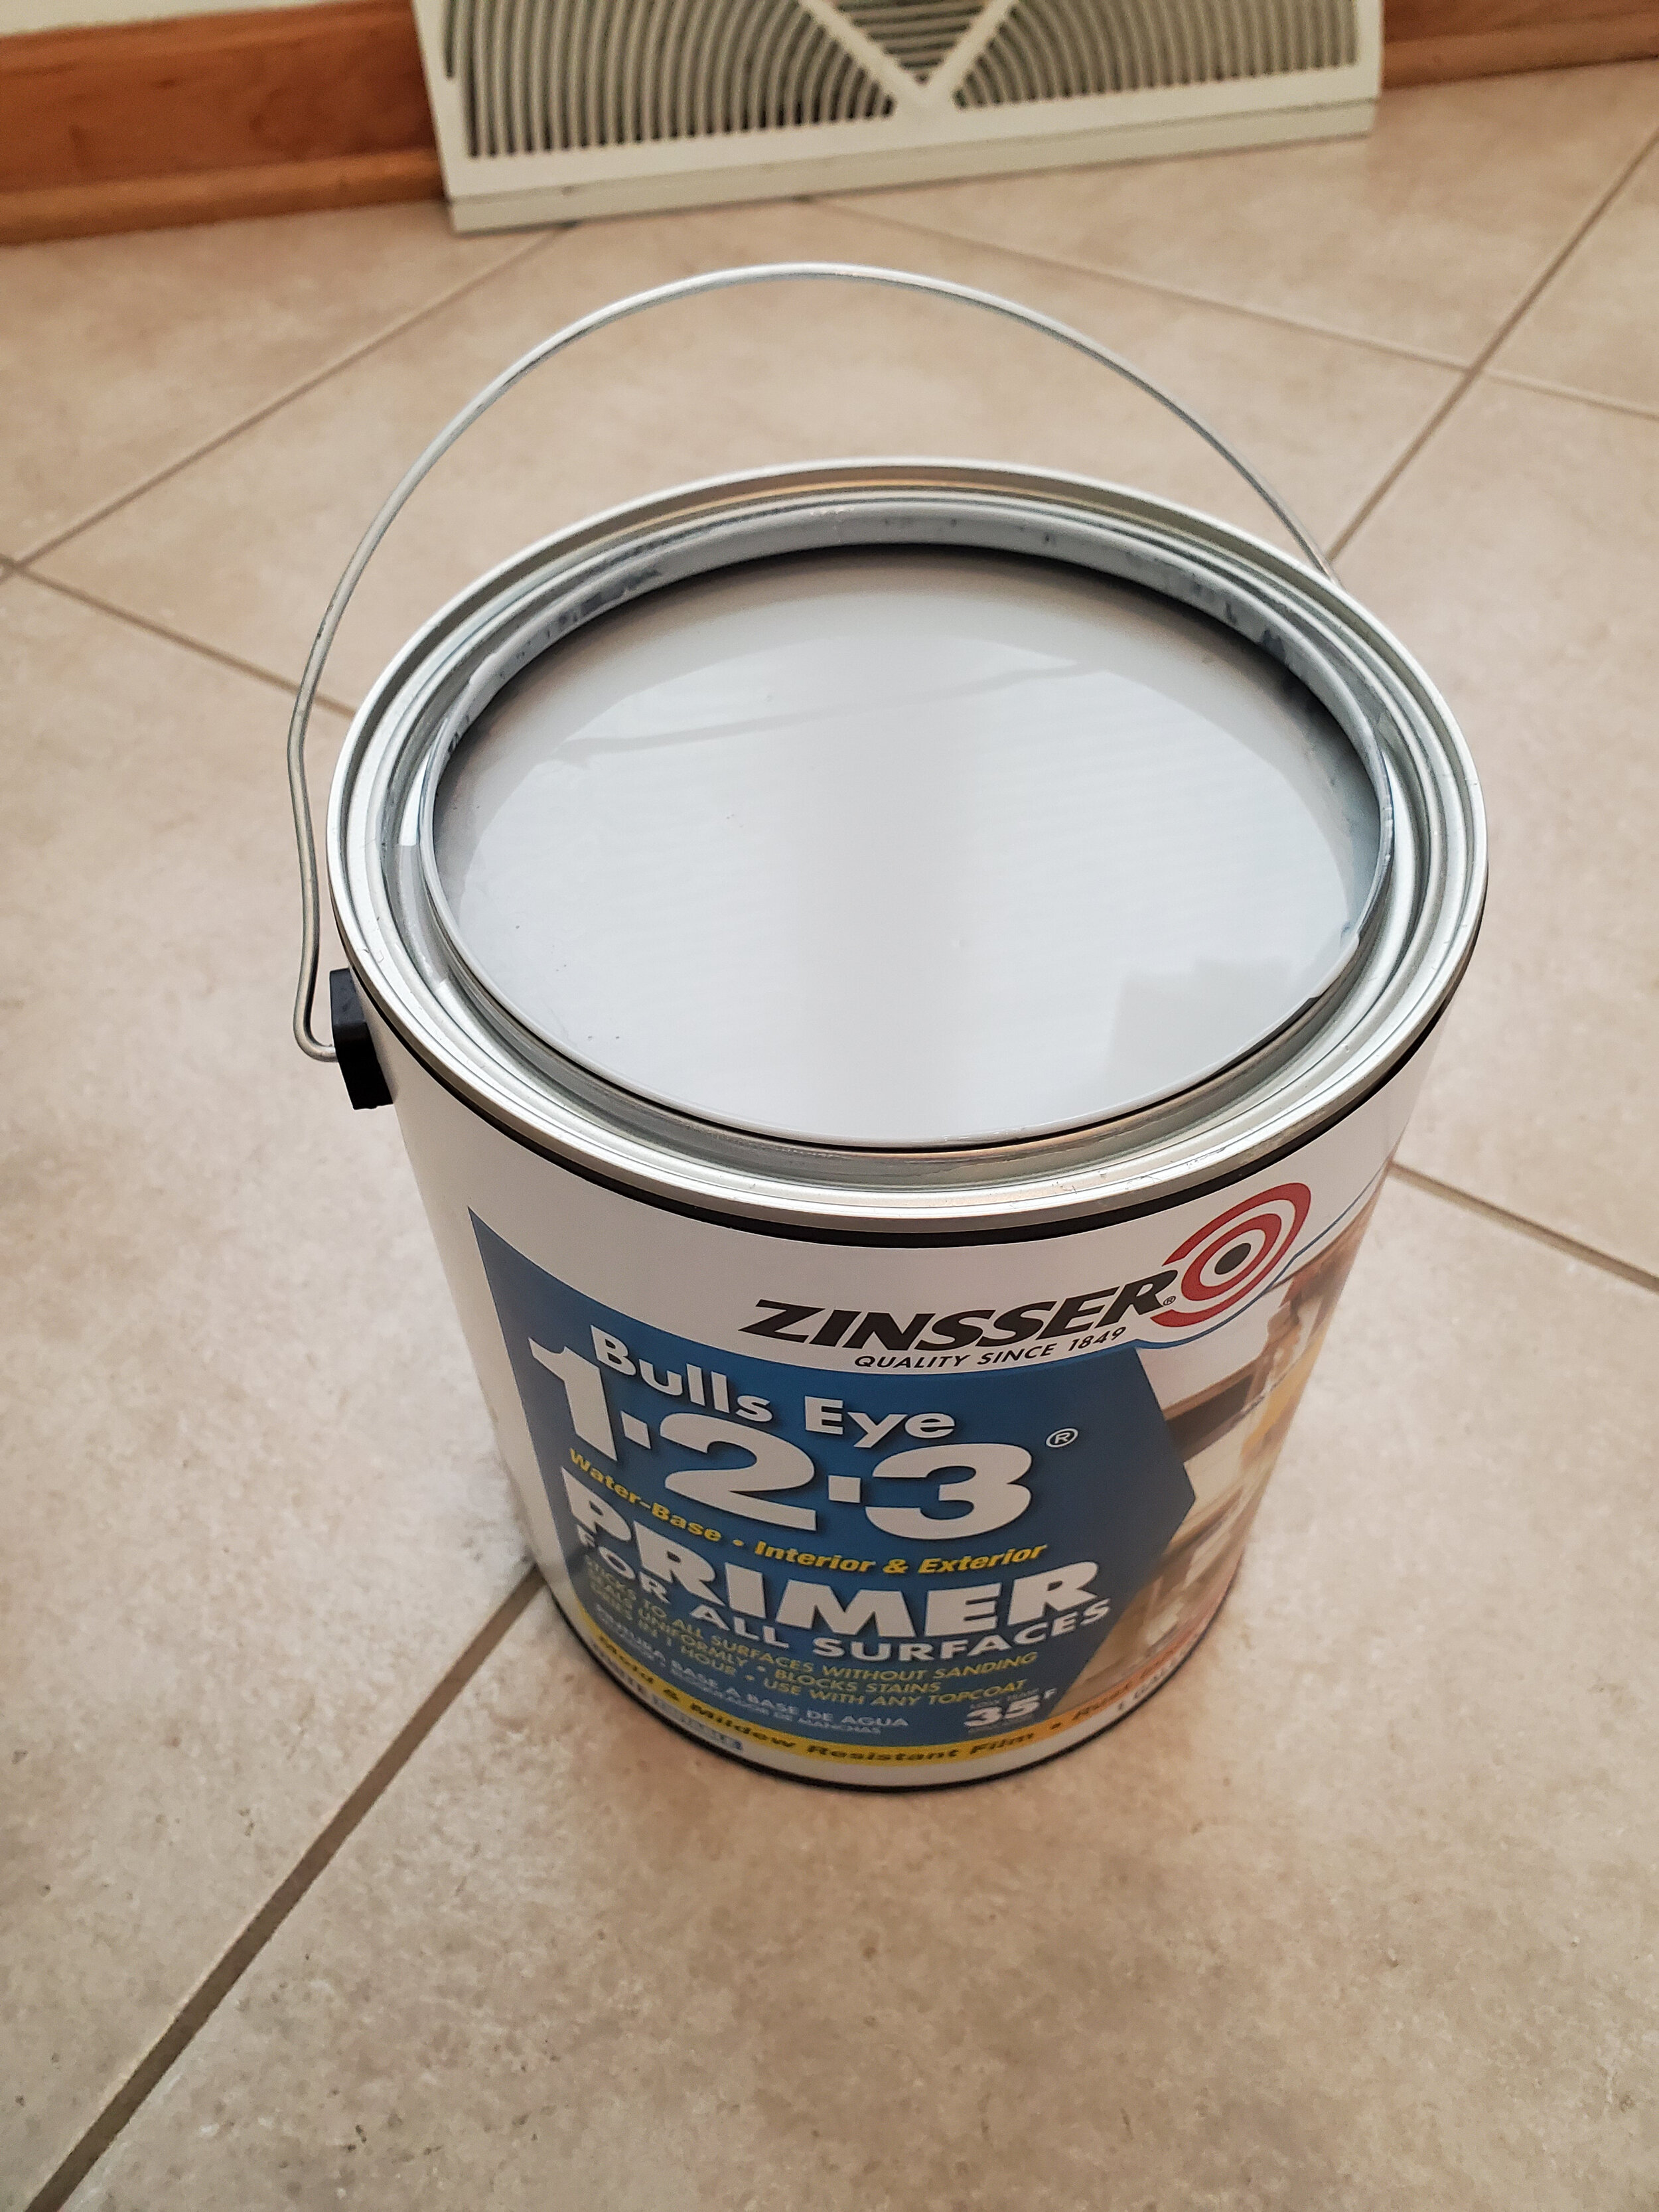
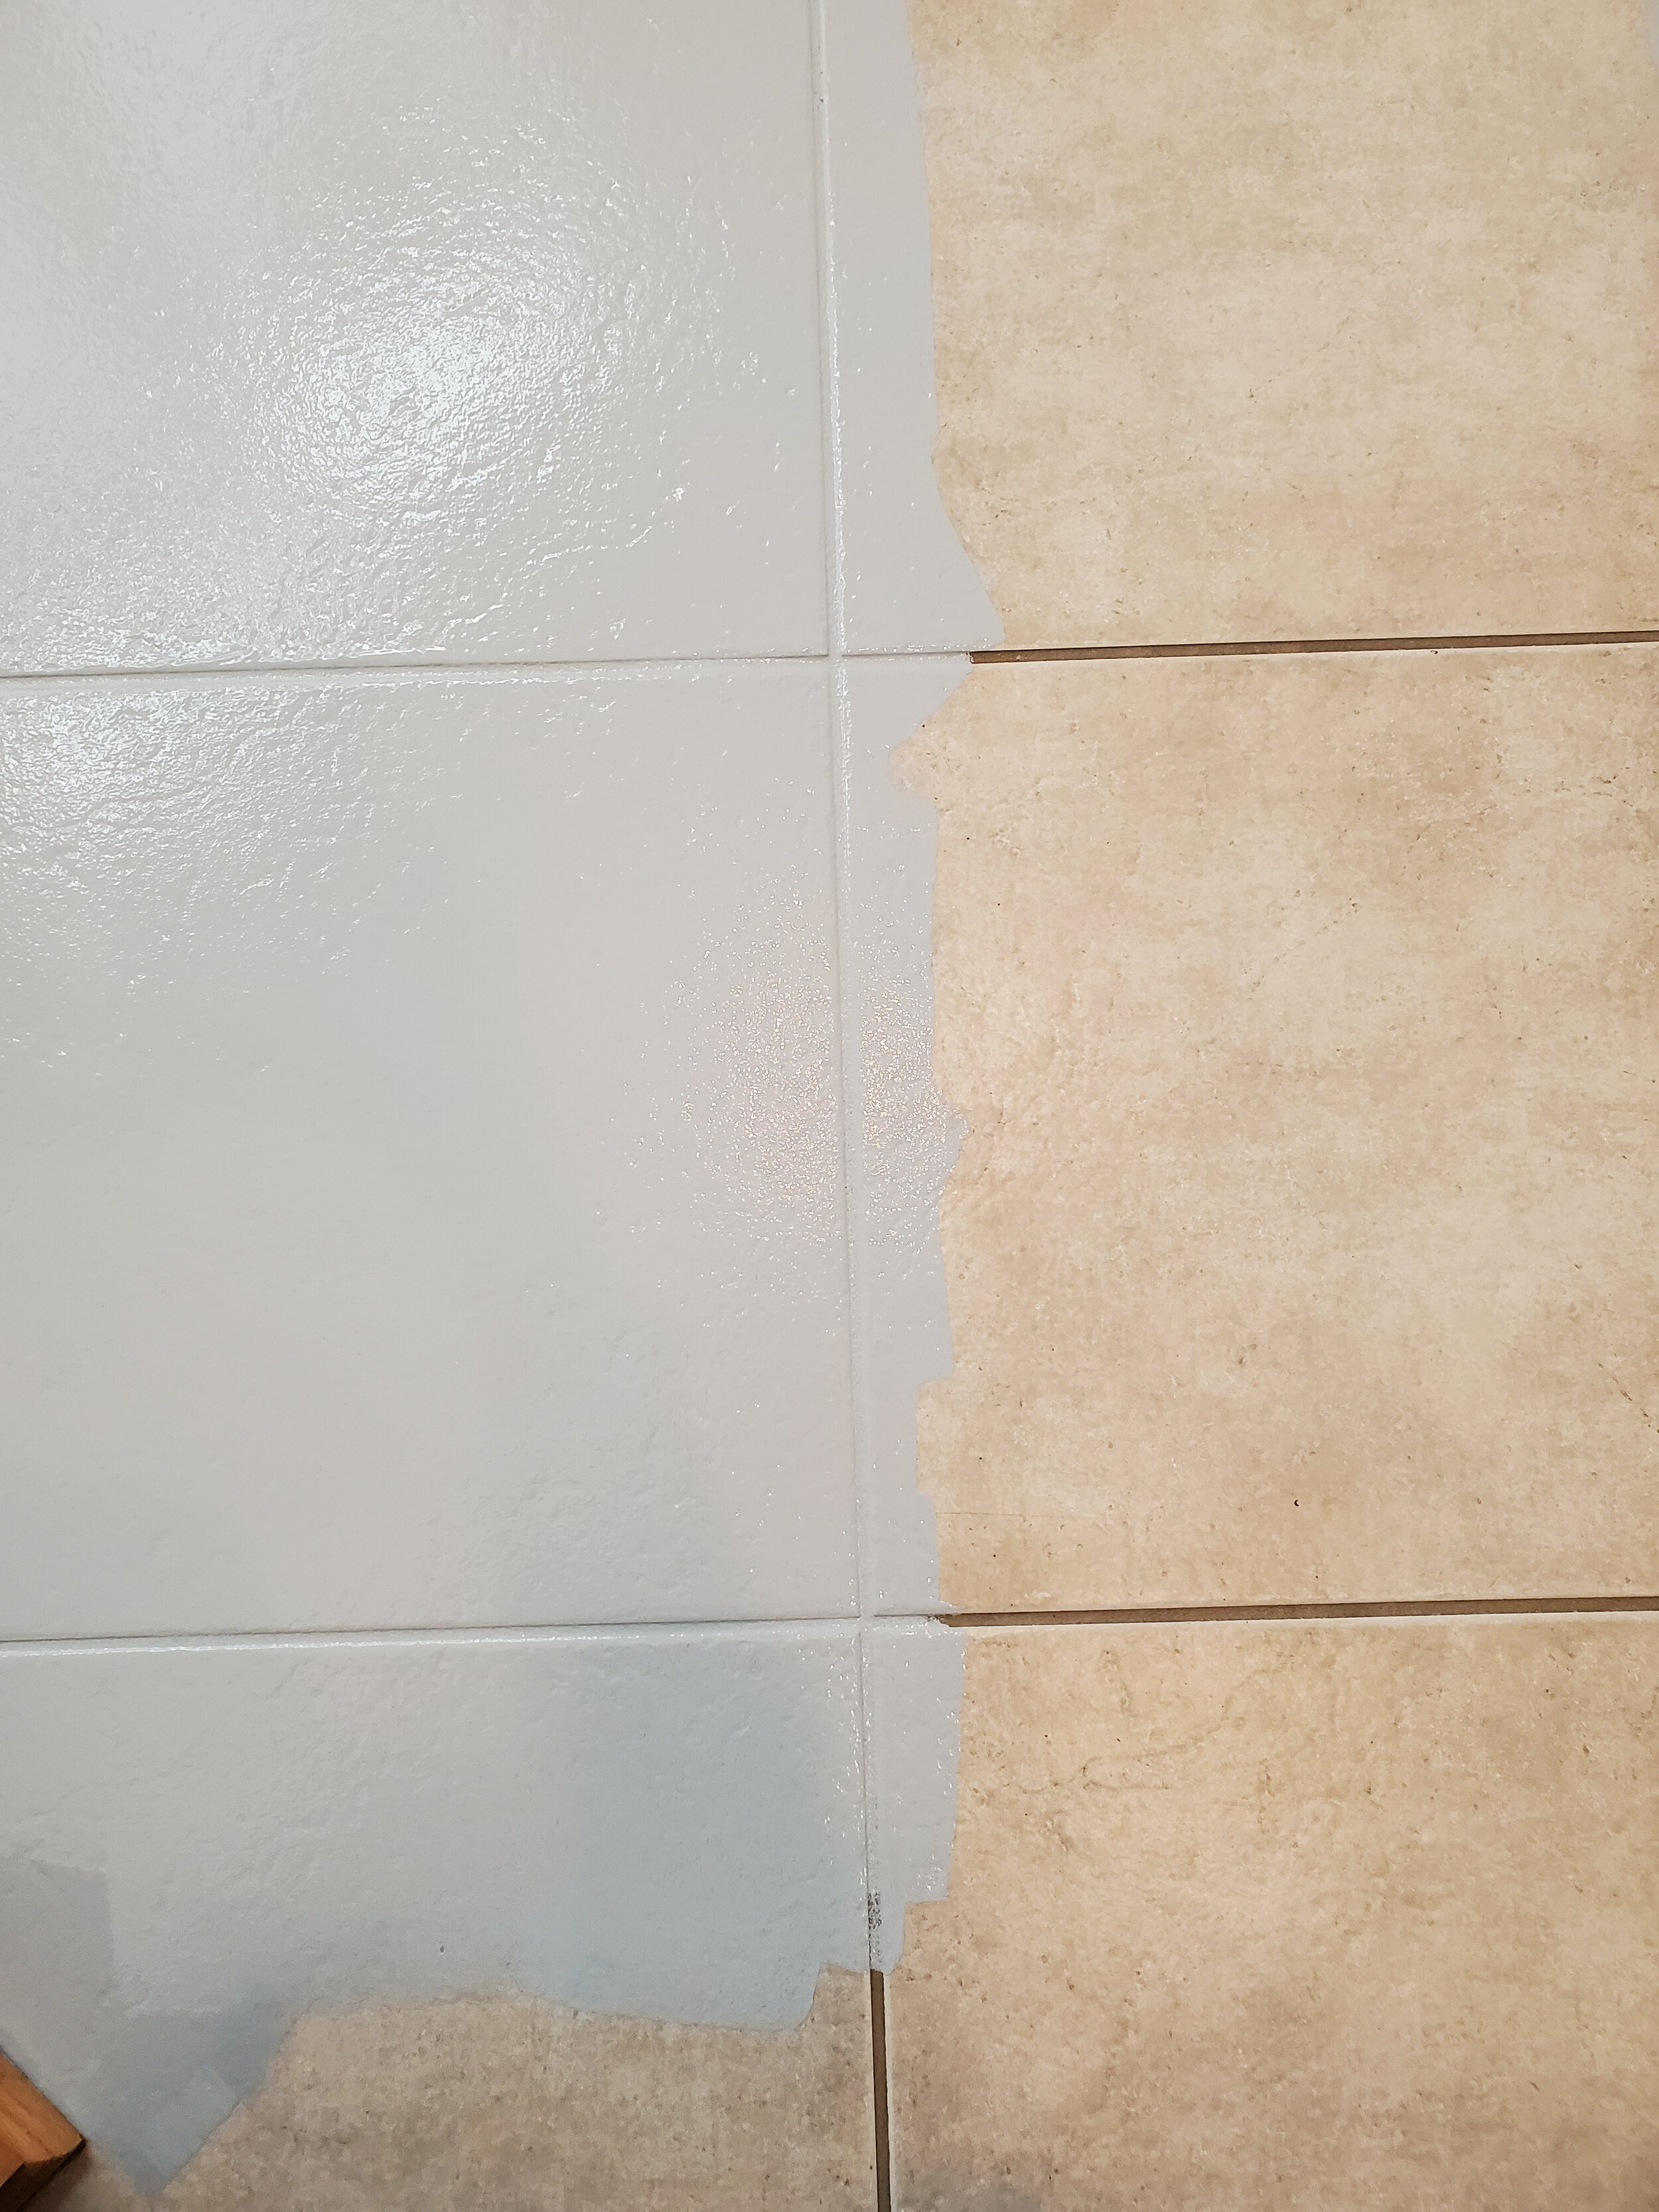
Now you really get to begin the ‘visible’ transformation part. Priming the tiles is your first ‘paint’ step. this ensures better adherence of the paint to the tile. You will want to apply 2 coats of the primer. Following the dry times between coats is very important. A surface feeling dry to the touch is not the same as it being dry to a semi-cured point where it is ready for another coat. Sticking to the dry times on your primer of choice will allow for your floor to have the best long term results. I use Zinsser, Bulls eye 1-2-3 for this project, but have also used Kilz for many other projects. You can have your primer tinted if you would like. Remember that it will not be the same color as your floor color, but going with a slight tint can minimize the appearance of any future scratches that may occur on the surface.
Step 9:

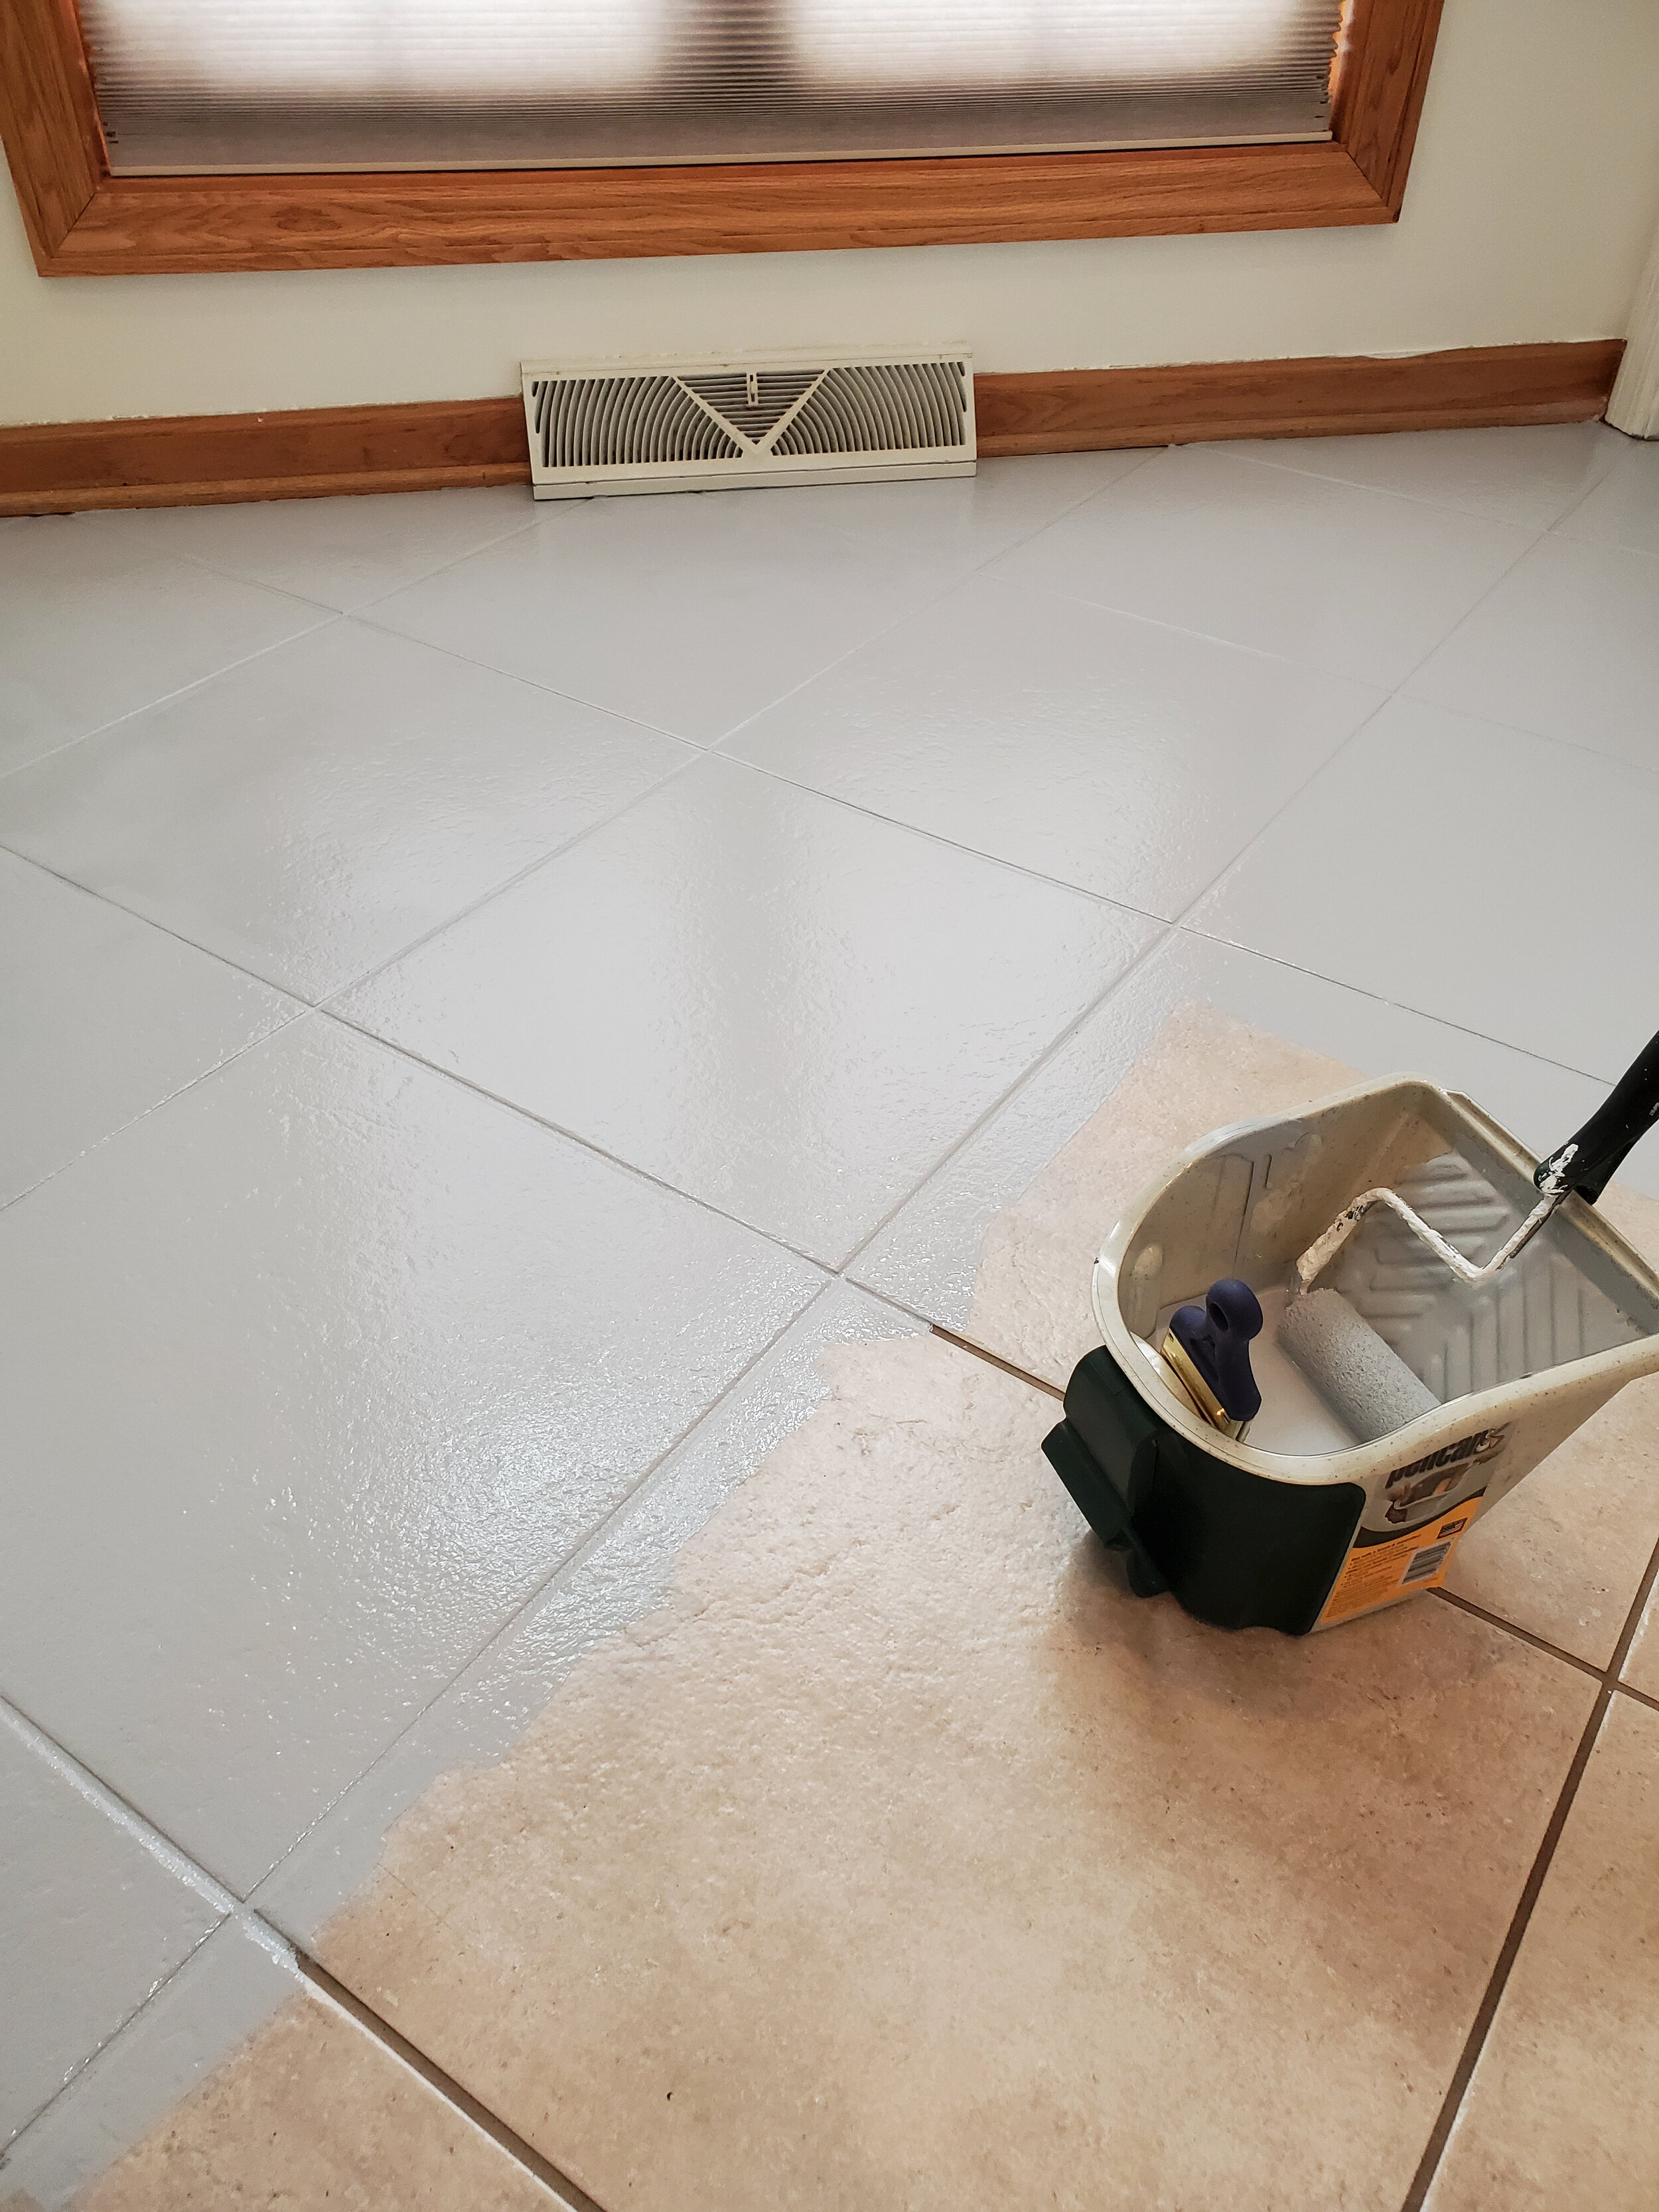
The moment you have been waiting for. Time to get that color on the floor! Paint 2 coats of color on your previously primed tile. Again, I cannot stress enough….follow the dry times between color coats. You don’t want to put in all this work, only to have your paint bubble up or peel, simply because you lost patience in the drying times. I recommend using a brush to get edges and a small roller for the main painting work. This will give you great coverage without brush lines. Now you are almost there!
Step 10:
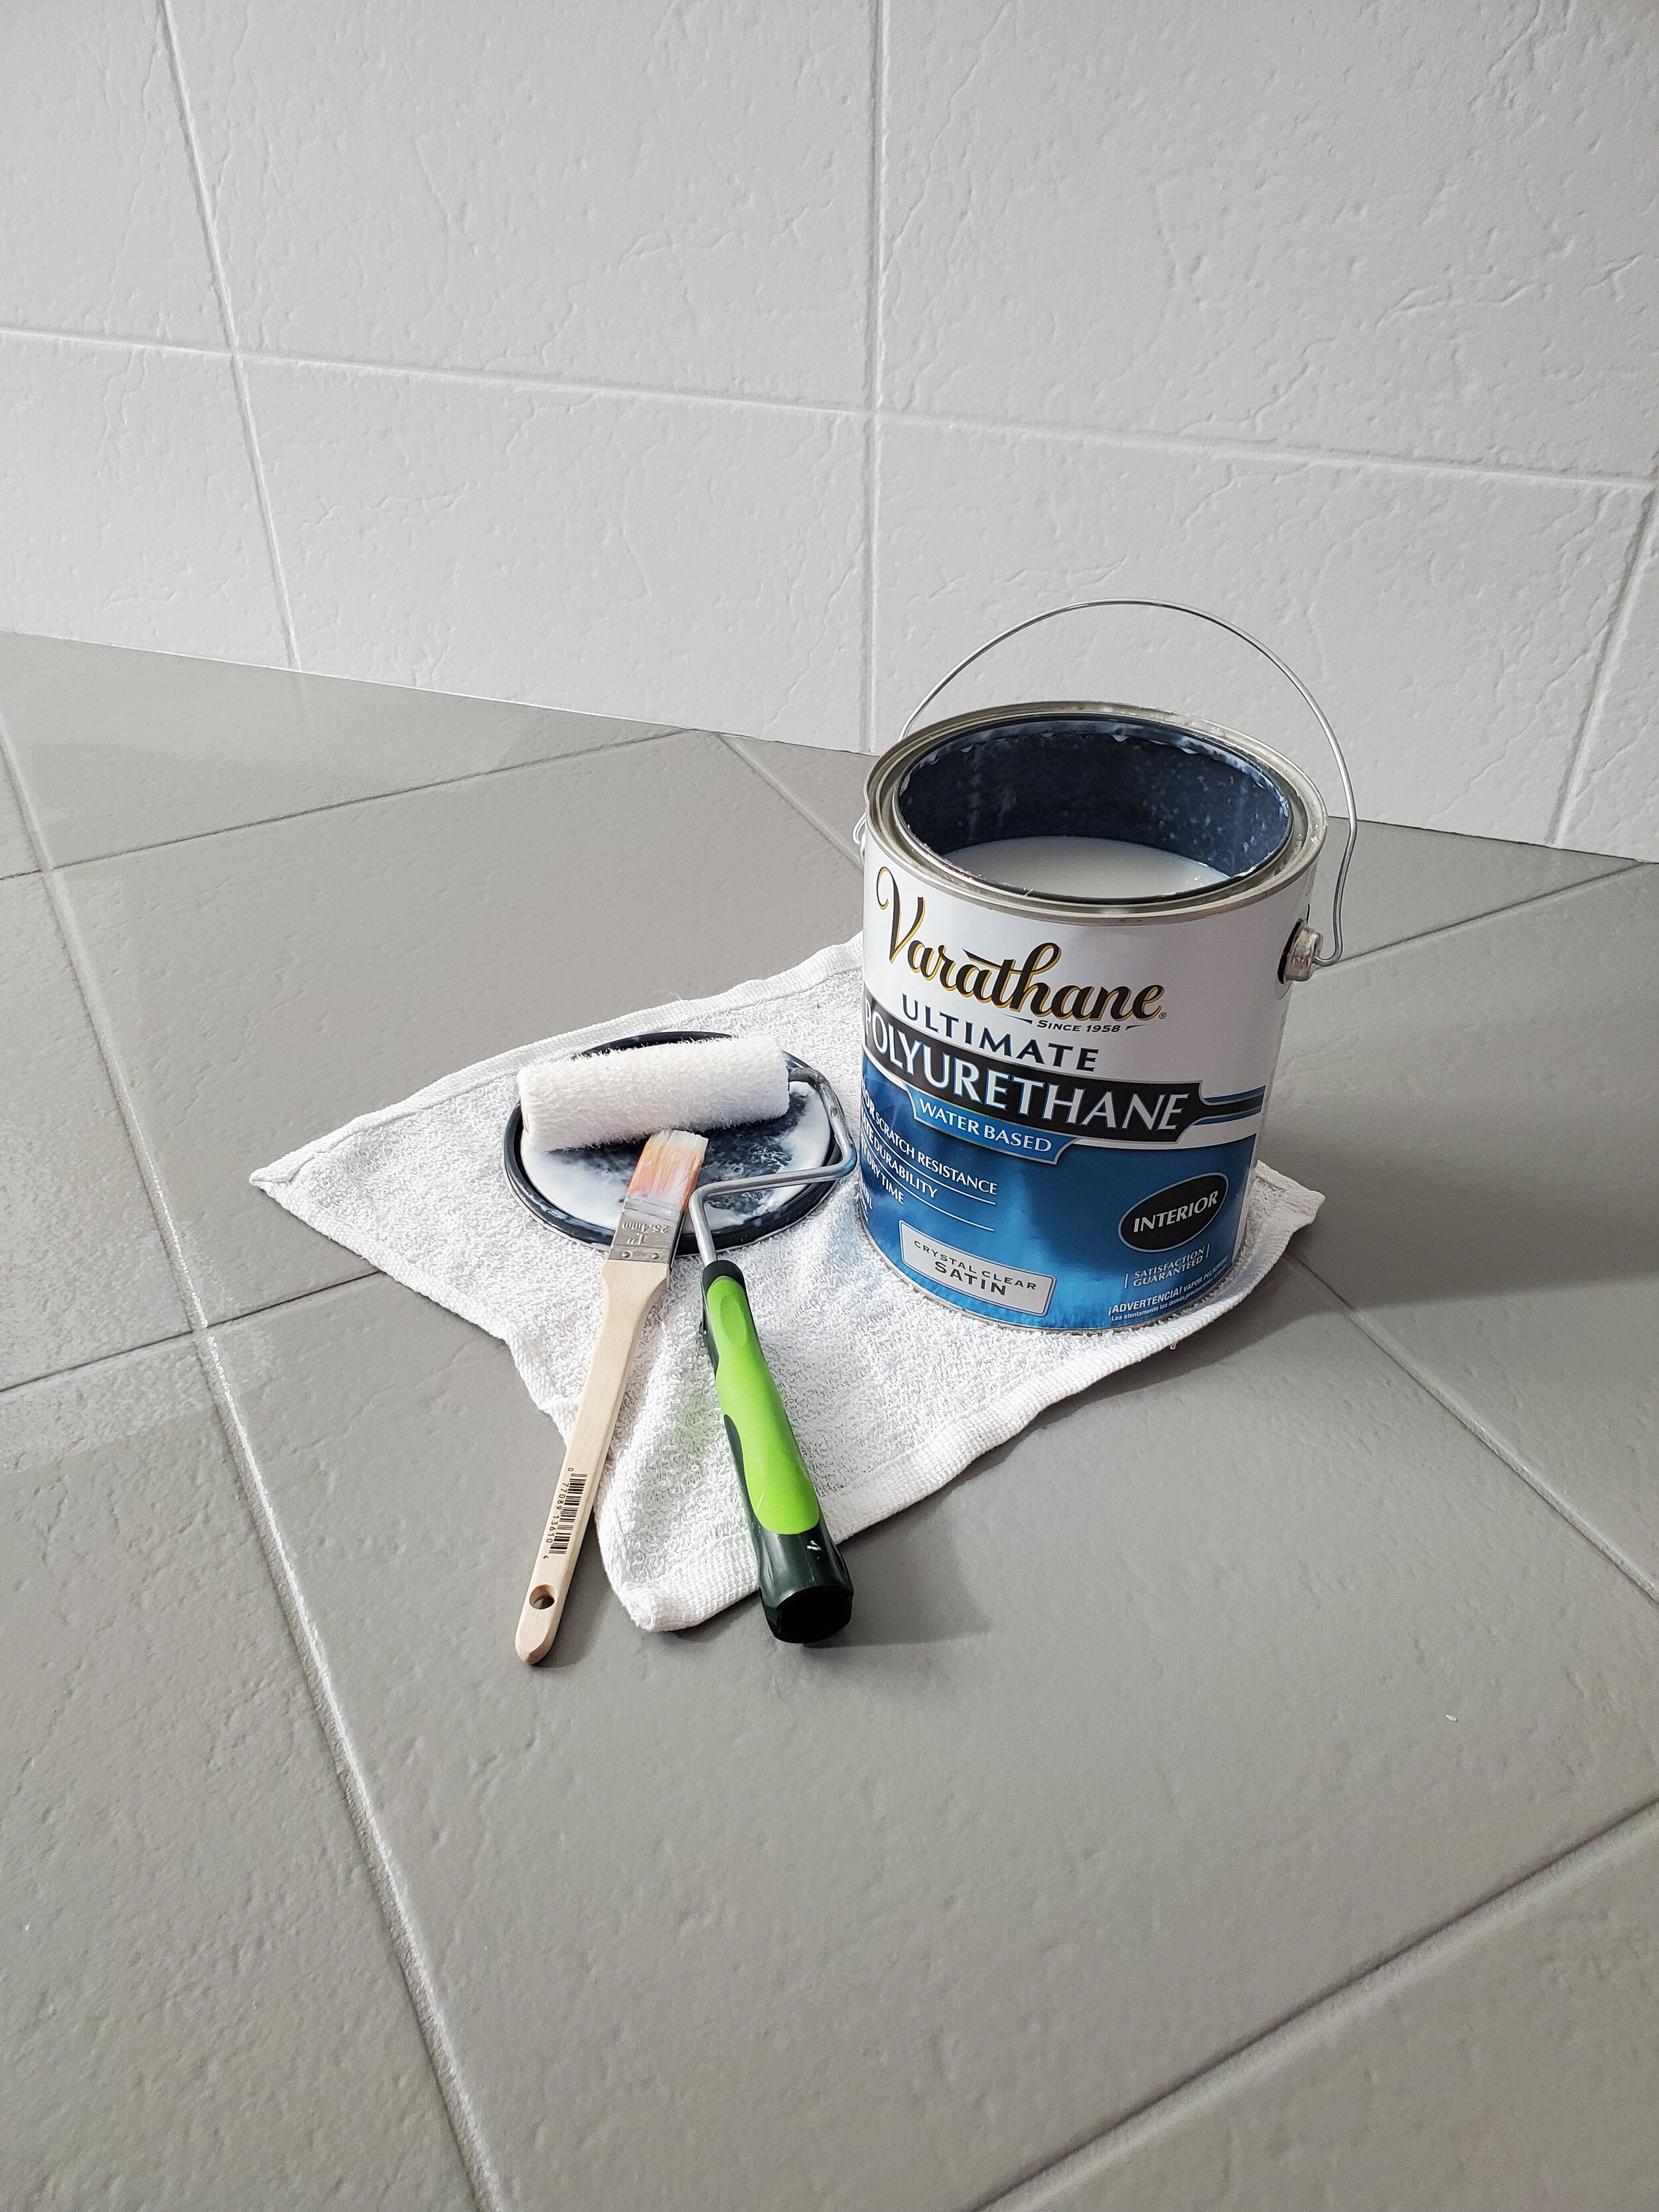
You are in the home stretch!!! Top coat time! This is your most important coat. It will seal your paint, making the surface hard and cleanable. If dry time was ever important…it’s on this coat….or coats rather. I recommend applying 2-3 coats of polyurethane to finish up your floors. When applying the polyurethane over the paint, it will appear to give a slightly ‘blurry’ or lighter look to the color of the tile. Do not worry! When it is dry your tile color will look just as it previously did. Make sure that when using latex paint color on the floor…you also use a water based/latex polyurethane on the floor as well. A great thing about water based poly…it won’t yellow over time. That is…if applied properly. That means nice thin coats, spreading out any drips or ‘puddling’ in tile cracks or over grout, and allowing for dry time between coats.
Step 11:

Here is the real test of patience. The floor looks done….it even feels dry….but wait, don’t use them yet! I know it’s normal to want to just rush everything back into that bathroom to see your room transformed. Don’t do it. Don’t wreck all your hard work and days of dry times just to scratch, dent, and peel your floor now! Your polyurethane can will very clearly tell you when those floor are ready for objects to be put back on them again. This even means carpets. Carpets, even though light in weight, cover the floor limiting the proper curing of the top coat. Please follow the time for complete curing of your floor before putting it into full use again.
Step 12:
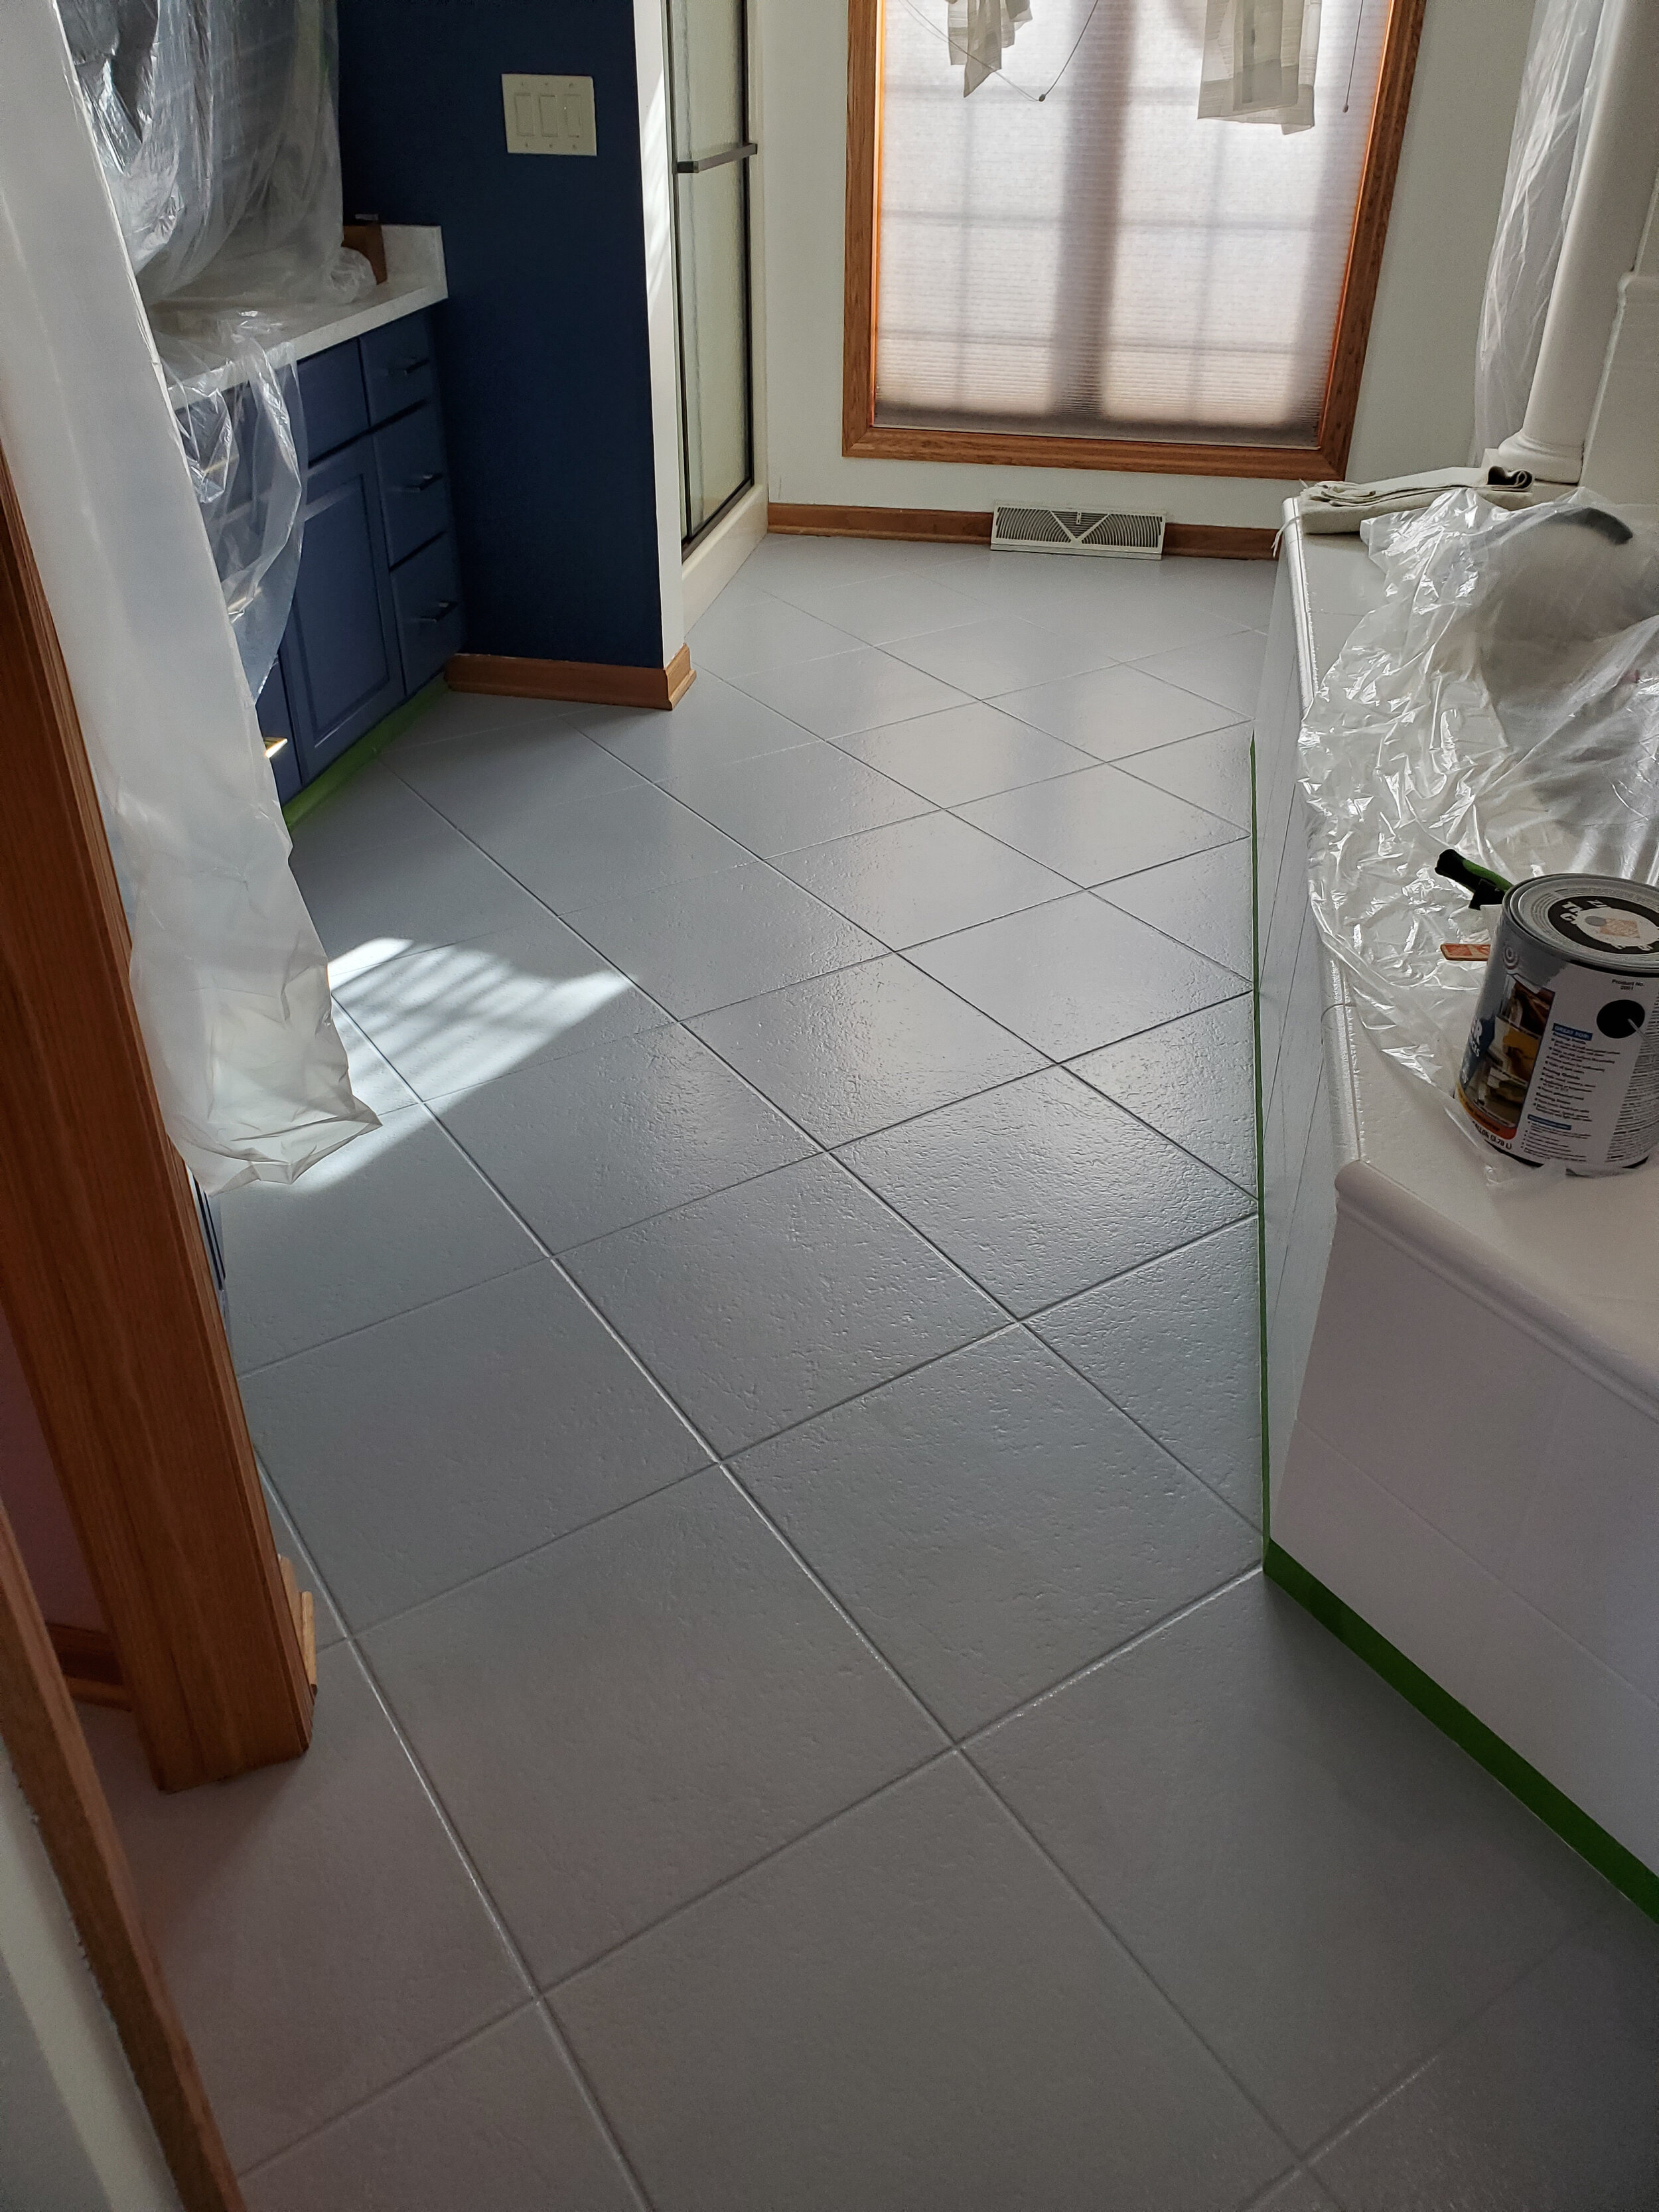
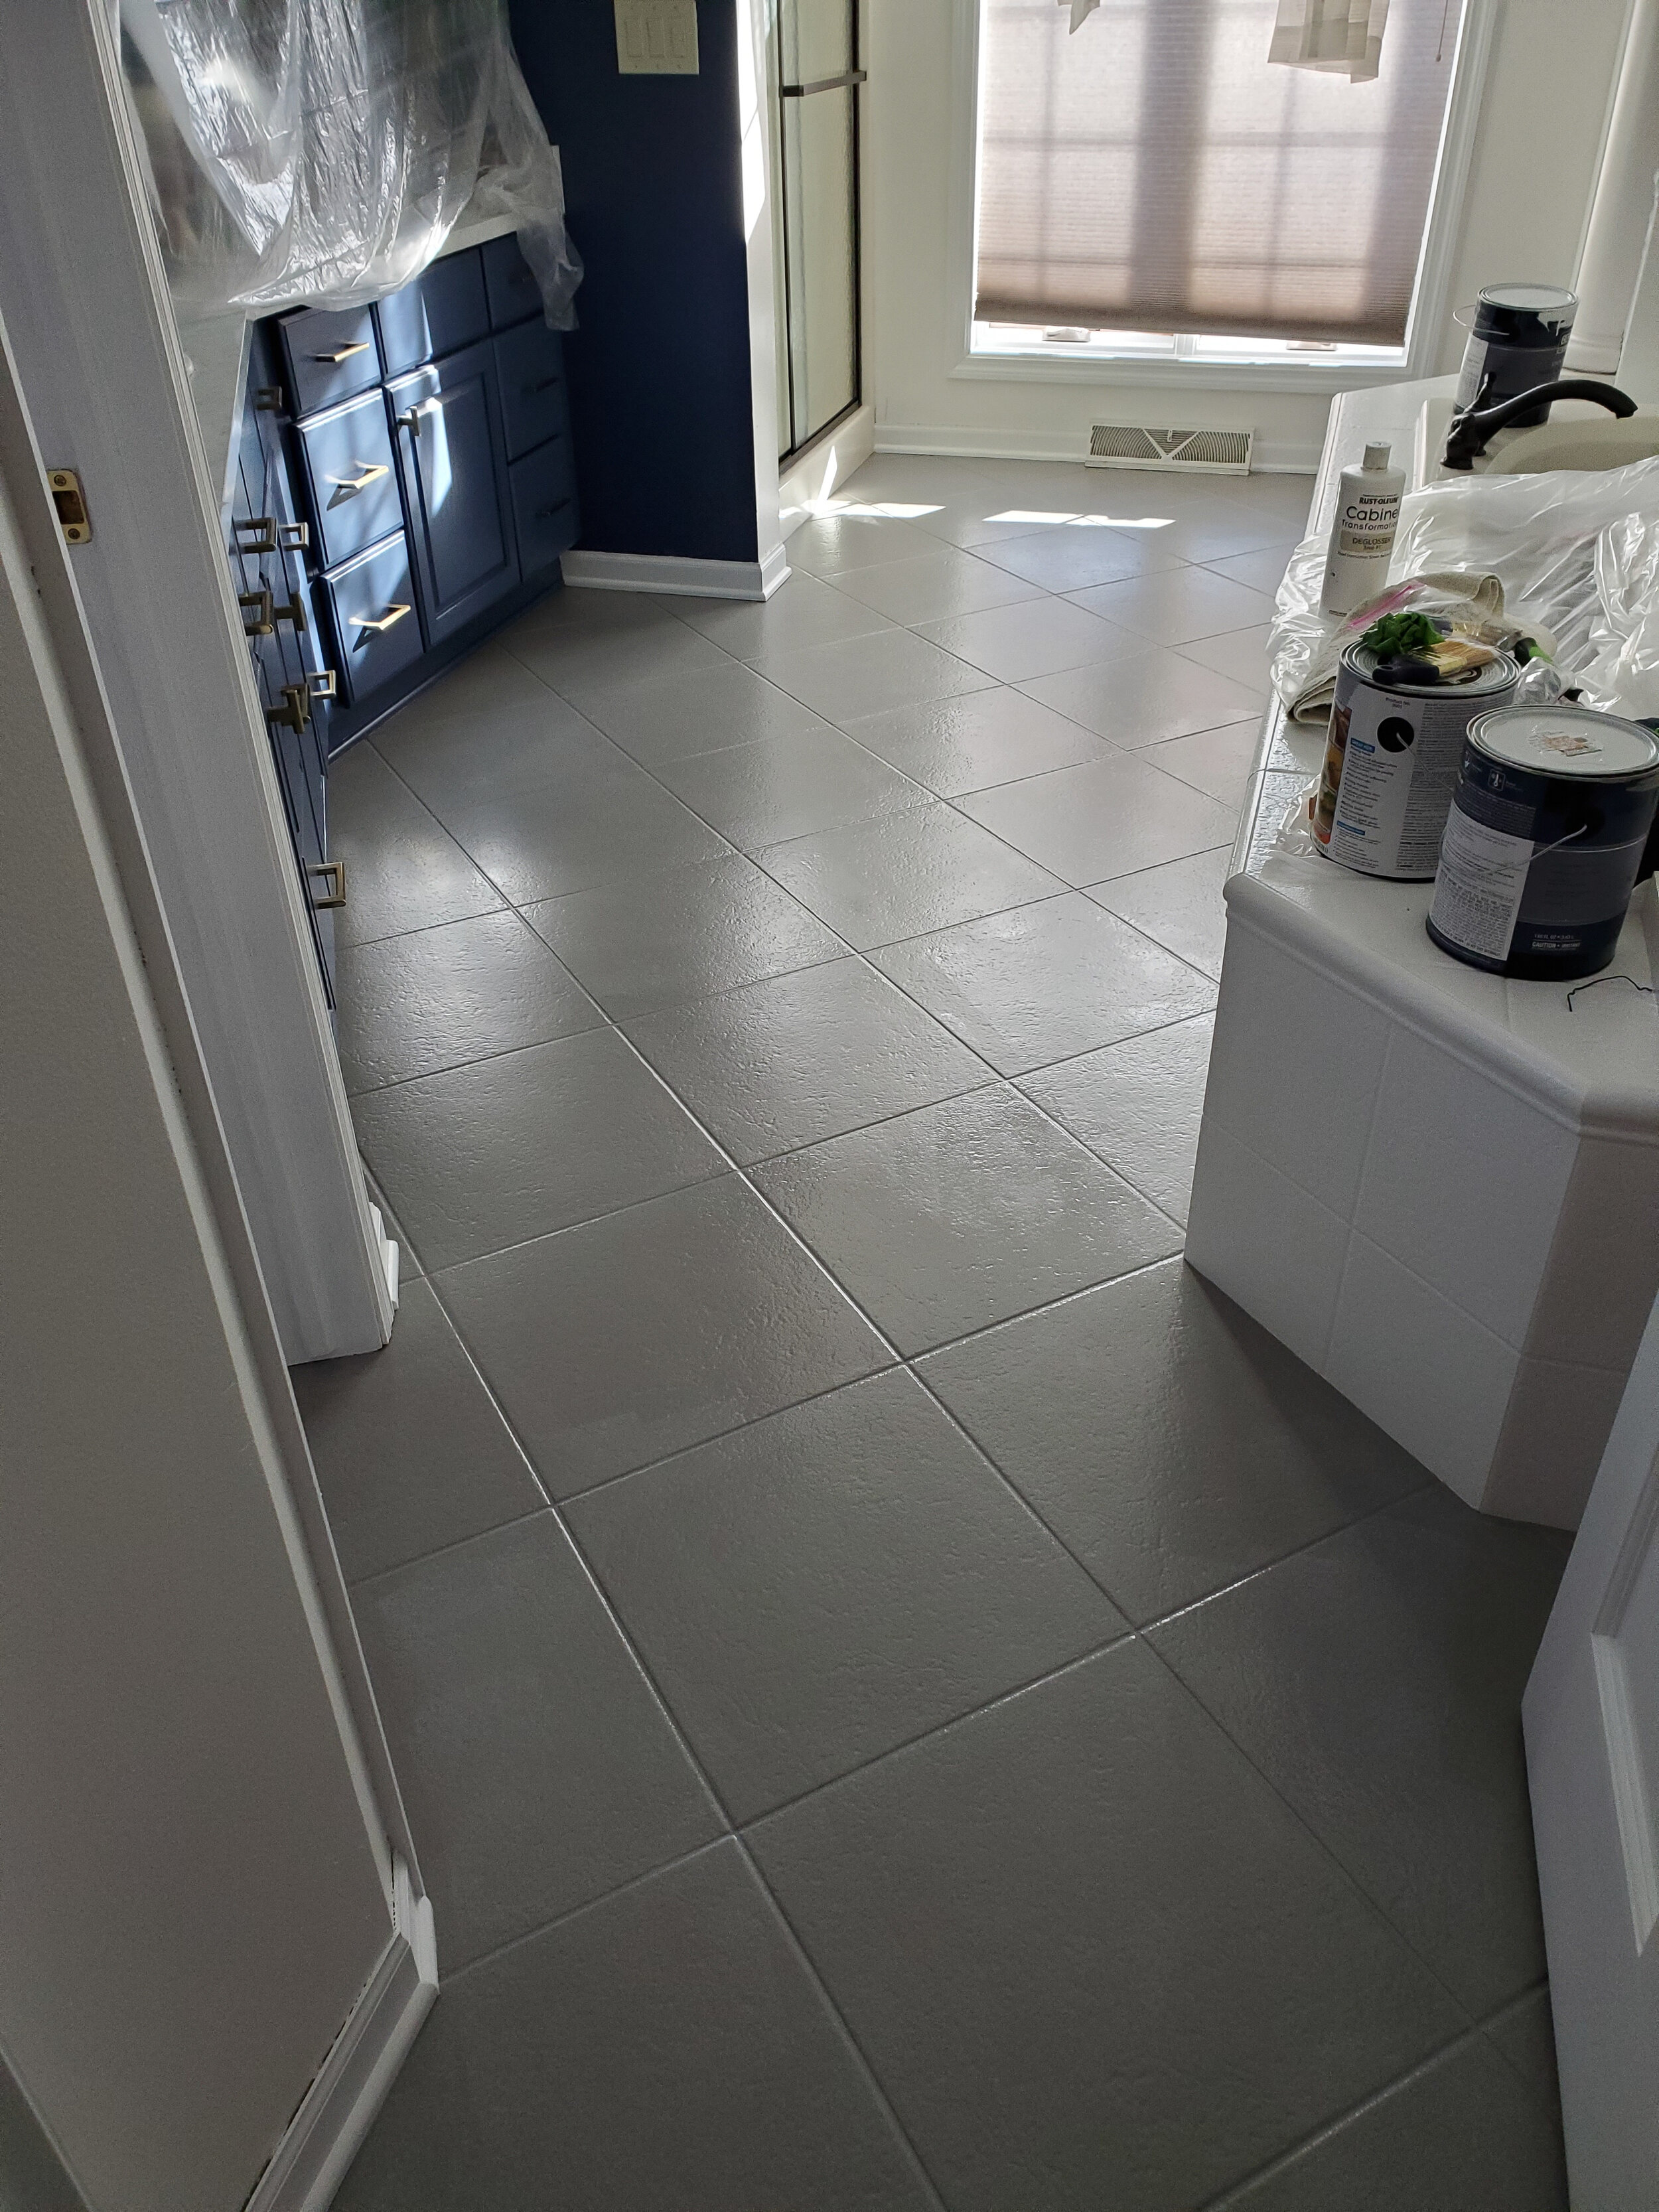
Woohoo! You did it! Now move all that stuff back into your bathroom and check out the amazing no demo transformation you just made. Seriously, just stand there…5 min…or 50min, I won’t judge, and check out what you just created. Enjoy!