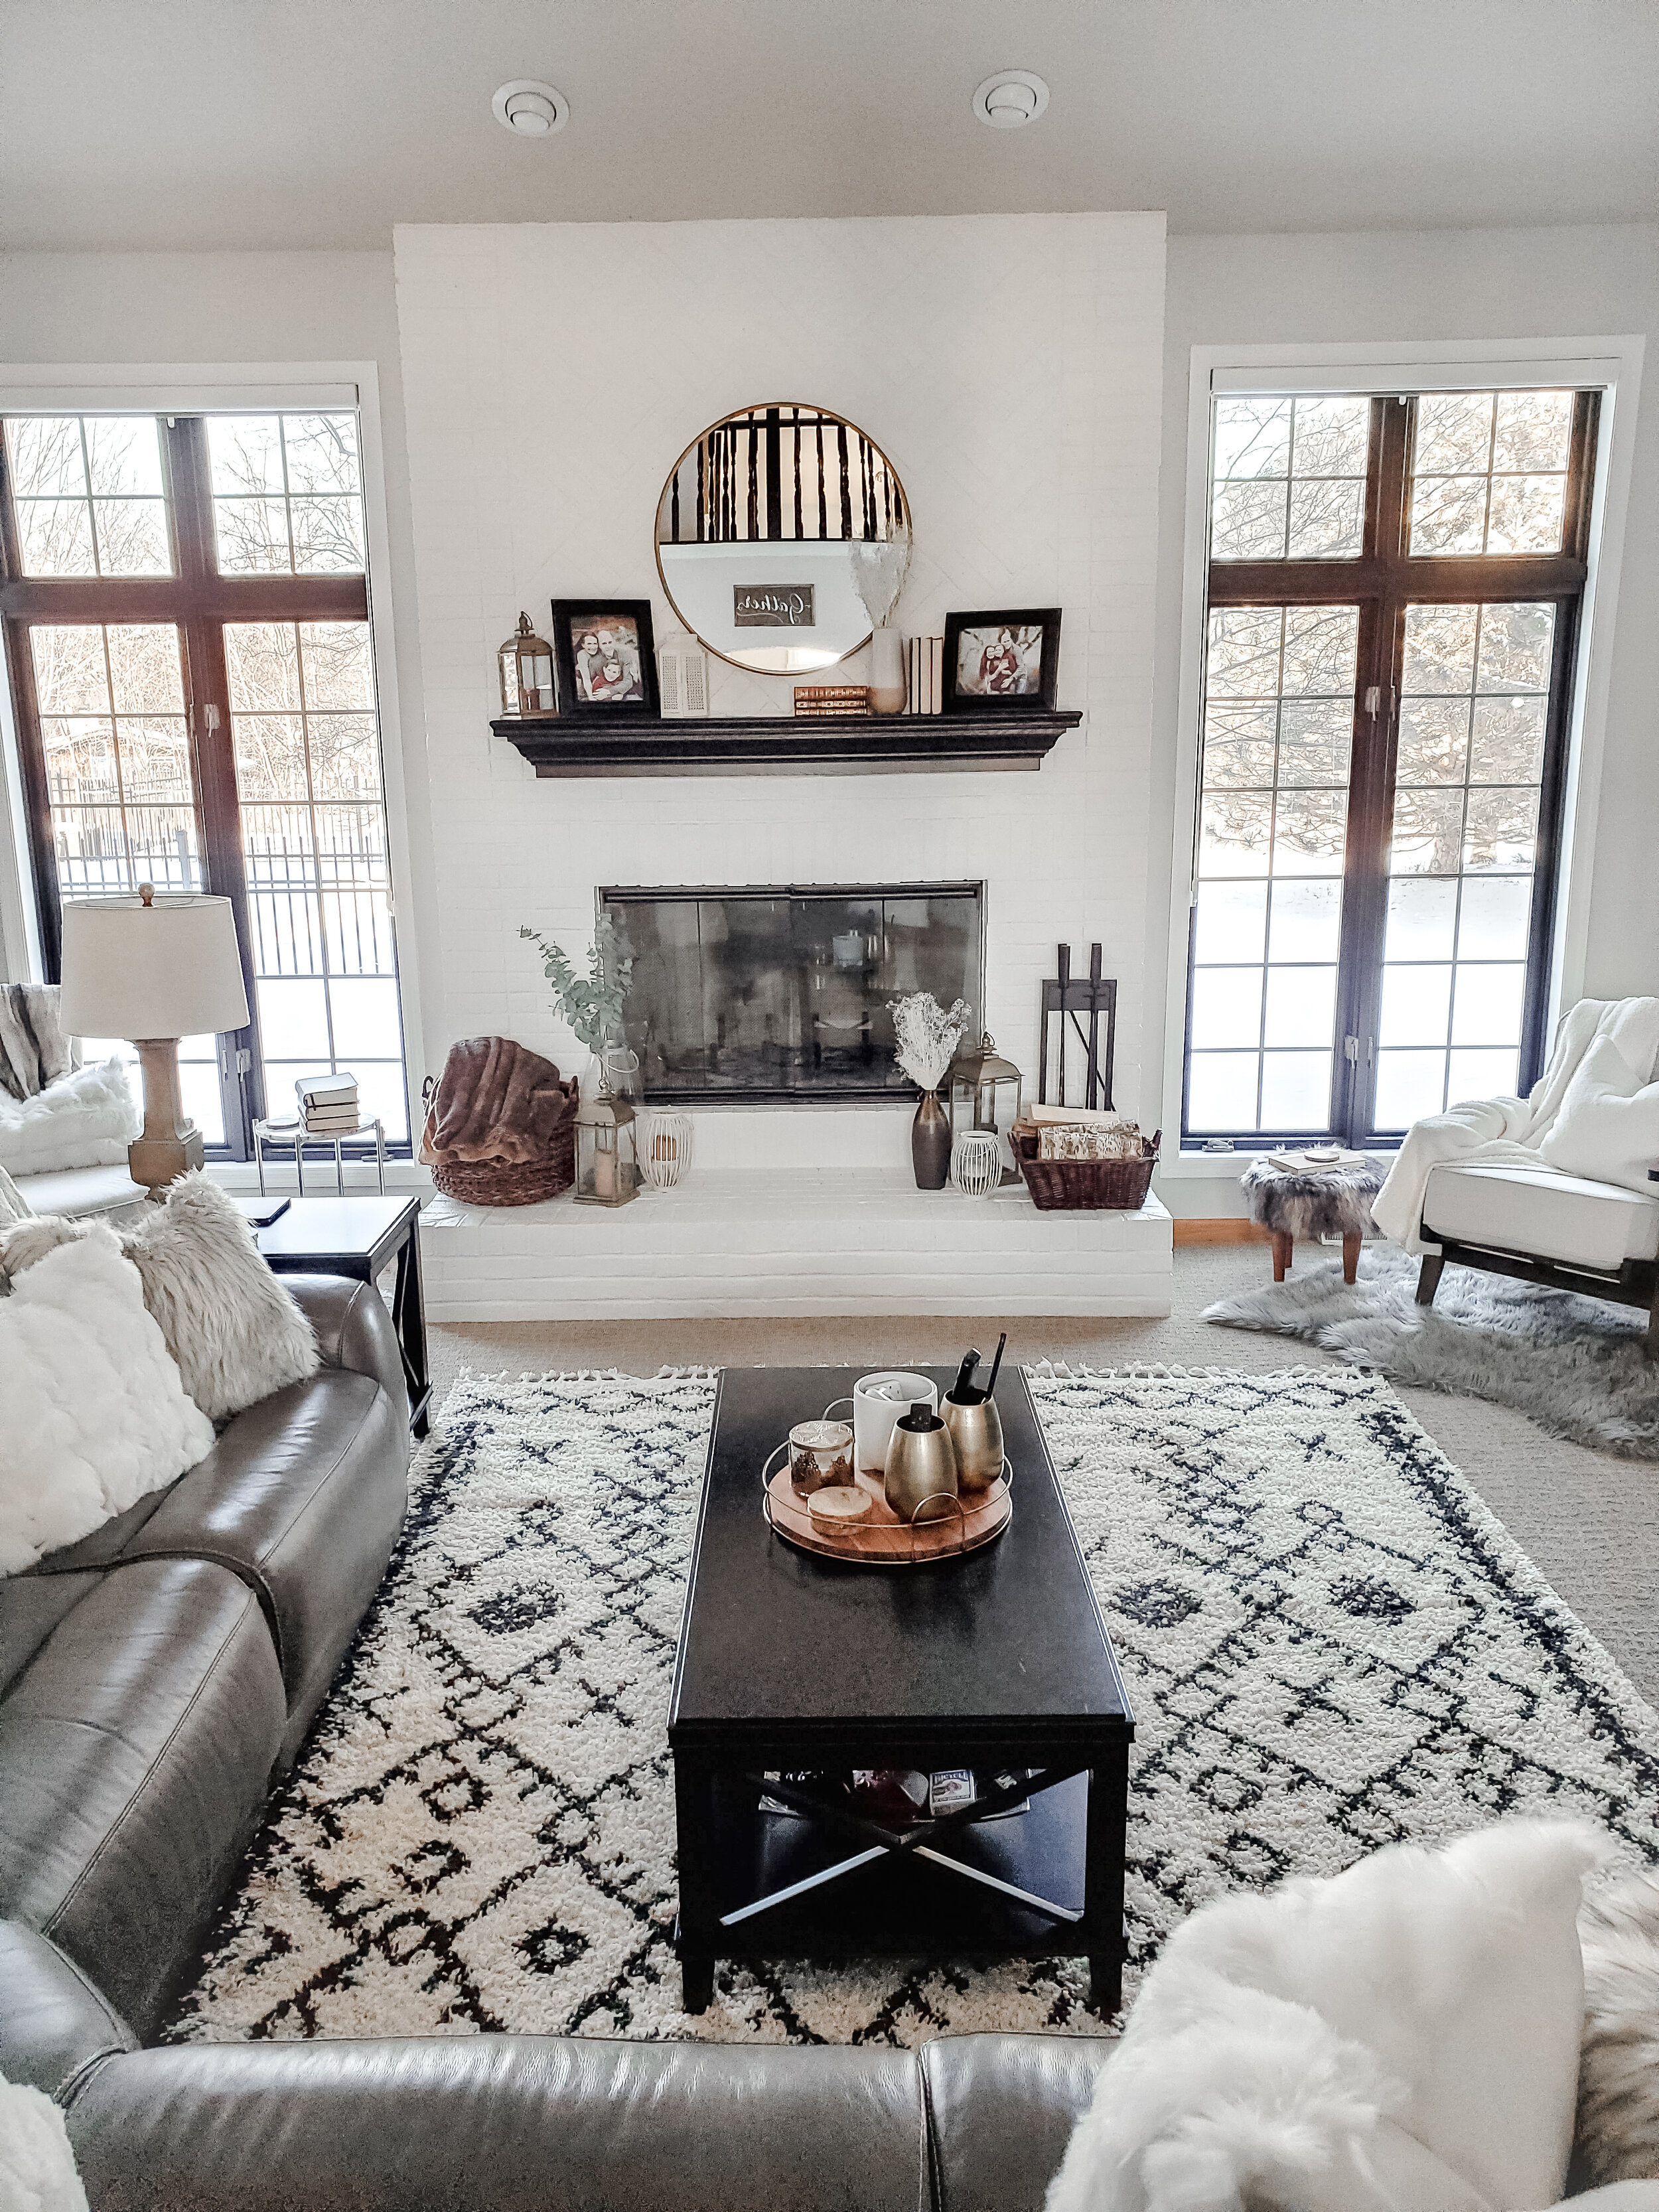
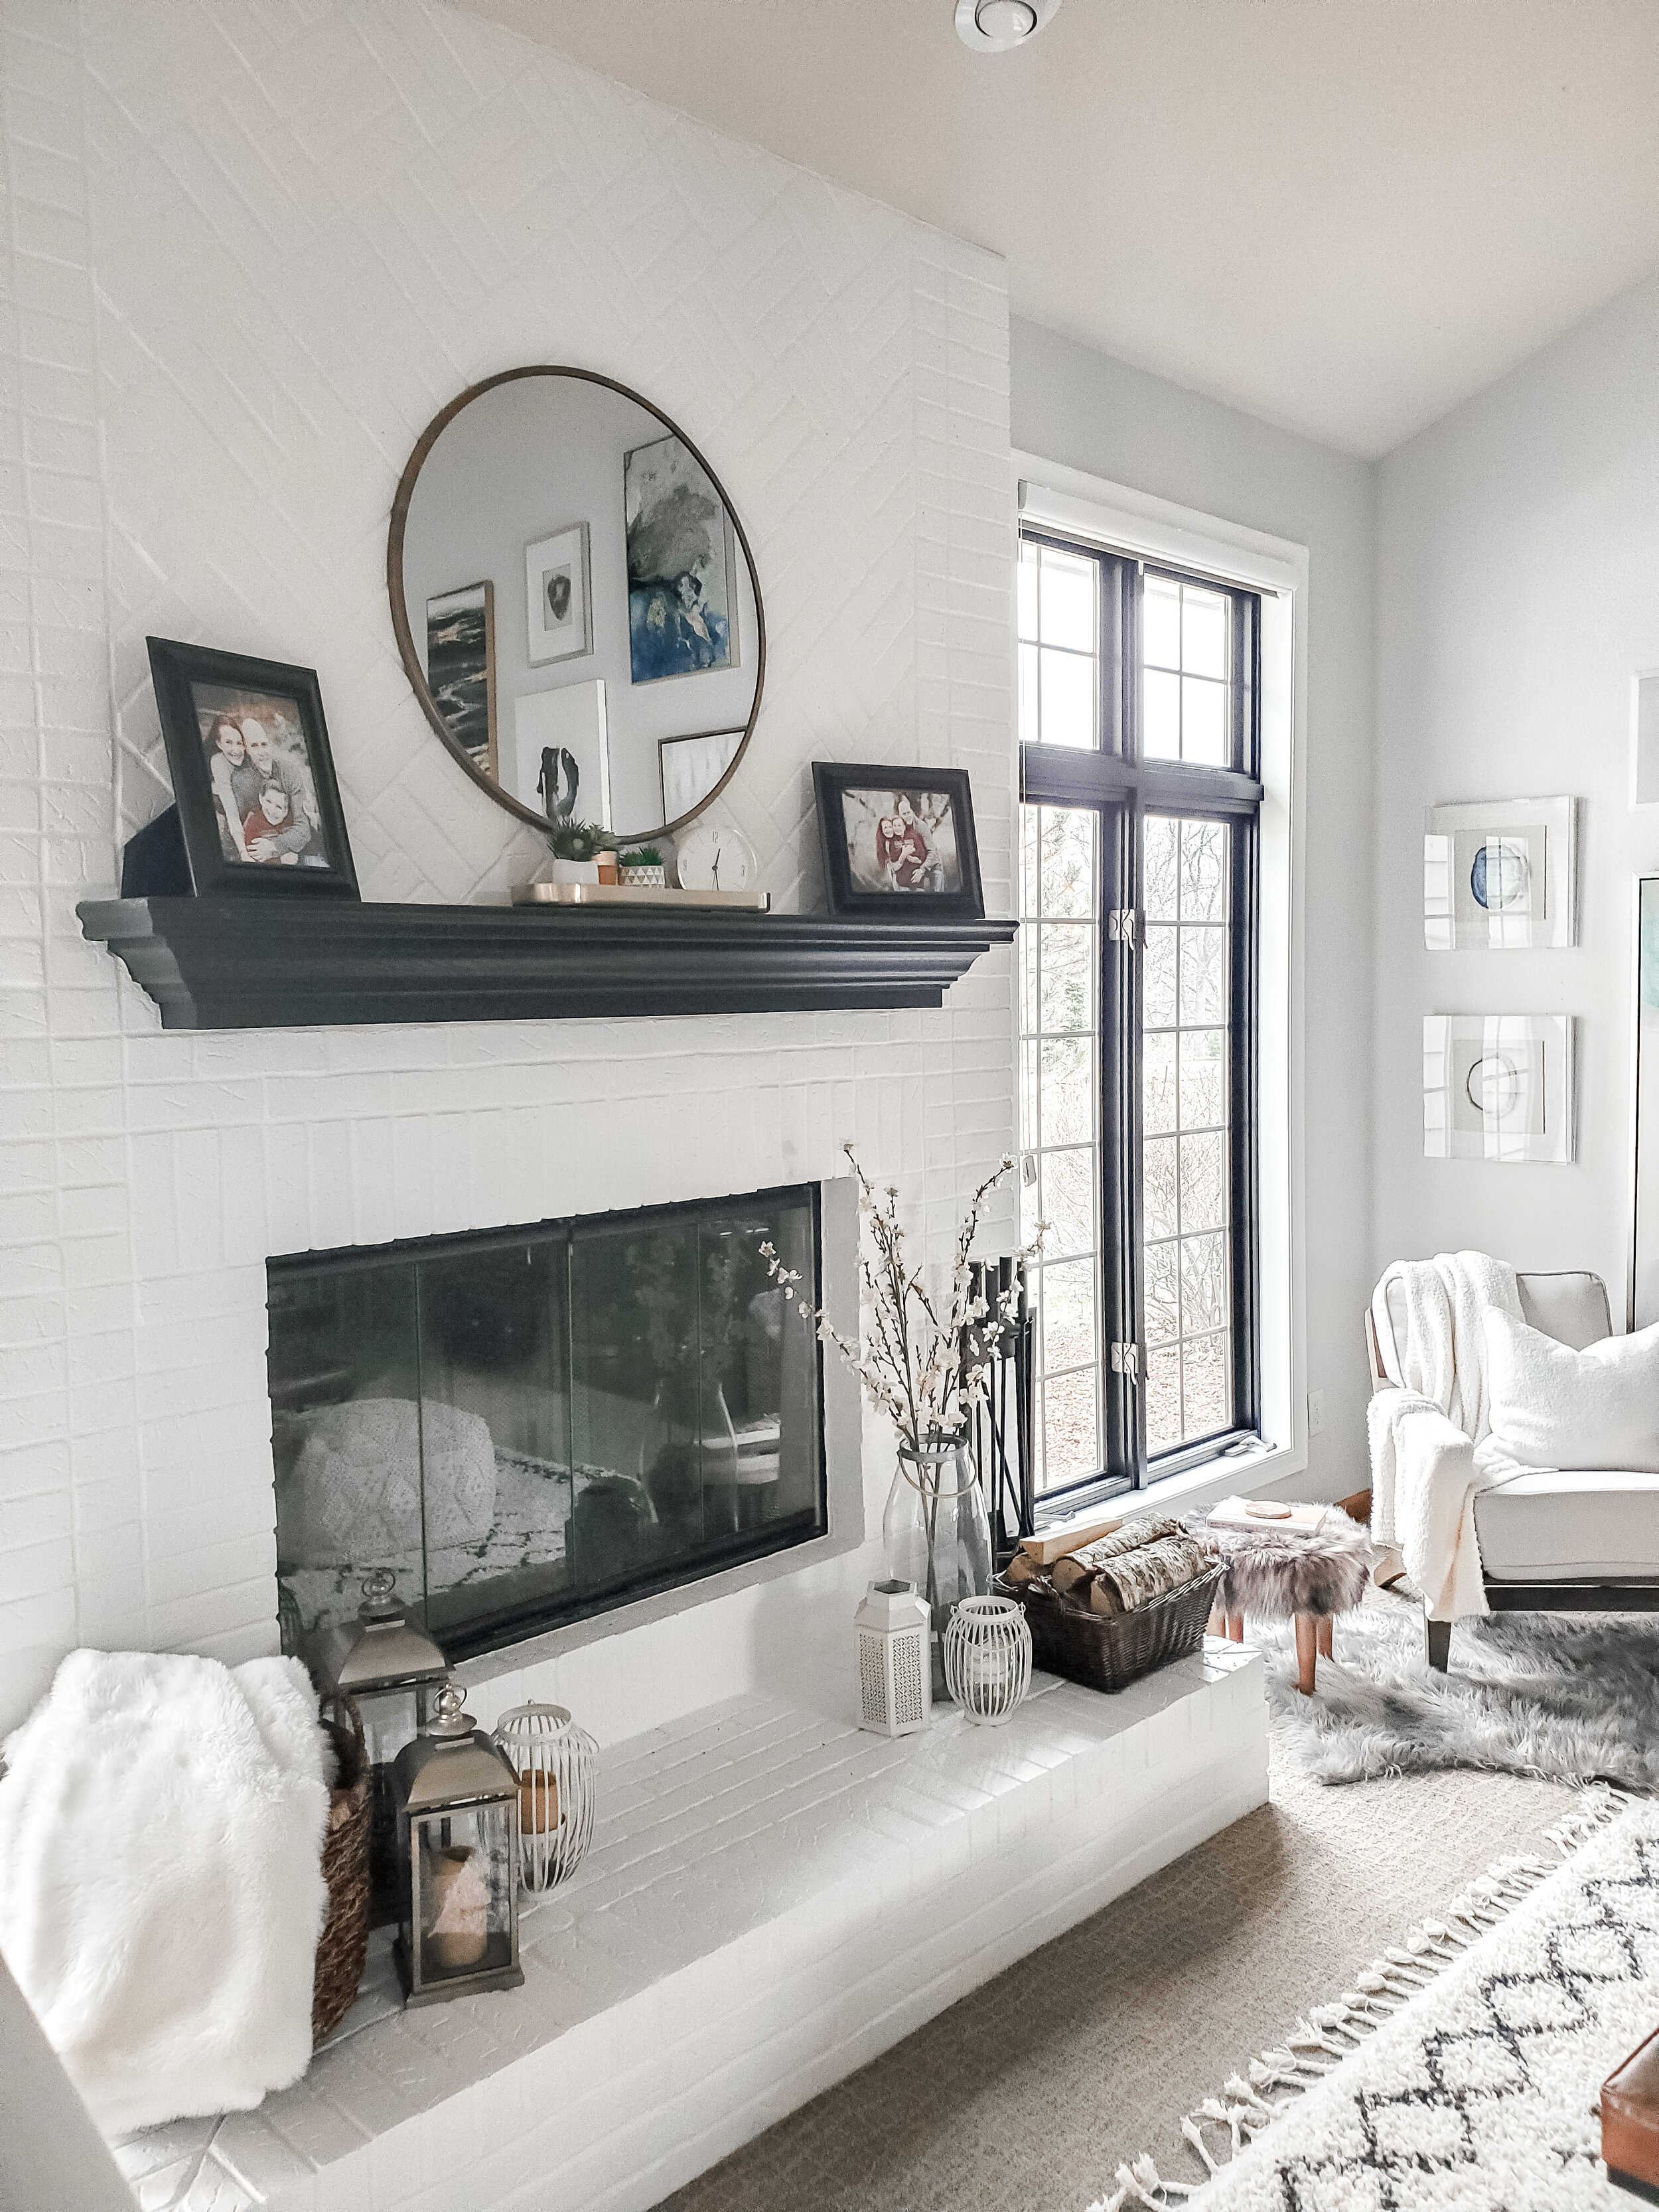
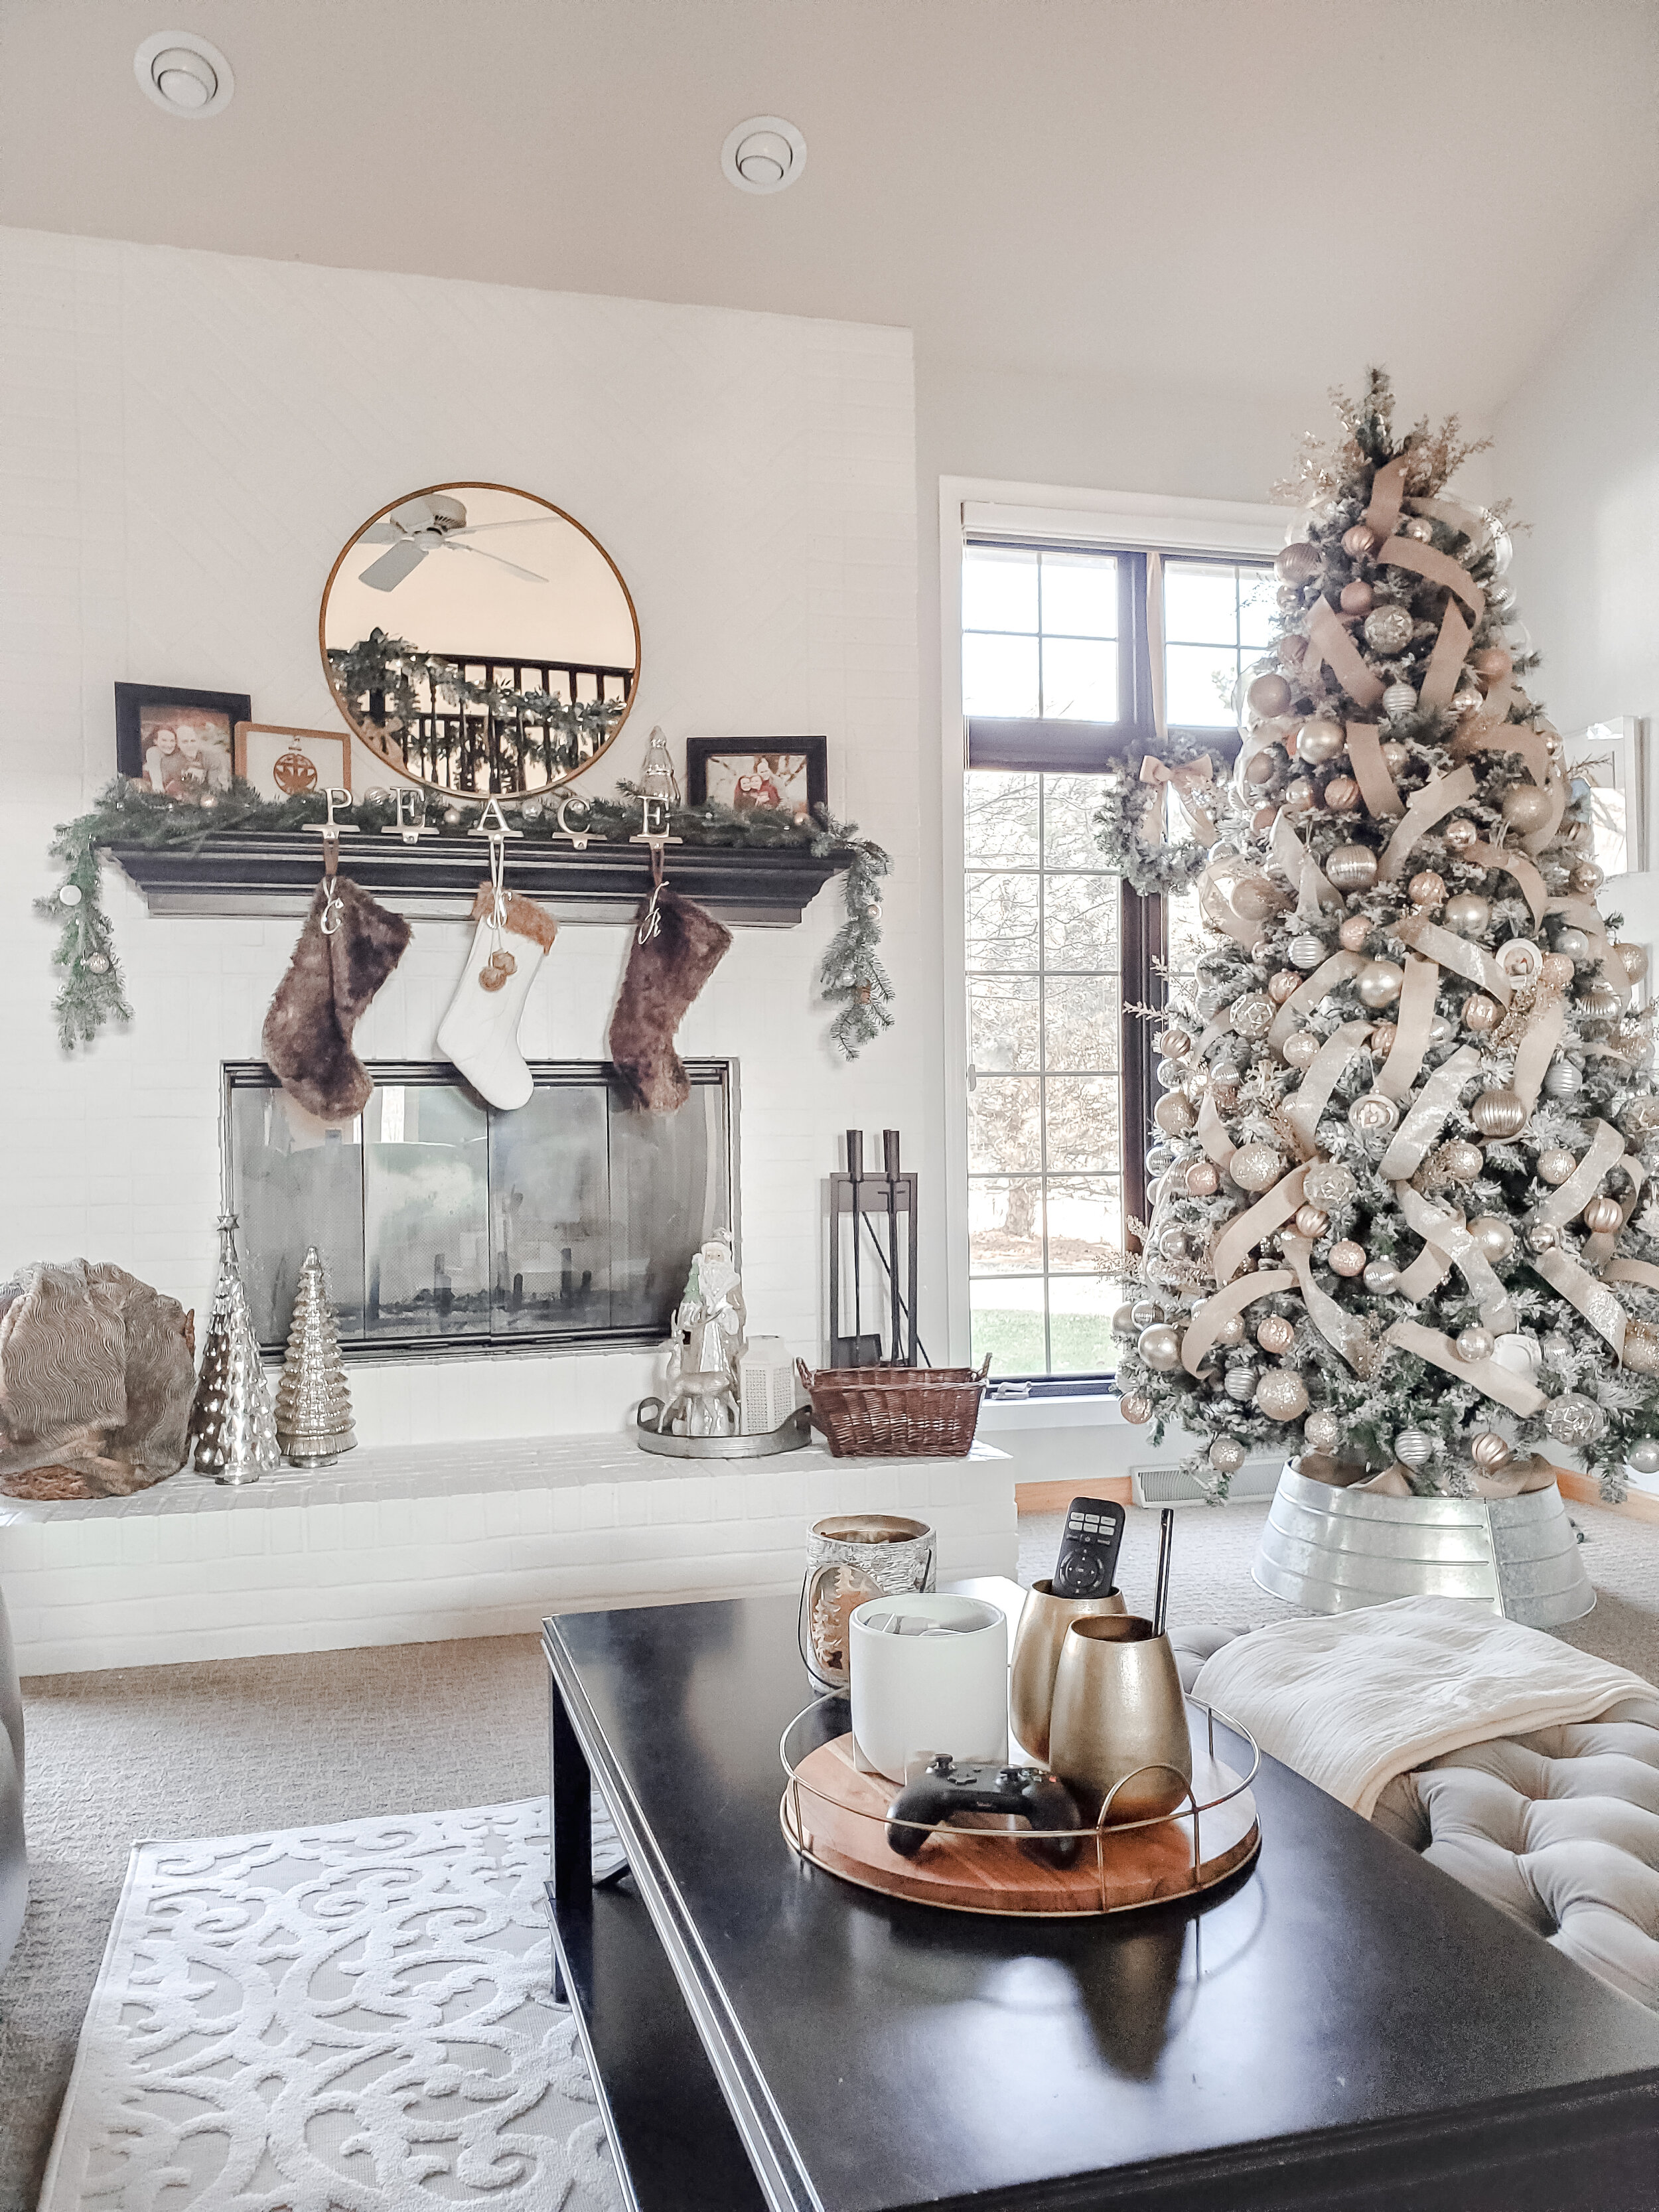
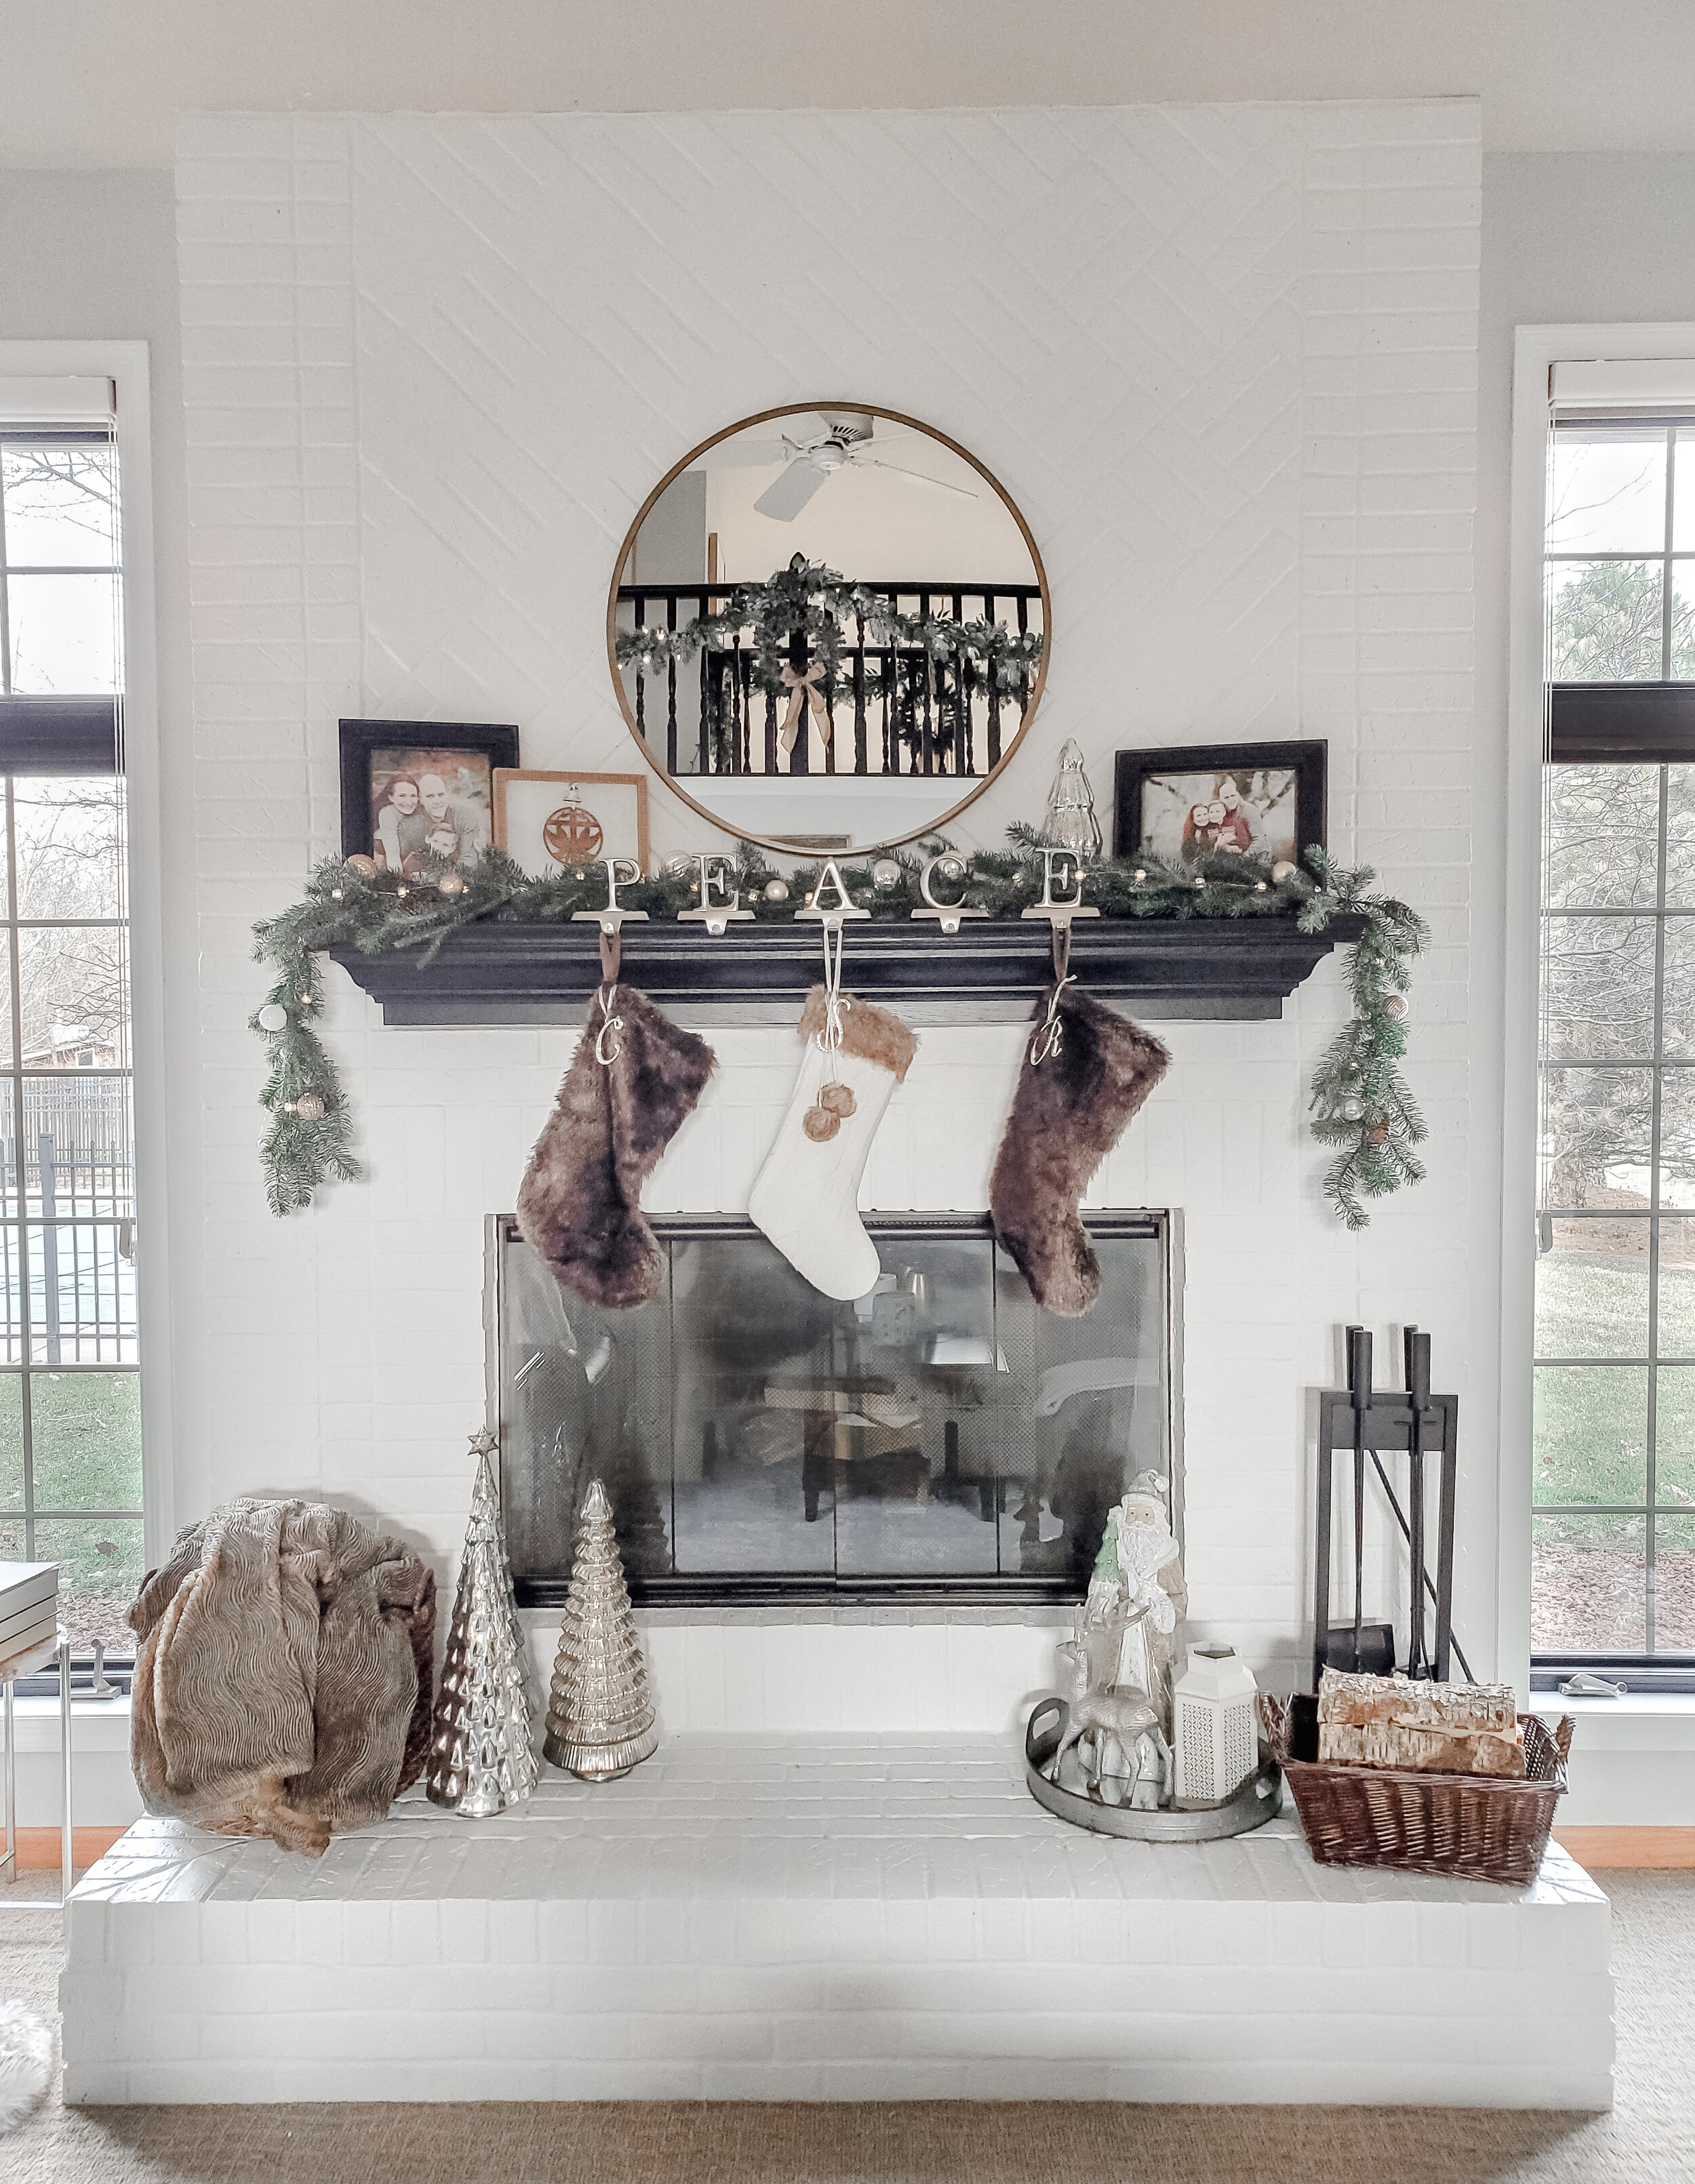
Fireplace Facelift!
So…be honest with me. How many months or years have you stared at that stone or brick fireplace and thought…”I just want to tear that down it looks awful”…..or “I wish our fireplace wasn’t so out of date.” Good news for you! You don’t have to go straight demo on that outdated fireplace. Your solution is my answer to so many home makeovers…PAINT! Well paint and a little bit of elbow grease. I am going to break down the process for you step by step. Starting with applying a limewash (whitewash), if desired, and then moving onto the painting. This project was completed last year and unfortunately I don’t have full step-by-step photos, but I am hopeful I can break it all down enough to make sense. Here we go…

Step one will really vary for each persons fireplace….cleaning your hearth and all areas to be painted.
Here’s what you’ll need:
Plastic tarps
painters tape
vacuum (with hose and detail brush)
Bucket of clean water
Rag
Degreaser (TSP)
Scrub brush (and/or sponge)
If you are a cleaning junkie and regularly vacuum, dust and wipe down your hearth…then this step can go quickly for you. However, if you rarely do any fireplace cleanings and have a nice collection of soot and dirt,…this step may take some time and a whole lot of scrubbing. When taking on a project like this I always recommend laying down lots of plastic tarps and taping off to your carpet, walls, and edges on any material you don’t want to get wet or painted on (hold off on taping fireplace doors until after cleaning). If your fireplace requires light cleaning, simply vacuum it entirely off with a detail brush and then wipe it down with a damp rag. If you are picking up a fair amount of dirt on your rag, use a mild soap & water mix to wash the brick/stone down more thoroughly. Now onto my peeps that need a more hardcore cleaning job done. same as my clean fireplace friends…begin by vacuuming up as much as you can. now onto removing those black soot stains. You will want to use a strong degreaser, such as trisodium phosphate (TSP). This can be found at home centers, hardware stores, my favorite, Home Depot, and of course Amazon. You will first make a paste using the TSP and water. Then apply the paste to a sponge or scrub brush (since brick is more porous, you will likely need to use a scrub brush on your brick). Now scrub away. Using a sponge and clean water, wipe off any residue. Repeat as needed until that hearth is nice and clean! I cannot stress enough the importance of cleaning….especially if you plan to limewash or paint white. Any remaining soot will bleed right through. So put some time into cleaning, you will be happy you did!


Your fireplace is clean and you are ready to get painting! If you plan to paint, then you need to allow your fireplace to fully dry before beginning. I recommend waiting 24hrs since brick can soak in that water. if you are going the limewash direction…then no need to wait for your hearth to dry because you want it wet for your next steps.
What you’ll need:
Respirator mask (this will carry throughout all your painting)
Lime Wash of choice
Tall bucket
Mixing tool (Drill w/mixing attachment, hand mixer for paint, stir stick)
Masonry brush
Spray Bottle
Large Sponge
Rags
Water
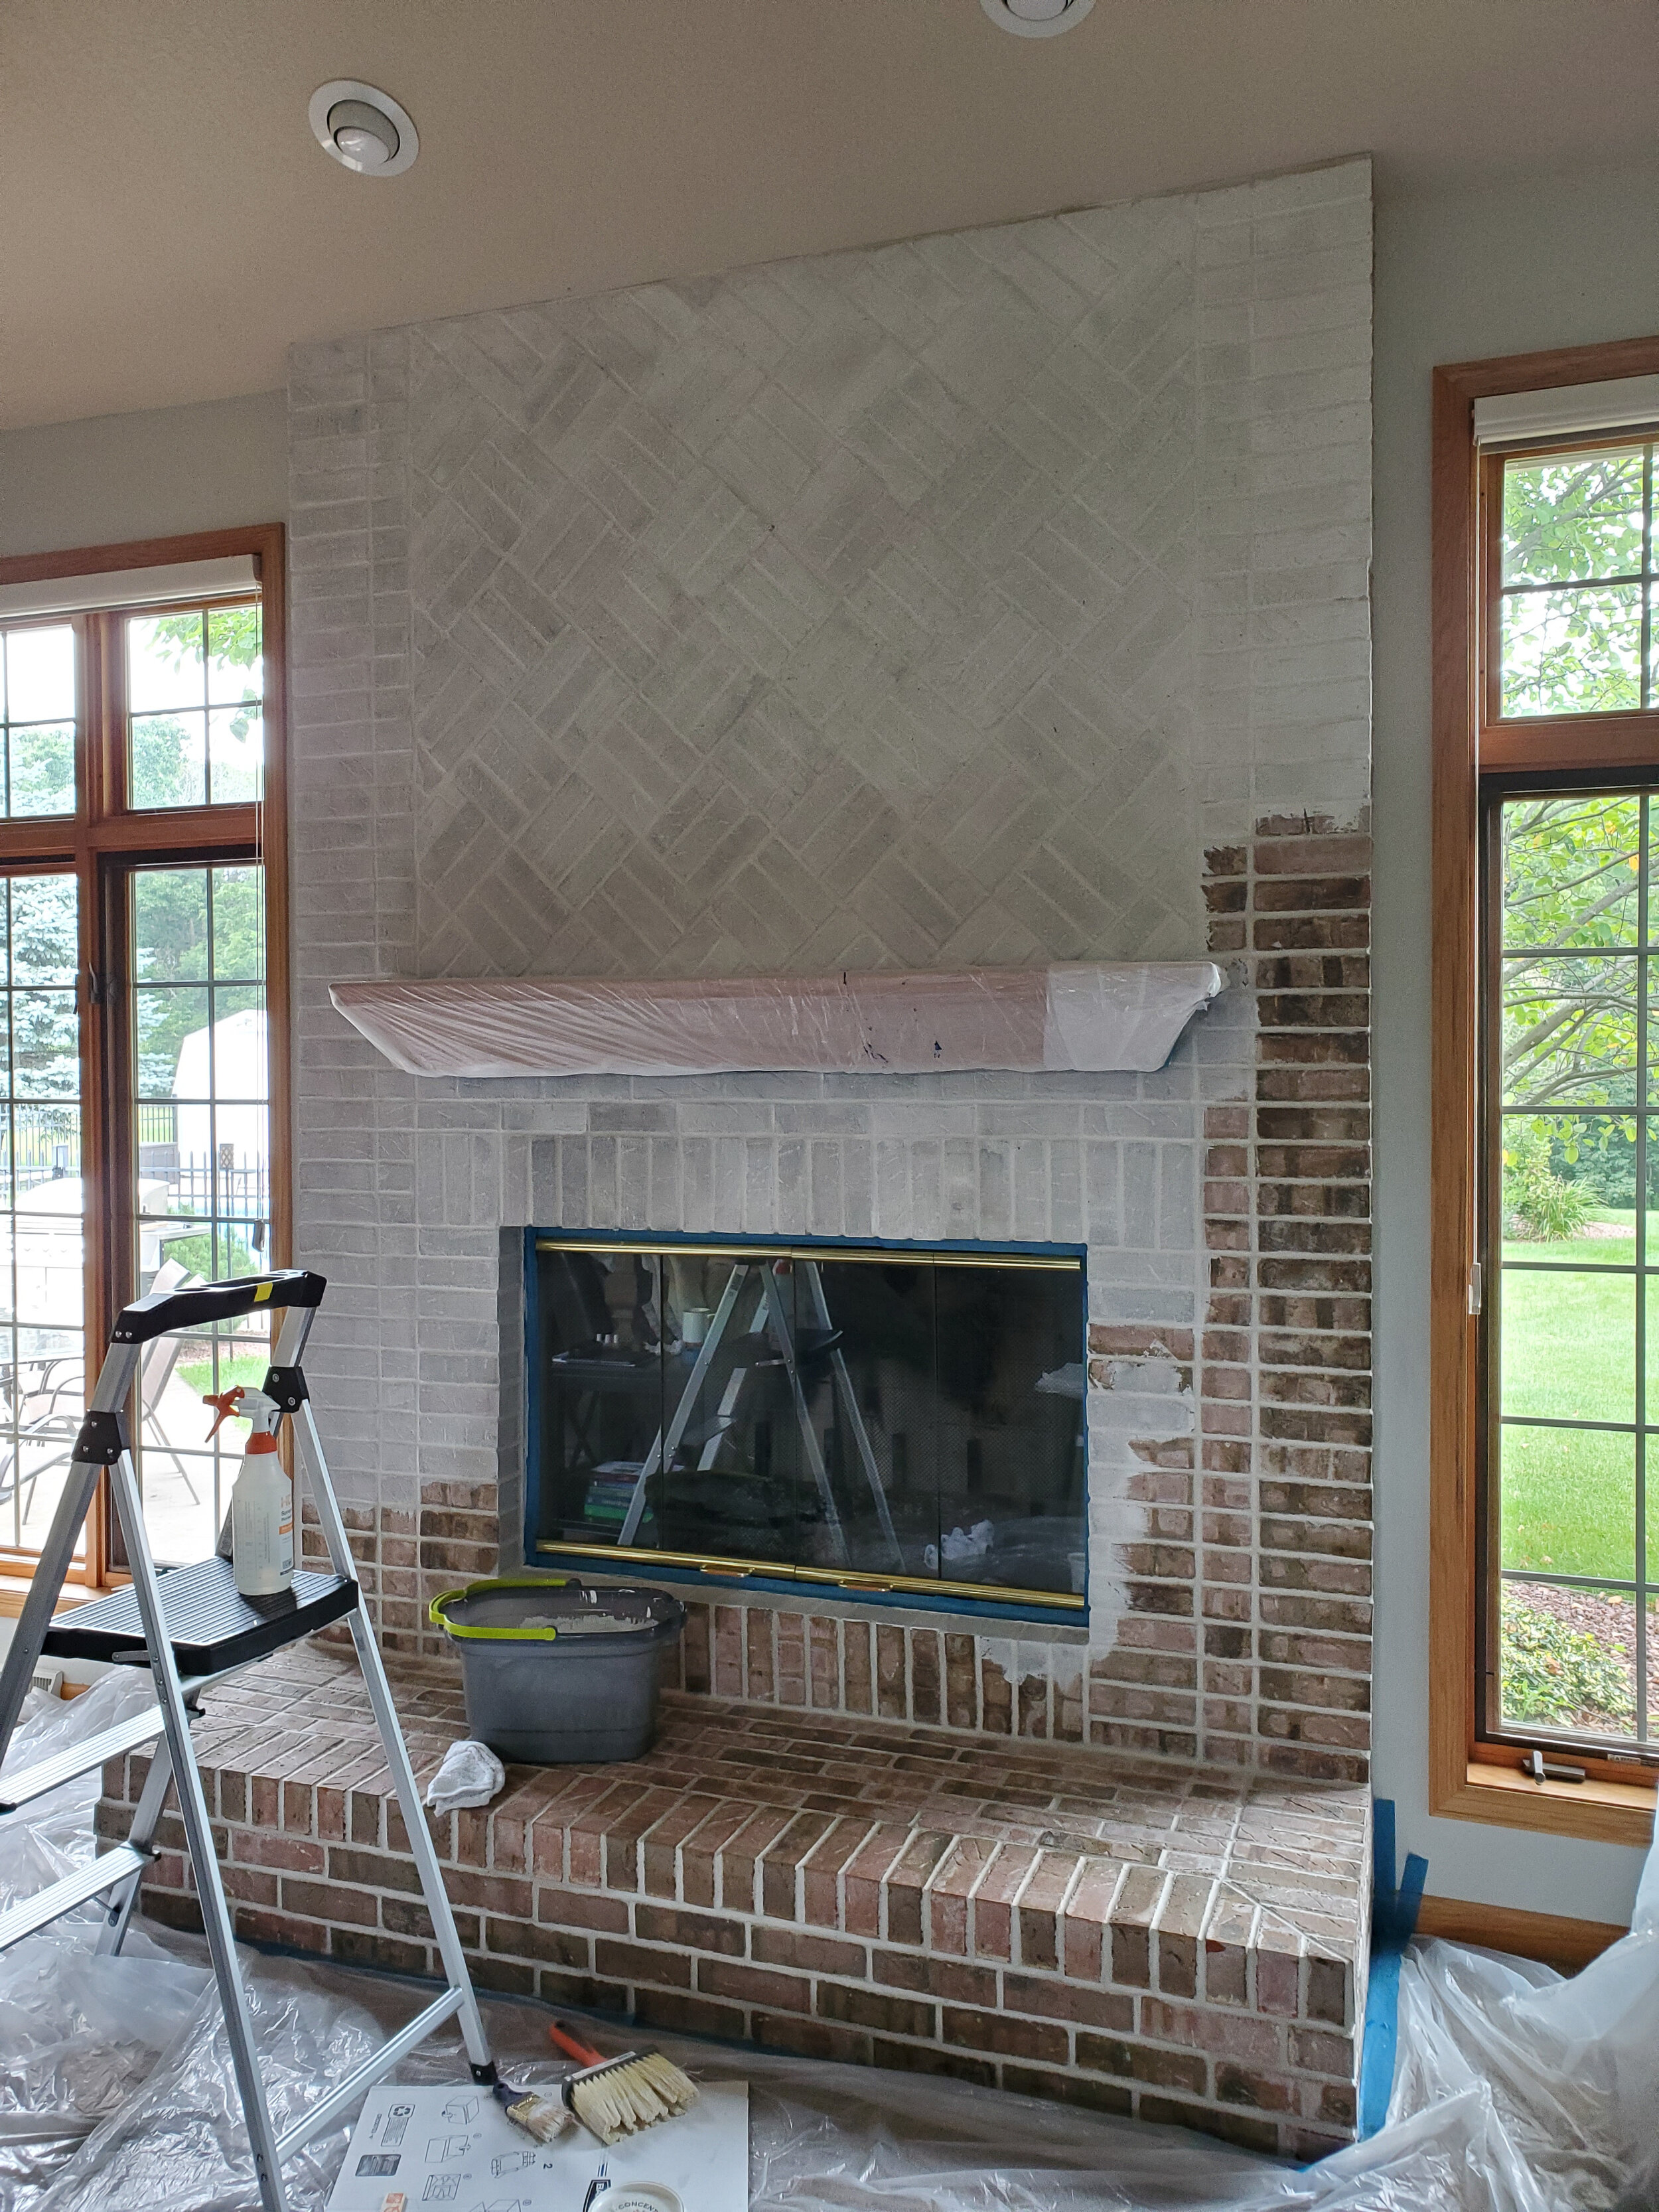
Let’s get mixing. Lime wash comes as a very thick ‘paste’. You then add the desired amount of water to dilute as desired for your project. Now mixing this is no joke! if you plan on using some type of stir stick…have fun…see you in an hour, with a pumped and tired forearm, and splatters of lime wash all over. Can it be mixed smoothly with a stir stick…yes, I’ve done it. And I don’t recommend it. The best method…my preferred method is using a paint mixing attachment for your drill. You will thank me for this! With your limewash mixed you are ready to begin painting. Start at the top and work your way down…moving one section at a time. Mist the brick (or stone) with water so it is damp. Now paint on mix. Don’t go back over an area you’ve already done. Even coat across the entire hearth. Remember this is not paint so it shouldn’t be offering full coverage. If after one coat you still want more coverage before distressing. Wait 24hrs, then before applying more paint mix, mist each spot with water before painting additional coats. you only need to allow paint to dry 15-20 min. before distressing. this is the fun part. With a spray bottle and rag, mist an area you want to distress and then wipe and blot away. You can stagger distressed spots scattered all over, do just a few spots, or spray and wipe away over most of the fireplace. This is for your creativity and style likes. Bonus, if you don’t like it, you can redo it, or clean it entirely off for up to five days (elbow grease required).
…or you can do what I did….

PAINT!
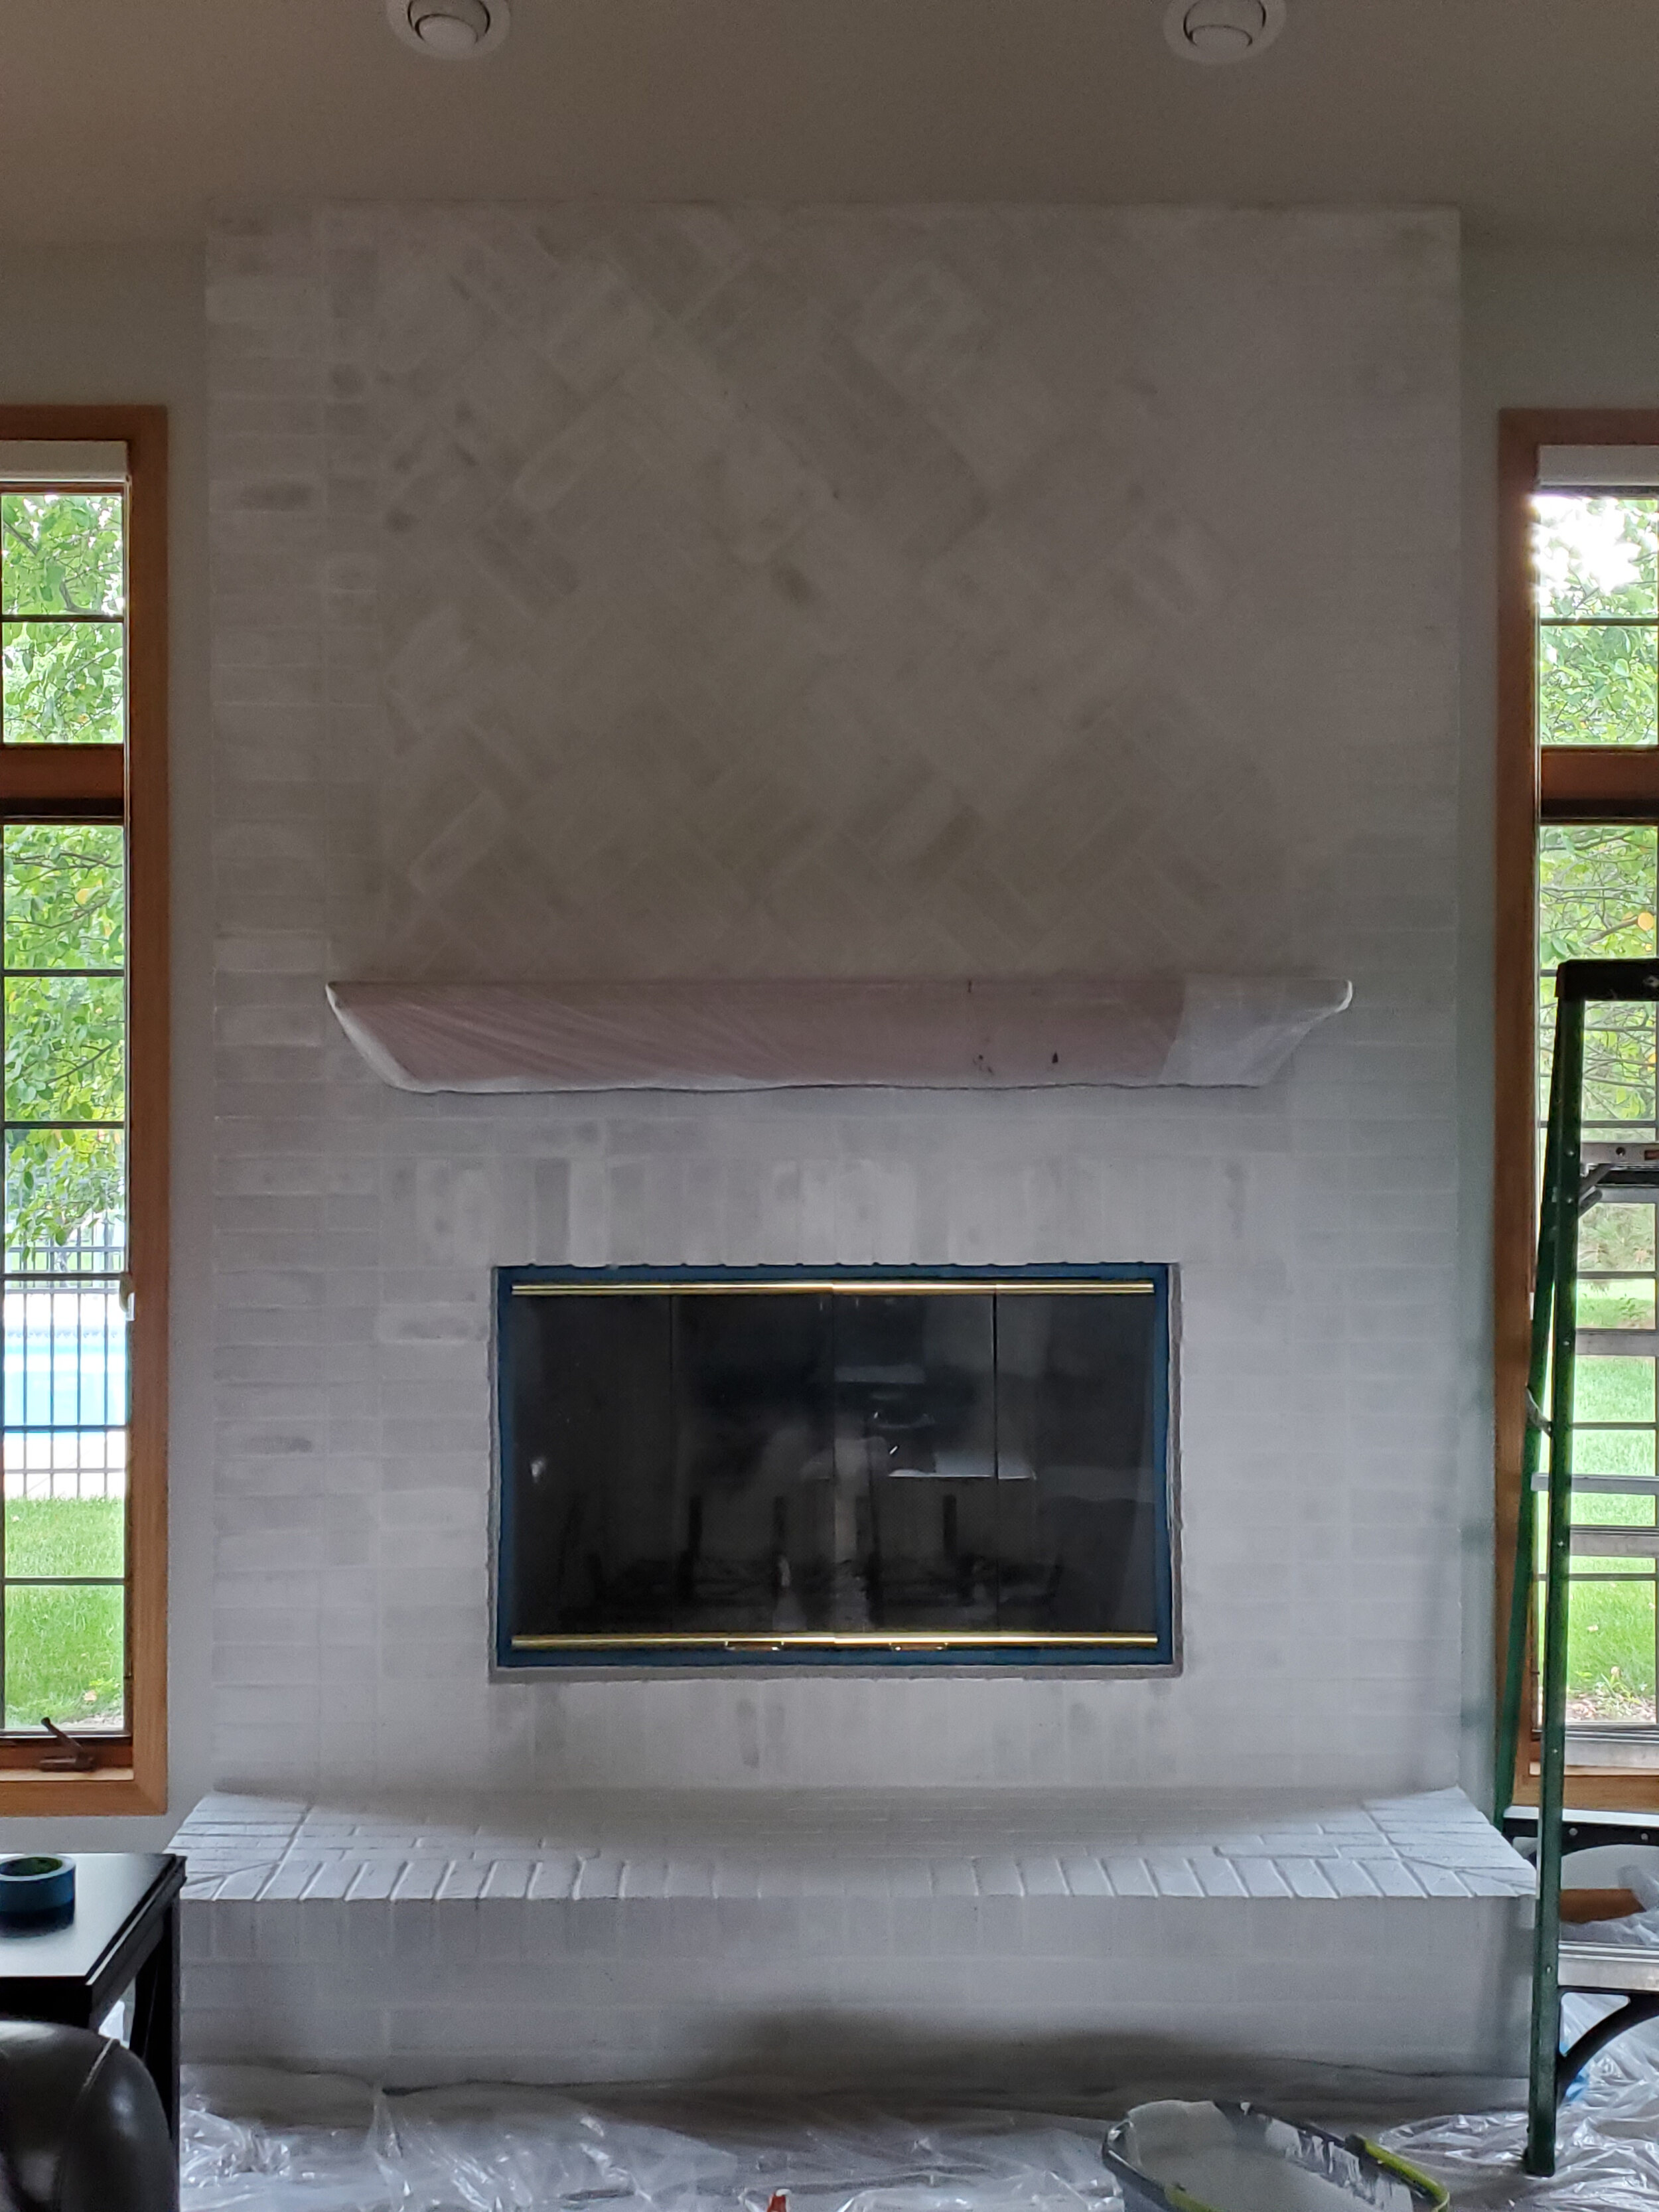
Yeah…so I just wasn’t feelin’ the limewash for my long-term vision here. I didn’t even need to finish distressing to know this was not what I wanted for this space. I definitely didn’t want to go back to the natural brick; so painting right over it was an easy solution. There are two directions you can go with this, using a chalk paint or a water based paint & primer. If you are jumping in at wanting paint from the start…again simply wait 24hrs for brick to dry, then all the same forward steps apply.
Here is what you’ll need:
Chalk or water based paint & primer (eggshell, satin, or semi-gloss finish best)
Paint tray or handheld paint cup (I use handheld)
Angled paint brush (2in so you can get detailed areas)
Small roller (semi-smooth to rough depending on your brick)
Water based polyurethane top coat (optional, read below)
Begin painting from the top down using the roller first. Each coat, roll multiple directions to cover the brick fully. After rolling a spot, go back over that area using your brush to get the mortar as well as for edging along the ceiling and walls. Once you have your first coat done, it’s like watching paint dry. No, seriously you have to let that coat dry before applying another coat…but don’t watch it, that would be pointless and mentally draining. Getting a beautifully finished final coat can take 2-3 coats depending on how absorbent your brick is and what the original brick color was. There is an optional final step if you so desire. I get asked about top coats a lot from people. My answer varies on the surface being painted and how heavy the use is. I’ll tell you what I did. Brick has the potential to crack or chip no matter a top coat or not. If your brick does this and you need to touch it up, you must go through a pain in the rear process of painting all coats again and top coating the spot…at least 2 days of touch up work for it to blend properly. Had you just painted you could one day, one try, slap some touch up paint on the spot, and voila! However, if you used chalk paint or an eggshell finish, it doesn’t clean up as easy as it’s shinier friends, satin and semi-gloss. Me…well I used eggshell. I also set décor on the hearth along with fireplace pokers and my rear. Because of this I wanted a stronger and easier to clean surface on the ‘sitting area’ of our hearth. Did I coat the entire fireplace with polyurethane? Nope! I painted just the area I wanted extra protection though. Our fireplace is designed so no soot ever climbs to the outside of it…if yours does, I would encourage you to top coat the whole thing. Why make 10 times more work later for an easy enough top coat now. Just like that…you’re done! Maybe you’re done?…I wasn’t.

I still had a mantel to paint and awful gold accents on the fire place doors to get rid of. If you are painting a wood mantel, the steps are like the above with only one additional prep step.
Here’s what you’ll need:
Deglosser (not the same as TSP)
Scrubbing pad
Sandpaper (120 & 220 grit, optional if needed)
Clean water
Rag
Paint tray or handheld paint cup
Paint brush
Water based paint & primer
Water based polyurethane
Cleaning is always our first step. Do this before anything else. If your mantel is in good shape, you might be able to get away with only a deglosser. This is a strong cleaning gel that you will use to deep clean that wood before painting. Use the deglosser as directed, making sure to use water wipe clean all dirt and residue left behind. If your mantel is beat up…sanding is the way to go. Start with a rougher grade paper and then move to a finer grit. Be sure to vacuum up all dust and wipe the mantel clean after sanding. Tape off the hearth from the mantel and now you’re ready to paint. Apply as many coats as is needed, typically 2, following instructions per the brand of paint you are using. Lastly, top coat is optional here, but if you decorate your mantel often or have soot issues…I say do it!
Okay, now we are really at the last part. if you want to cover up hardware or gold/silver accents on your fireplace doors, I’ve got you covered.
Here’s what you’ll need:
Deglosser
Water
Rag
Sandpaper (120 & 220 grit)
Oil Paint brush (size depends on project, recommend small stencil brush)
High Temp Paint
What’s always first? you got it…clean using deglosser. my least favorite is next…sanding. With detail stuff you just need to sand by hand…and boy does that make my hairs stand. Almost as bad as nails on a chalkboard. But it must be done. Start with the 120 grit and rough it up. Follow with the 220 grit to smooth it back down some, but still keeping it etched up enough; so the paint will adhere. Wipe it down and back to painting. Oil paint goes on differently than latex. Oil is thinner and can run easier, but also stays wet longer allowing for better touch ups. Two coats should do you…dry time…and look…look…you have a completely new fireplace. Heck the whole room feels like it must have come from someone else’s home! Don’t you wish you would have done this sooner?!
Happy Fireplace Transforming!